Jira Post Functions for Checklists for Atlassian Cloud
You can automatically complete or skip tasks remaining in your checklist on an issue workflow transition. This is useful if you would like checklists to be filled out automatically.
We offer two separate post functions for your Jira workflows:
- Complete all open tasks
- Skip all open tasks
The differences are in the name; one allows you to automatically complete tasks, while the other allows you to skip them. For the purpose of this page, we will use the “Complete all open tasks” post function.
You must have Jira admin permission in order to add a post function to a Jira workflow. If you do not have Jira admin permission, request assistance from the Jira admin of your instance. Please keep in mind the general best practices when editing Jira workflows. This workflow could be shared with other projects, so be aware of how many projects you are affecting.
-
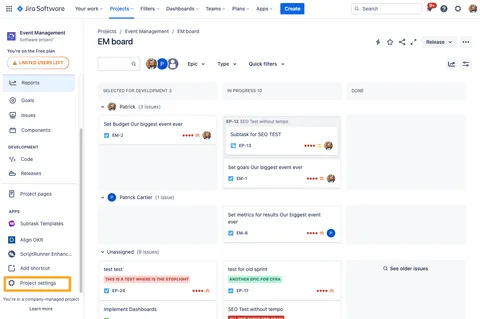
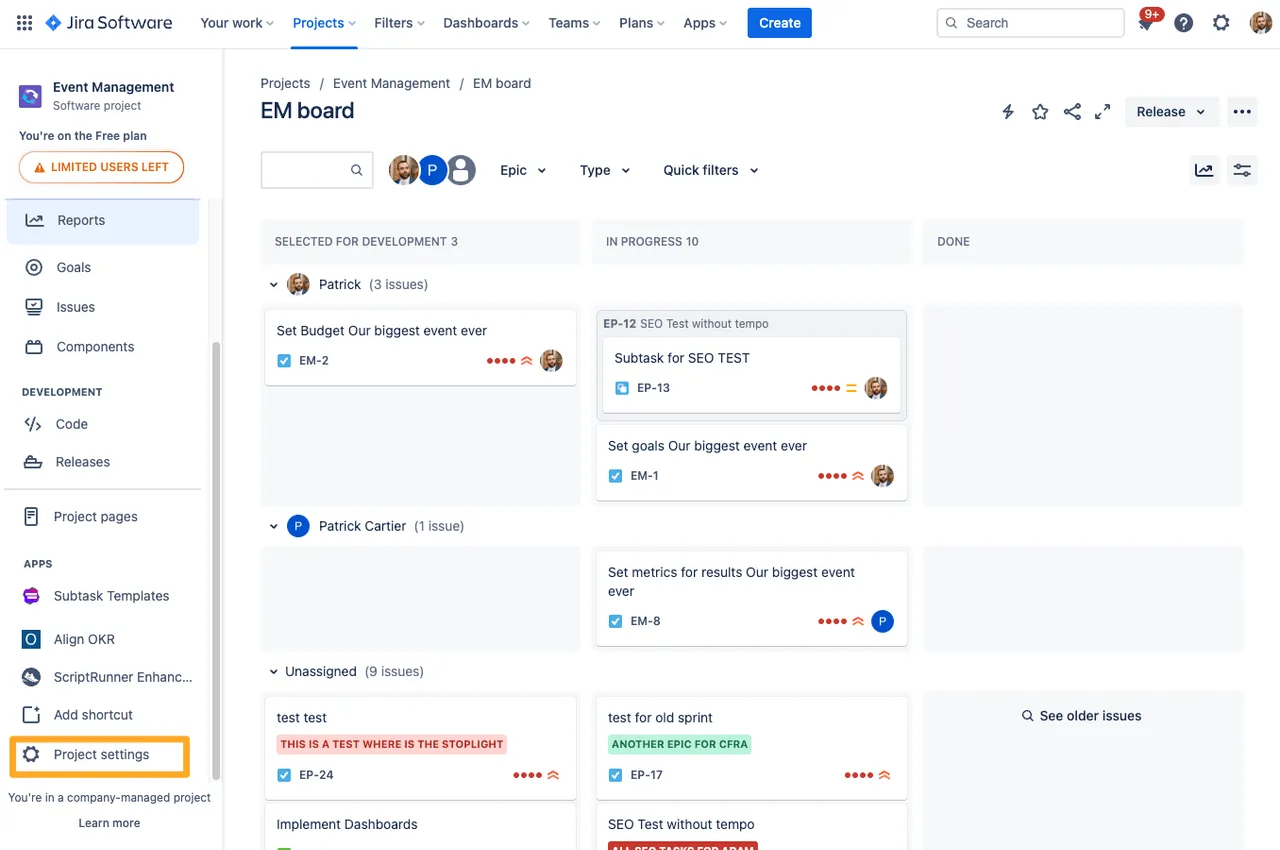
Navigate to the project settings for the project where you would like to add the workflow post function.
-
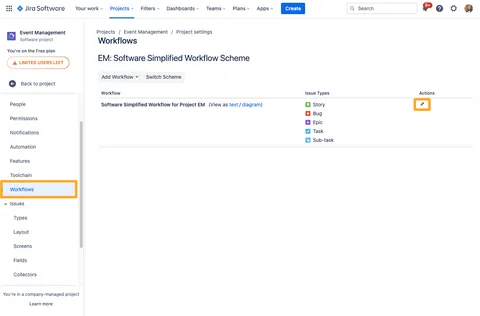
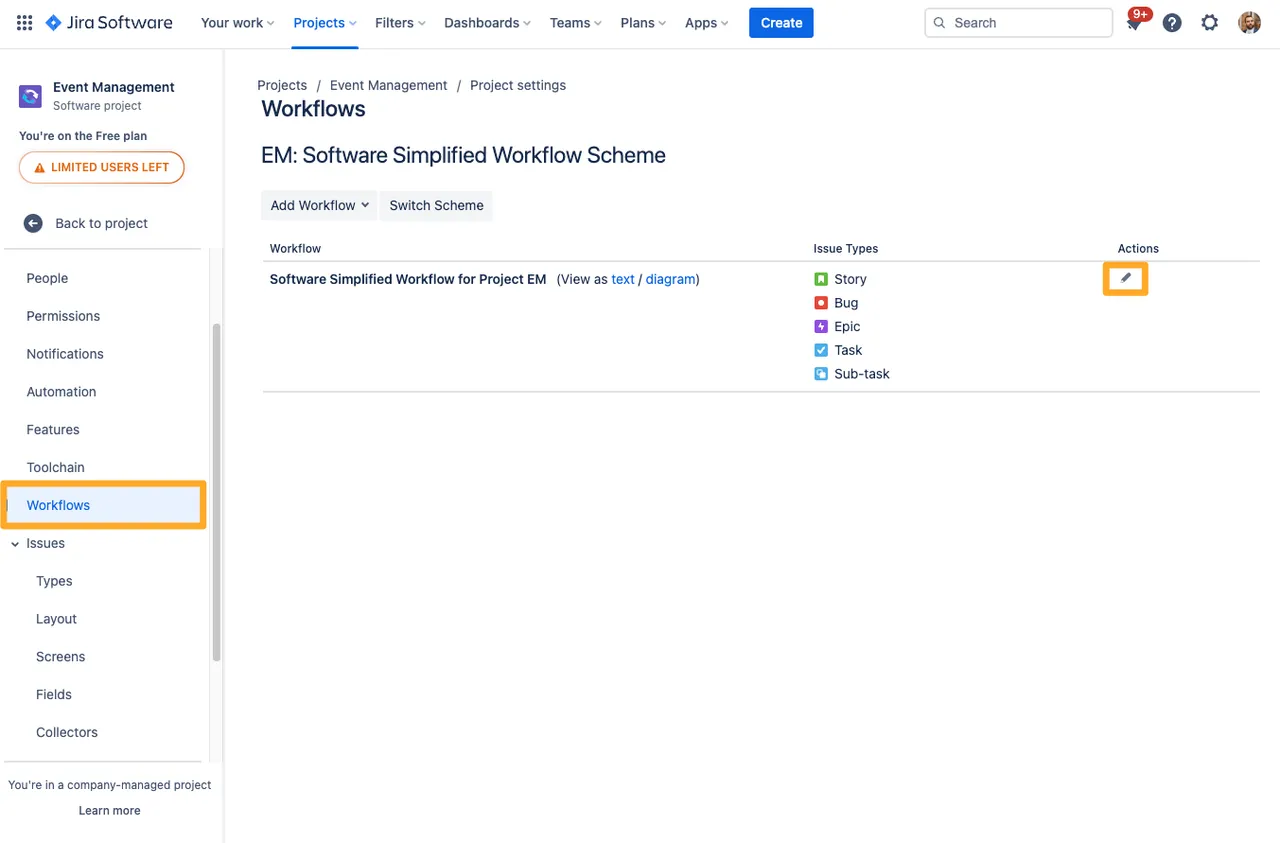
Go to “Workflows” on the left side and click the pencil icon to edit the workflow.
-
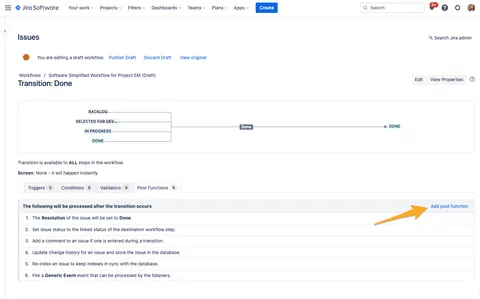
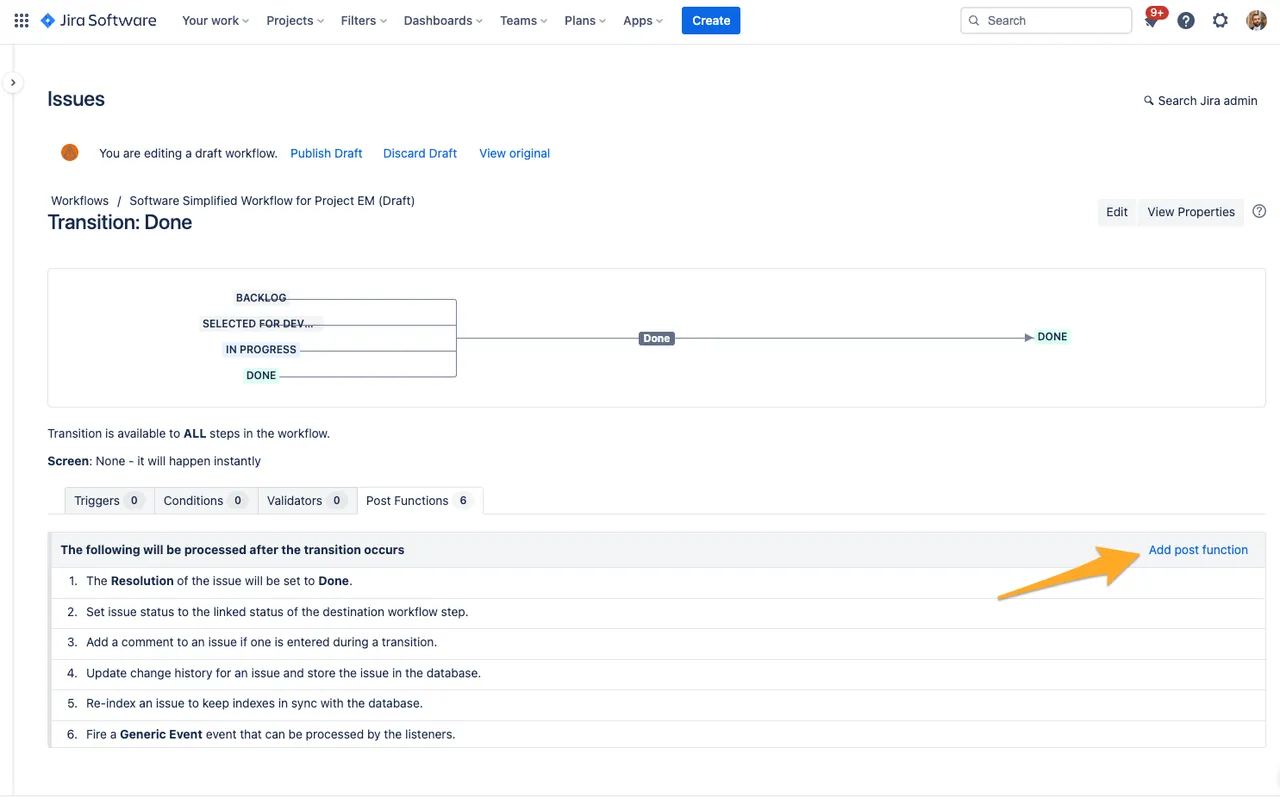
In the diagram view, click the transition you would like to add the post function to.
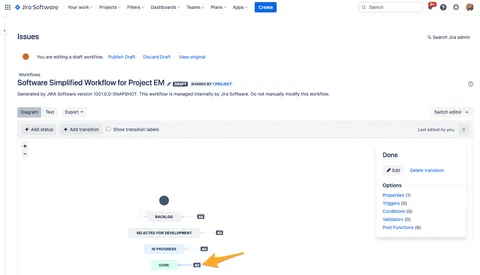
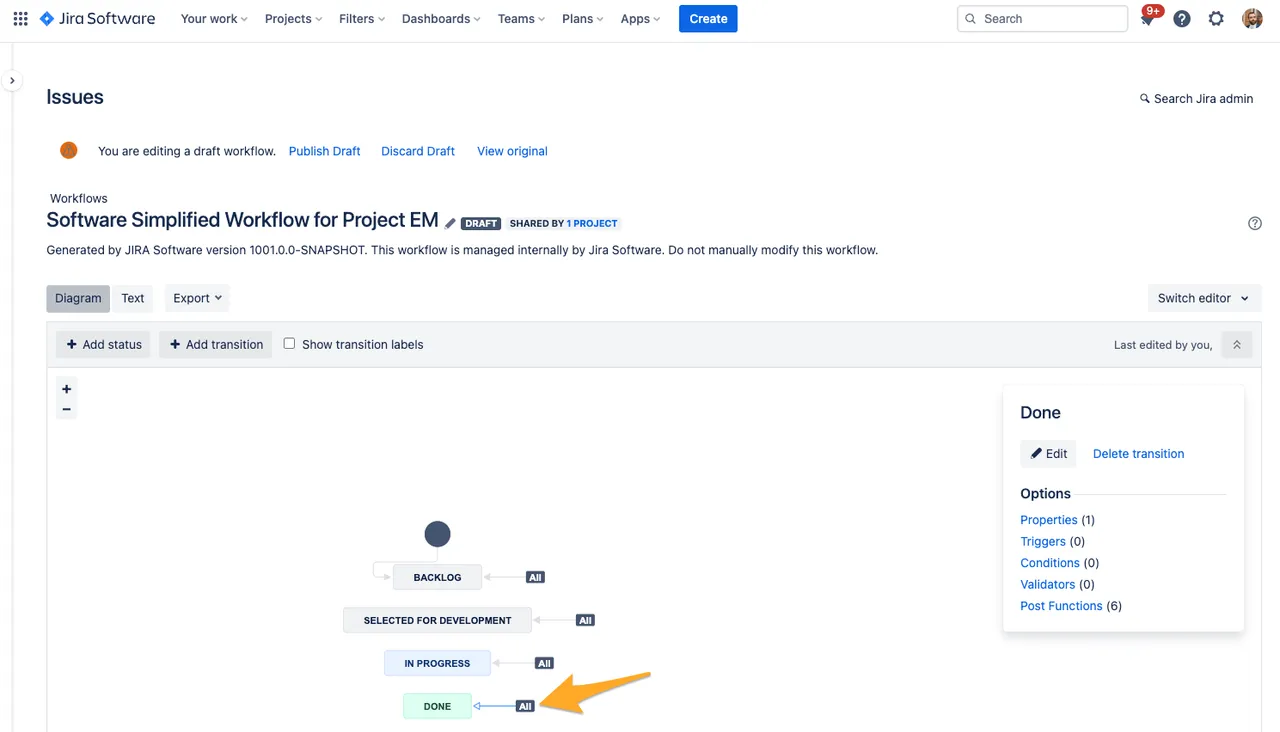
-
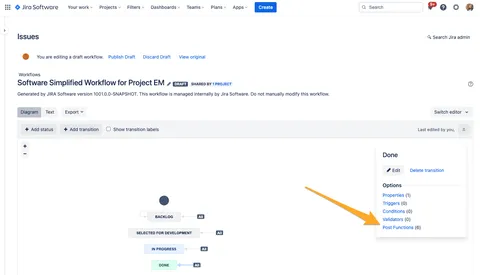
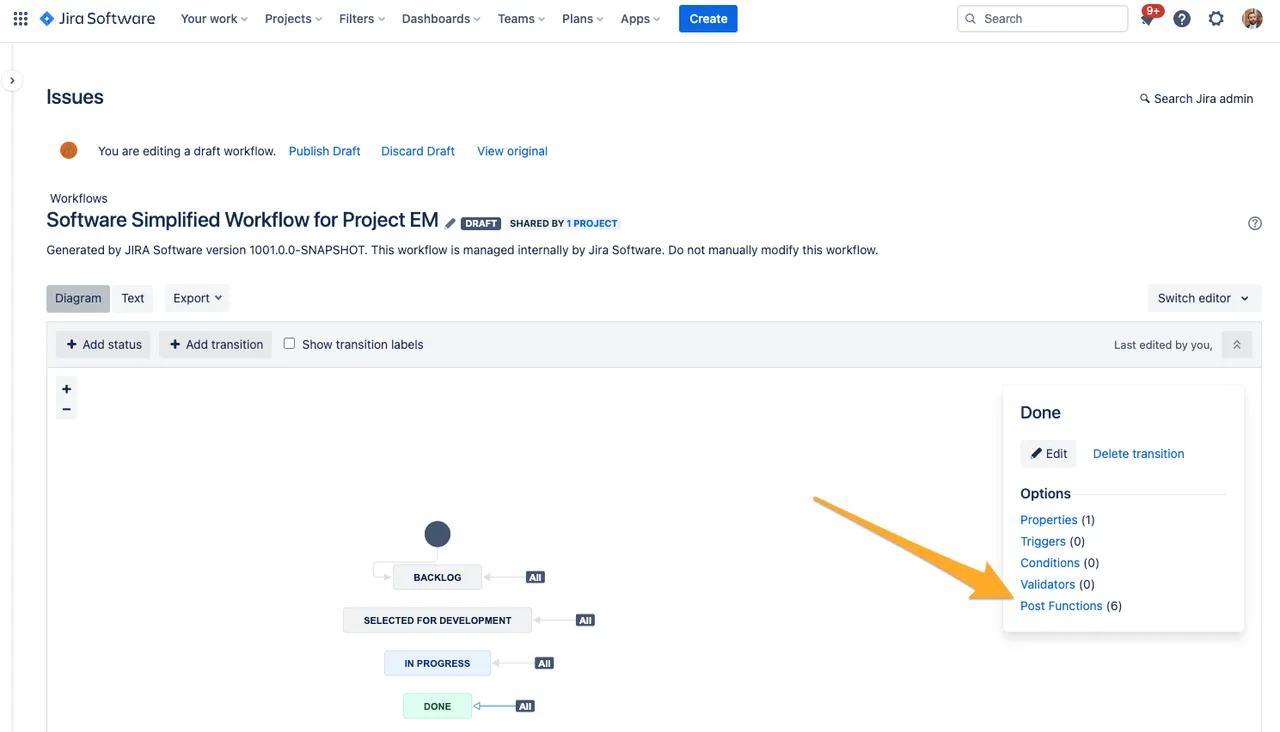
Select “Post Functions” from the options.
-
Click “Add post function.”
-
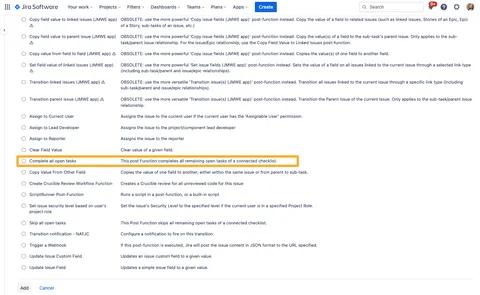
Choose the post function “Complete all open tasks” from the list.

-
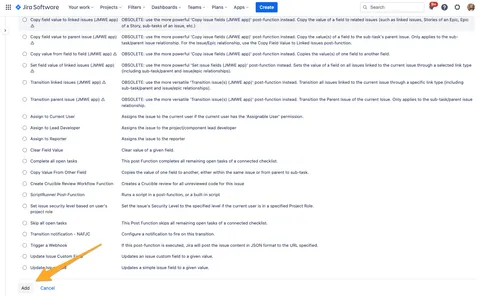
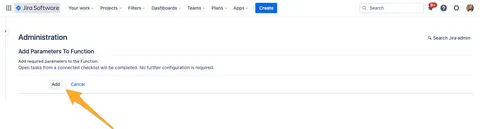
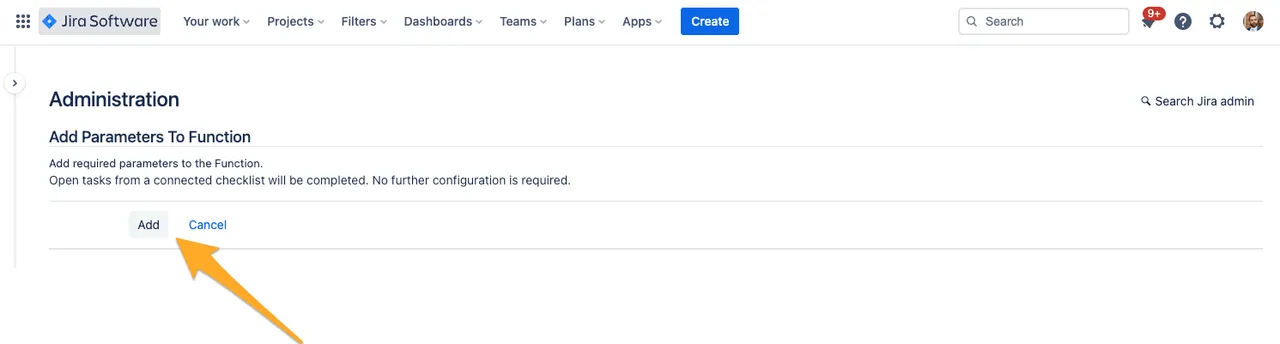
Create the post function by clicking “Add” again.

-
Press “Add” one more time to confirm the post function.
-
Publish the draft to apply the changes and make them effective. If you think you may want to revert the change, you can always save a backup copy.

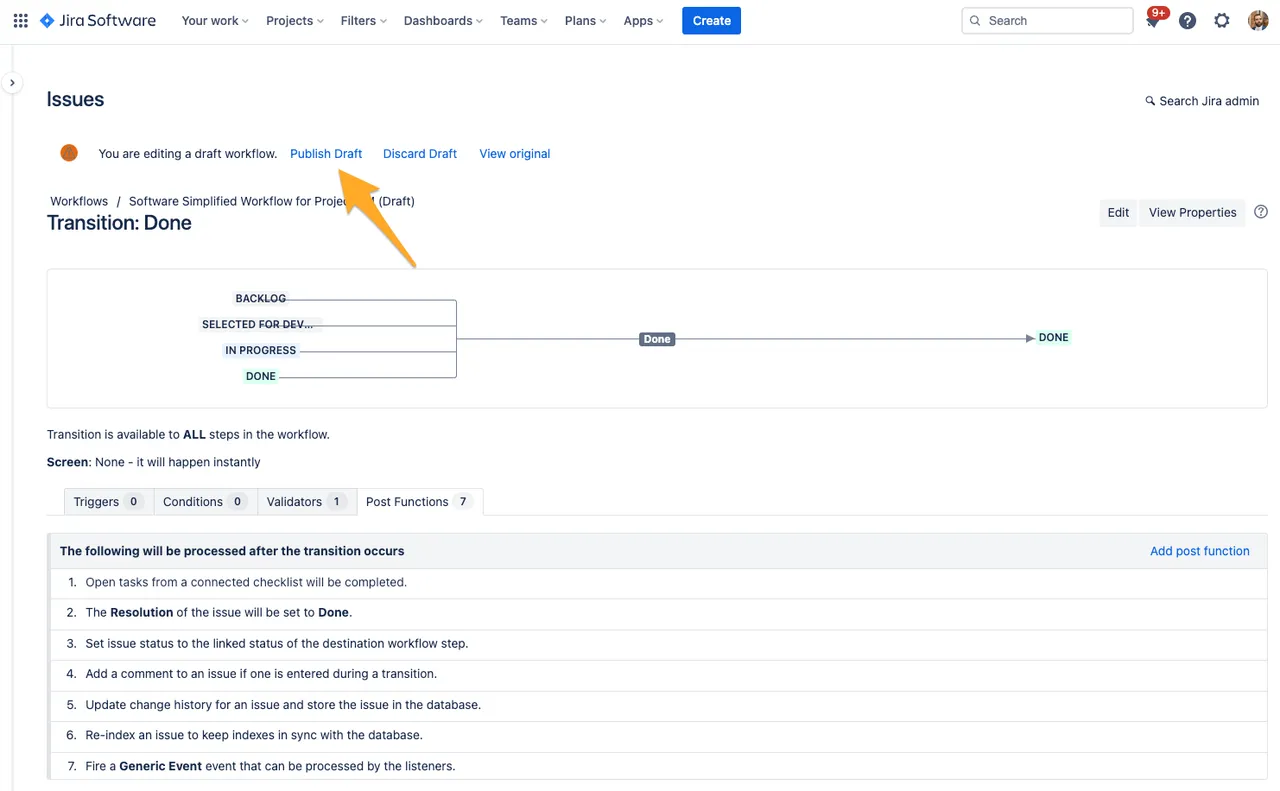
Now, when users transition a Jira issue to “Done,” all tasks will be marked as completed.
You can use this same method for any status and any transition in a company-managed project.
Short link to this page: https://seibert.biz/diditpostfunctions