How to enable Didit in Jira projects globally
In order to allow non-admin users to harness the power of Didit - Checklists, you need to enable the app in their project(s). Project admins also have permission to do this in their project settings: Project settings > Apps > Checklist settings section.
With this global setting, Jira, Site, and Org admins can enable Didit in all projects if necessary. This works well in inital roll out scenarios, bulk management of projects, organizational governance situations, and migration/deployment strategies. If you have just installed the app and want to see how users will use it, enabling the app in all projects might be a great first move. If you know the app is getting used specifically in a few projects, but the rest of the projects won’t be interested, you could try setting the visibility to “On demand.”
Enabling projects
If you don’t have Jira admin permission, you can also enable Didit - Checklists in project settings.
-
Navigate to your Jira site’s admin Apps section.
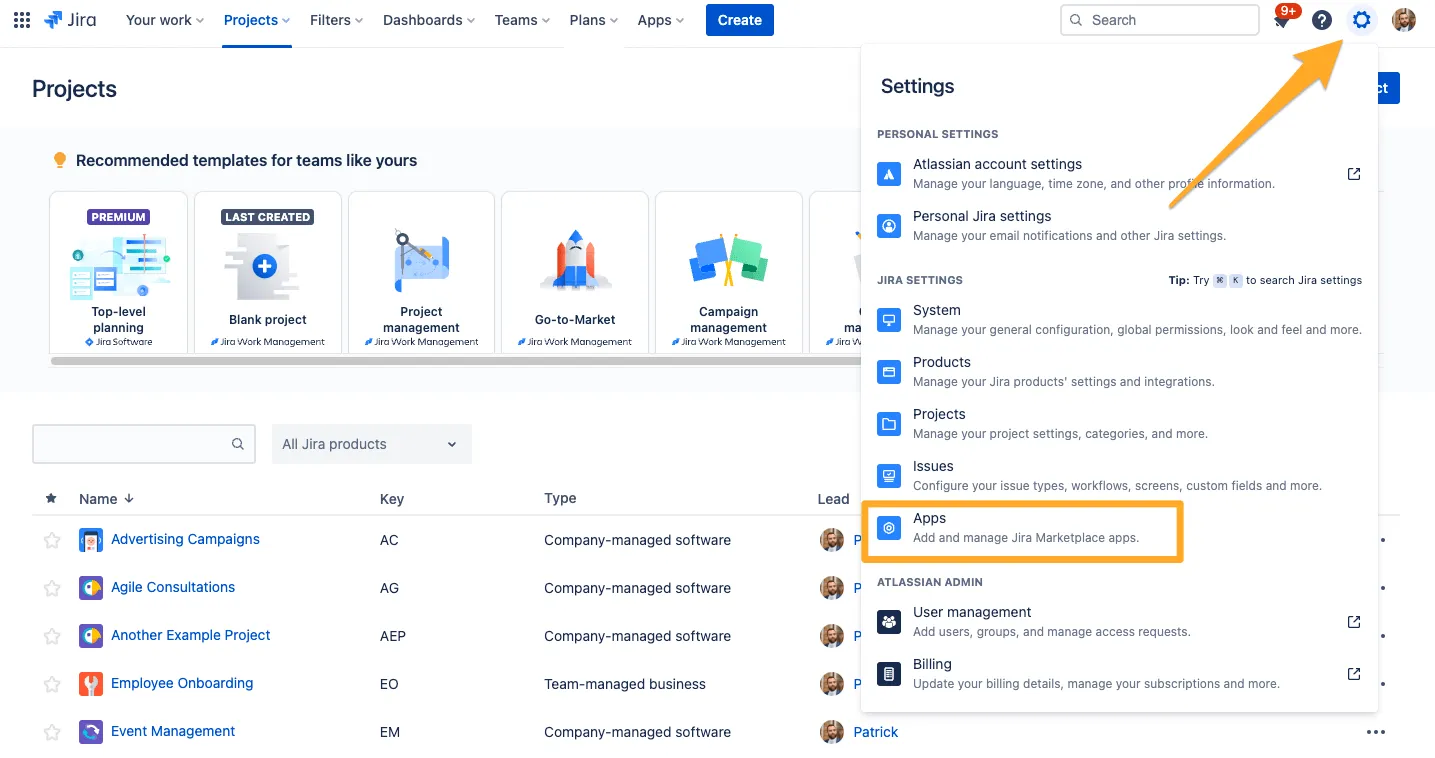
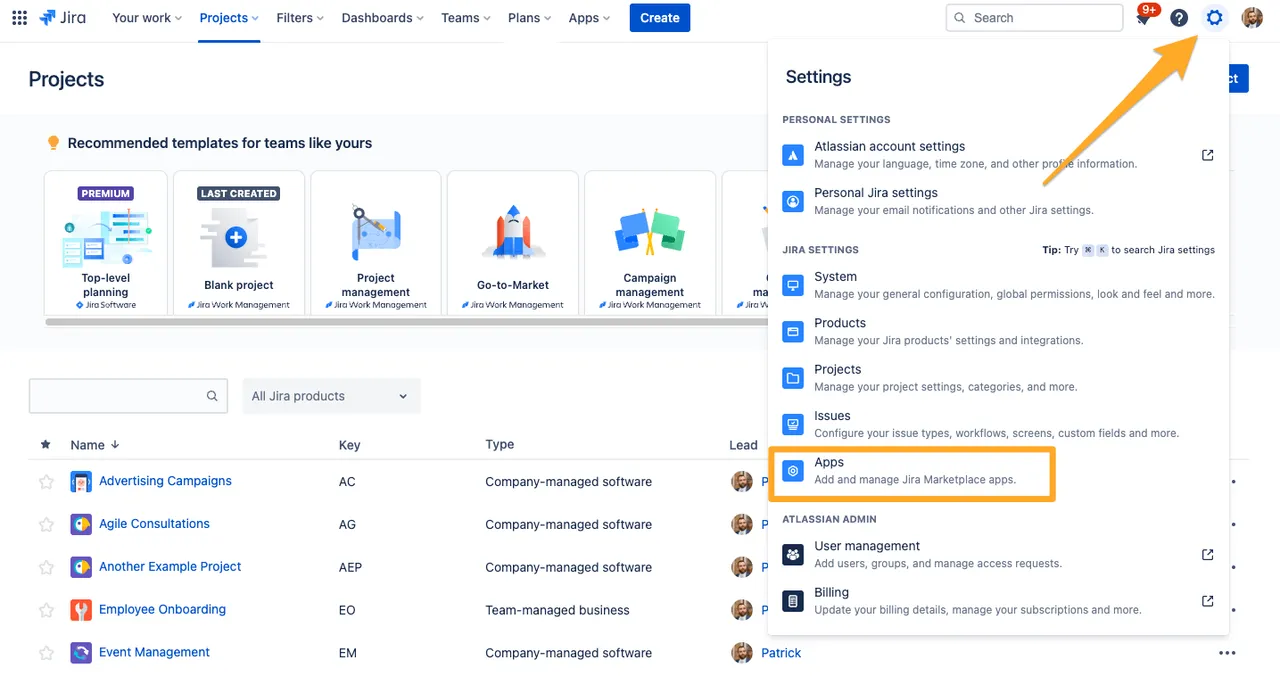
-
Choose Enabled Projects under “Didit - Checklists” in the left sidebar.
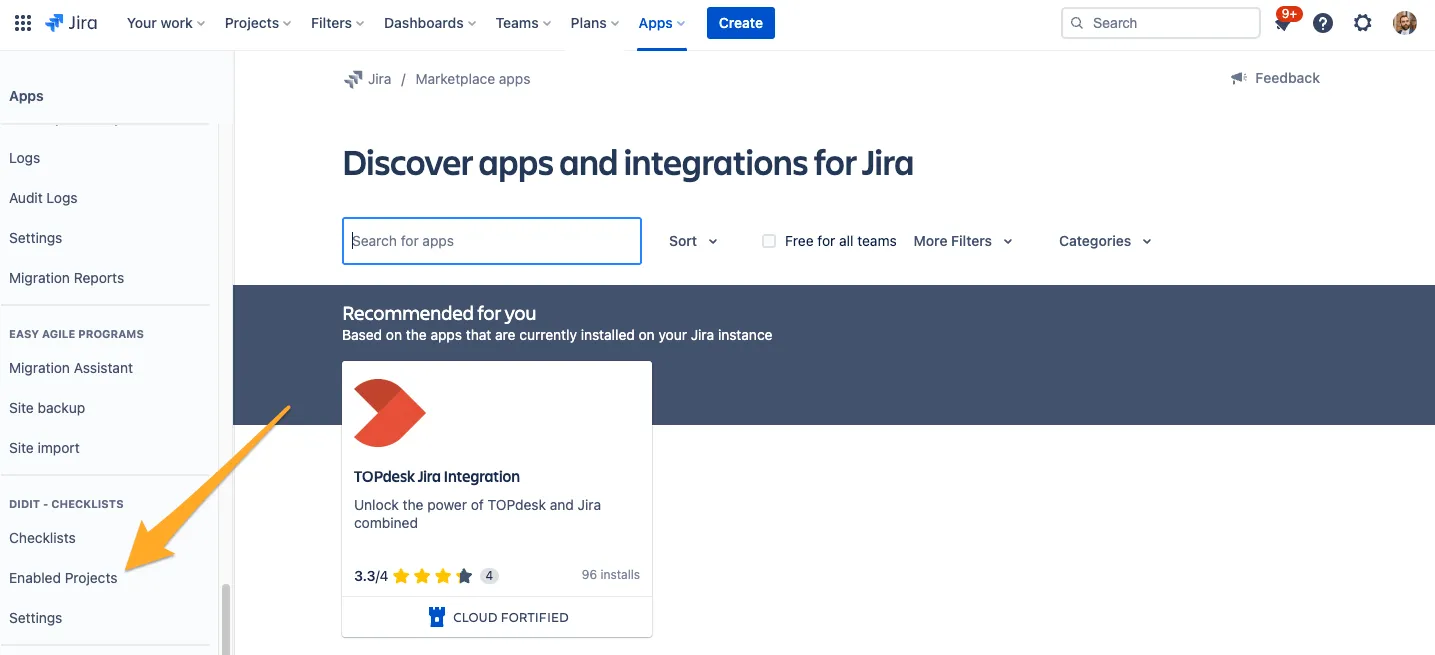
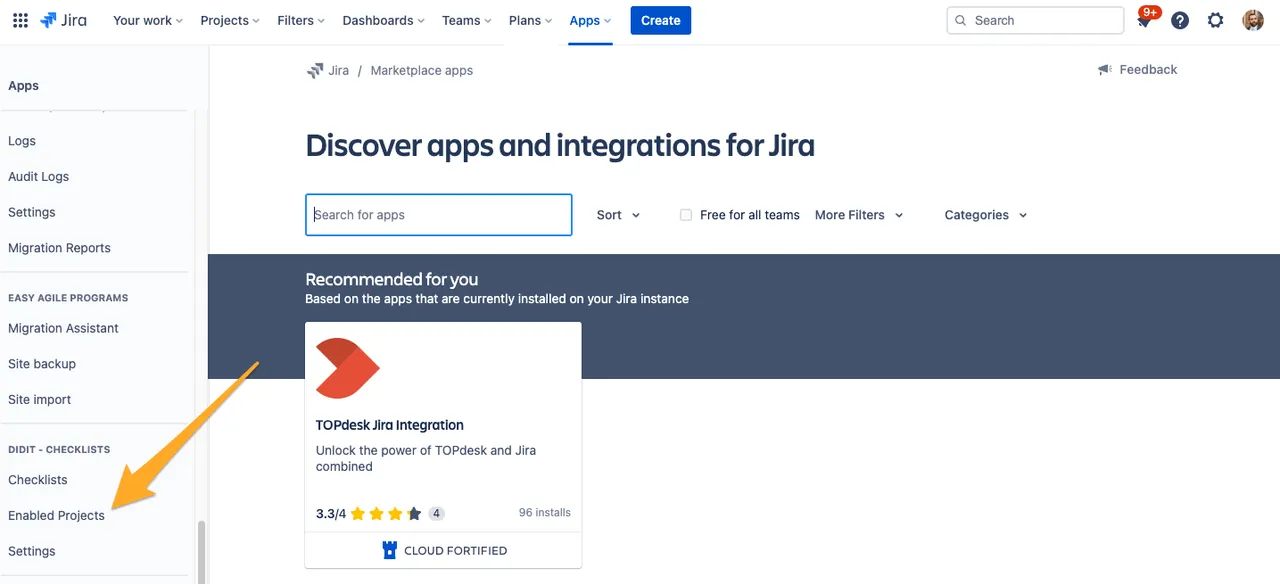
-
At the top of this page, you can set the default visibility for newly created projects. Didit project visibility has three states: Always, On demand, and Deactivated. You can find explanations in the screenshot below.
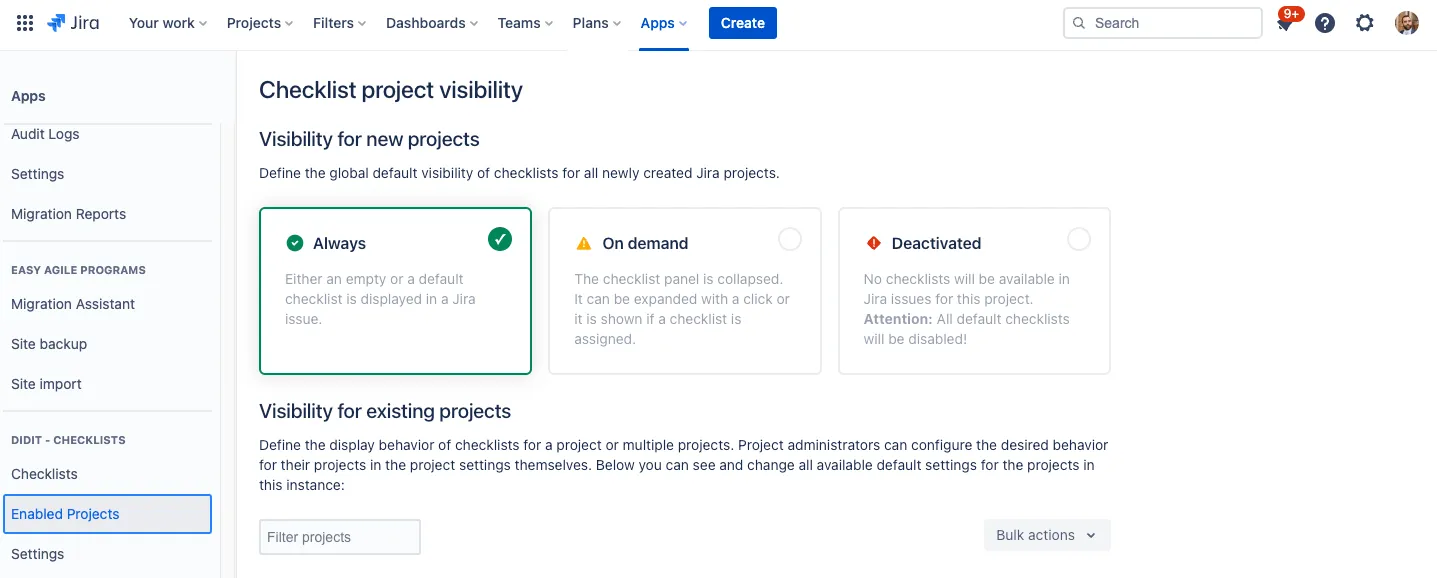
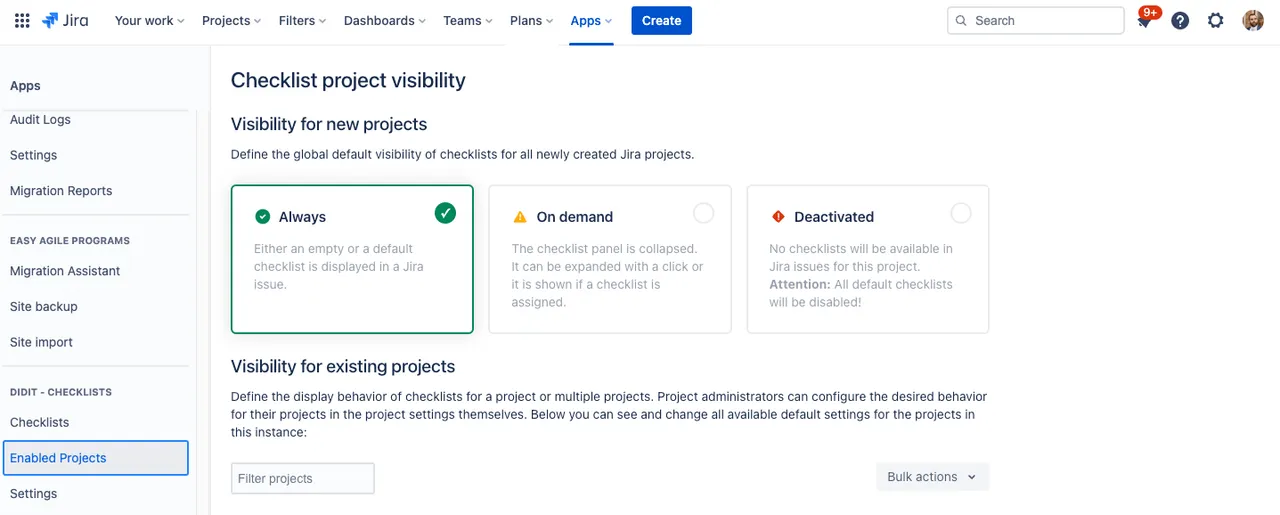
-
Below the default visibility settings, you can set each project’s visibility state. If nothing is selected, the checklist visibility state will be set to “Always.”
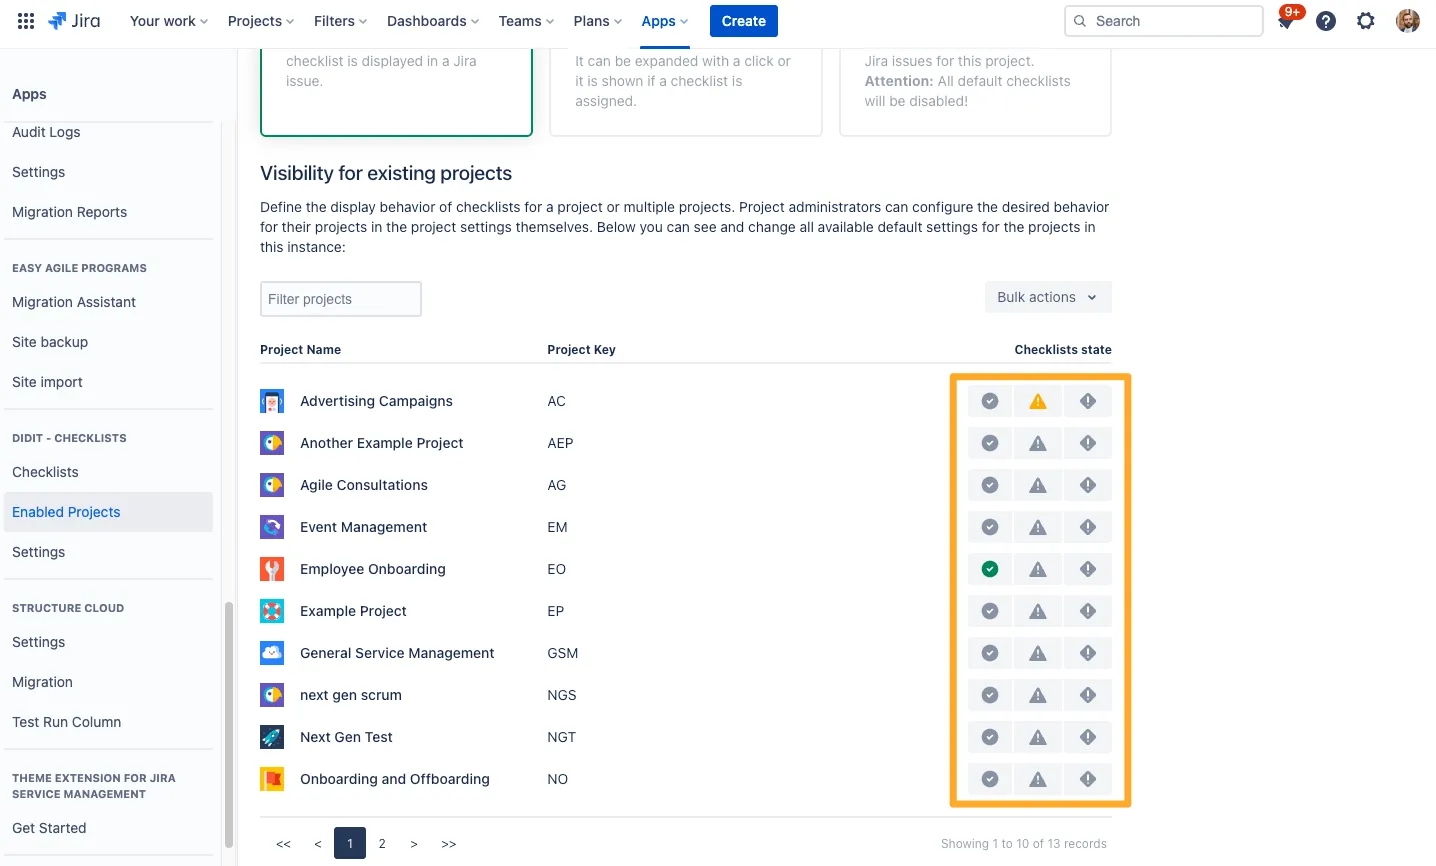
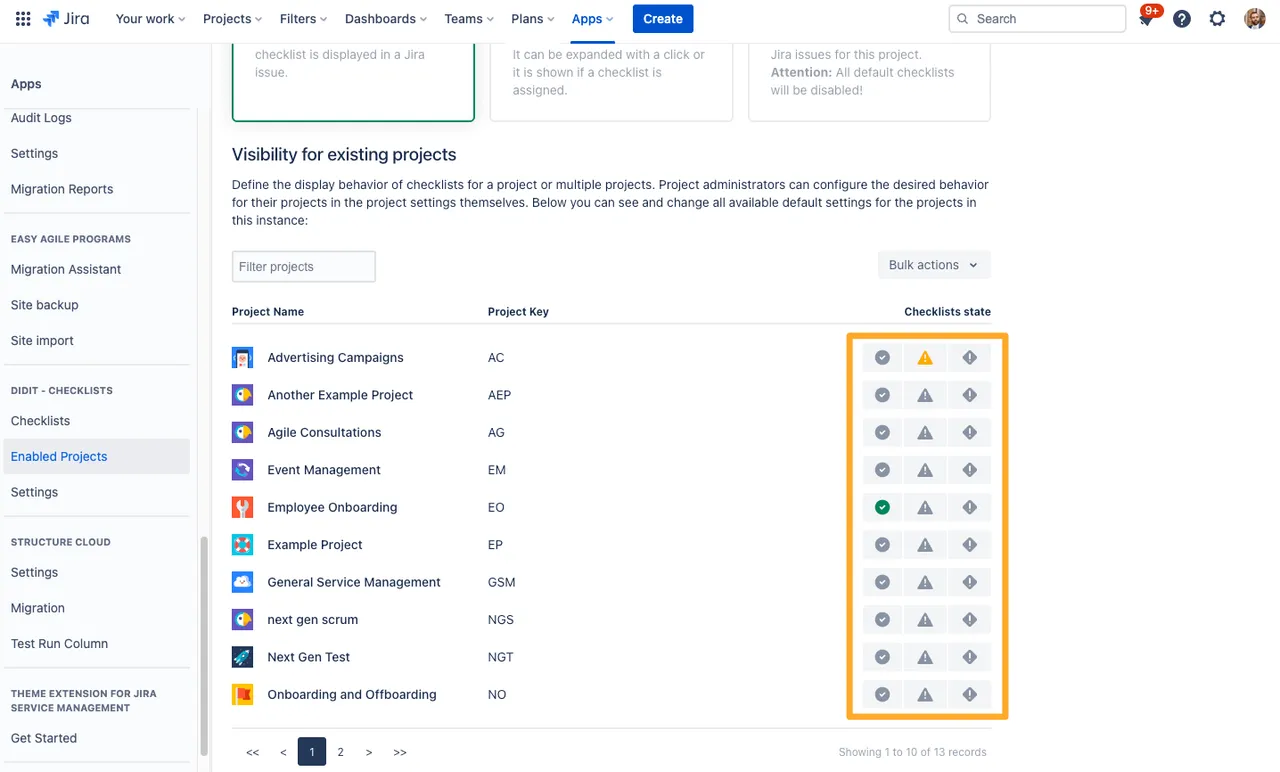
FAQ
Visibility states explained
There are three visibility states for projects. Find a brief explanation of all three below:
| Visibility State | Explanation |
|---|---|
| Always | Either an empty or a default checklist is displayed in a Jira issue at all times. |
| On Demand | The checklist panel is collapsed. It can be expanded by clicking the app icon at the top of a Jira issue. It will also show if a checklist is assigned to that issue. |
| Deactivated | No checklists will be available in Jira issues for this project. This means even the default checklists will be disabled. |
Link to this page: https://seibert.biz/diditenablejiraprojects