How to use the Didit automation wizard
Steps
-
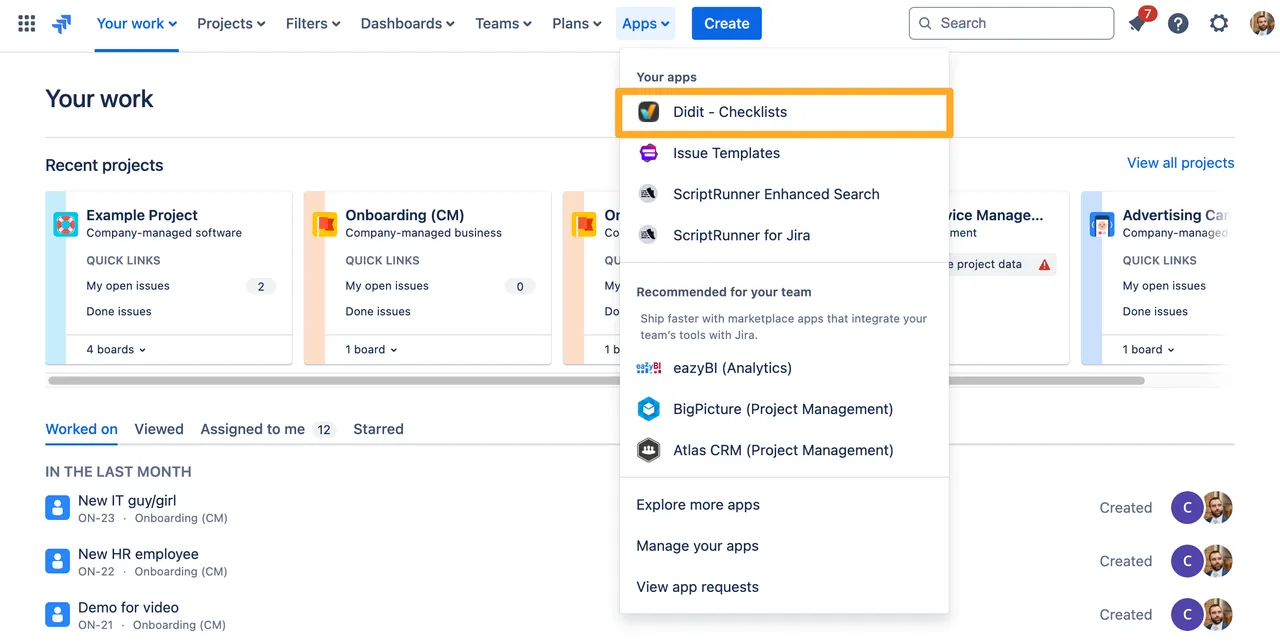
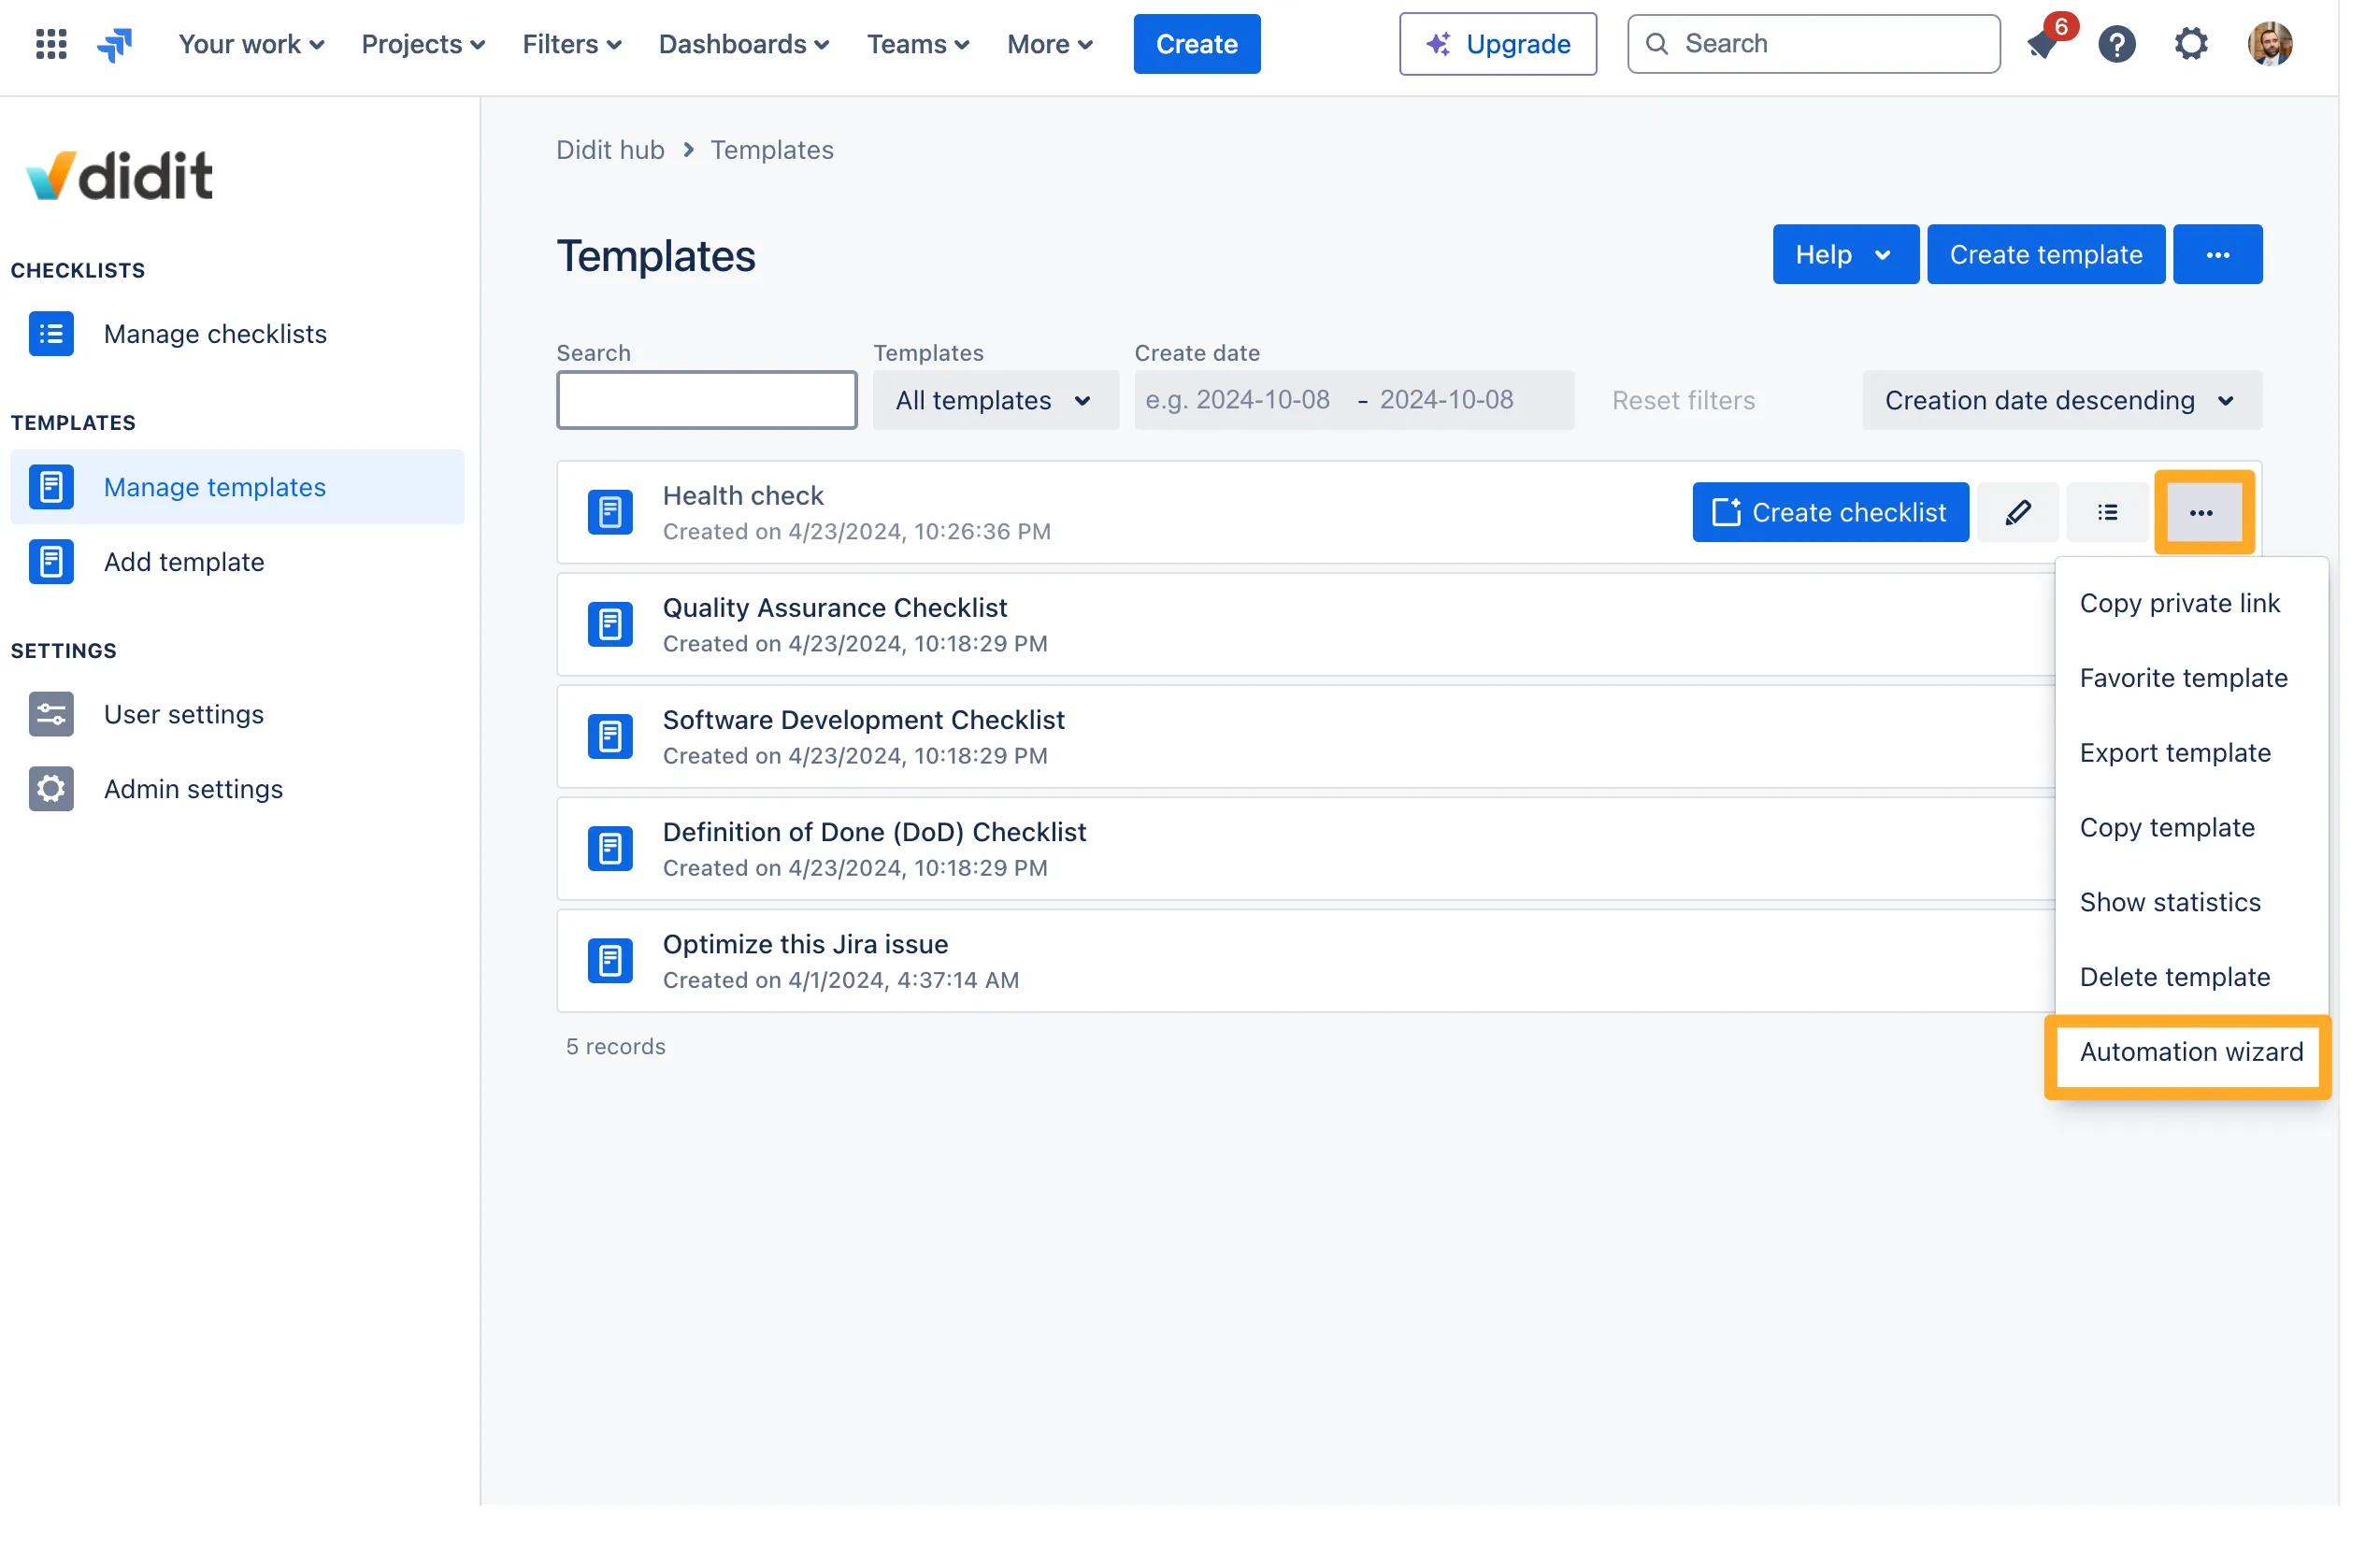
Navigate to the Didit hub at the top of Jira under the “Apps” menu.
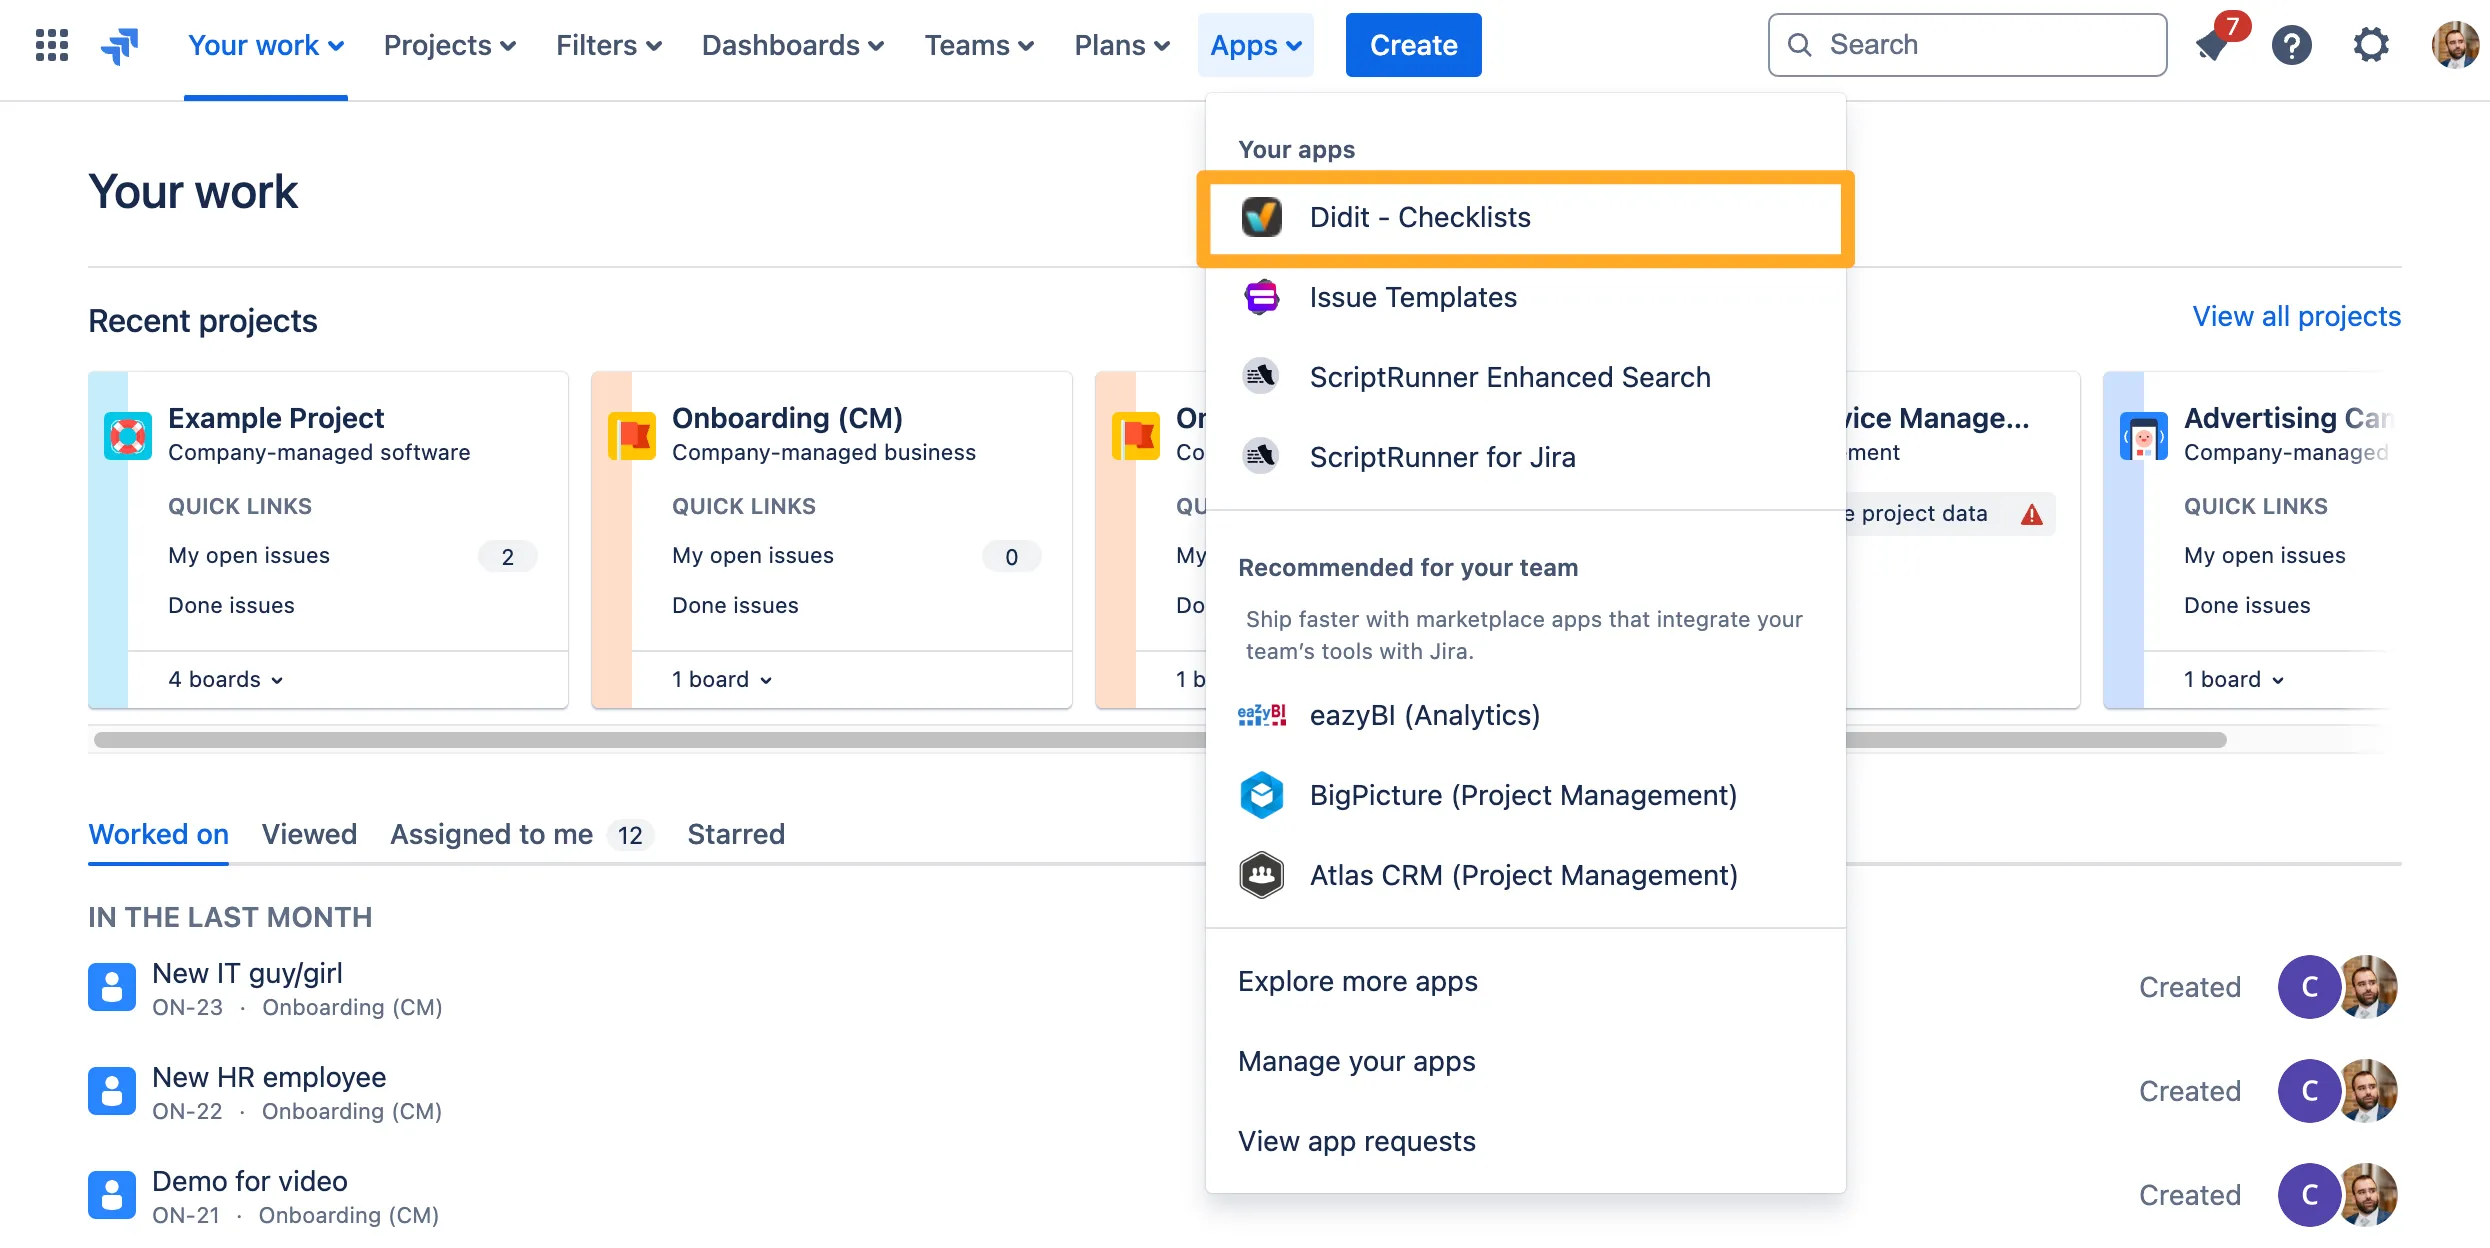
-
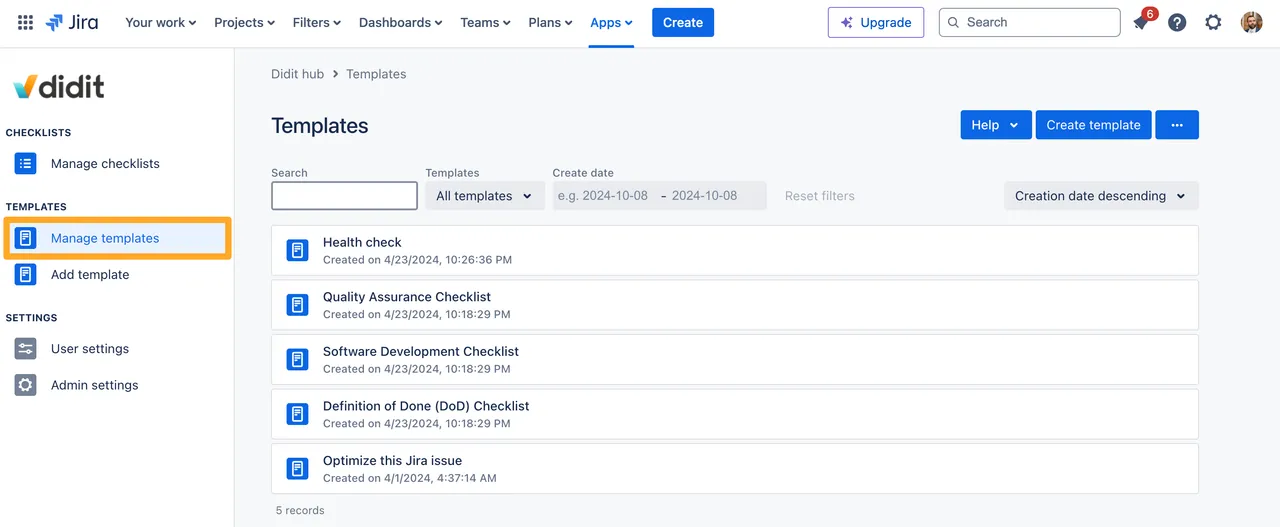
Make sure you are on the “Manage templates” section.
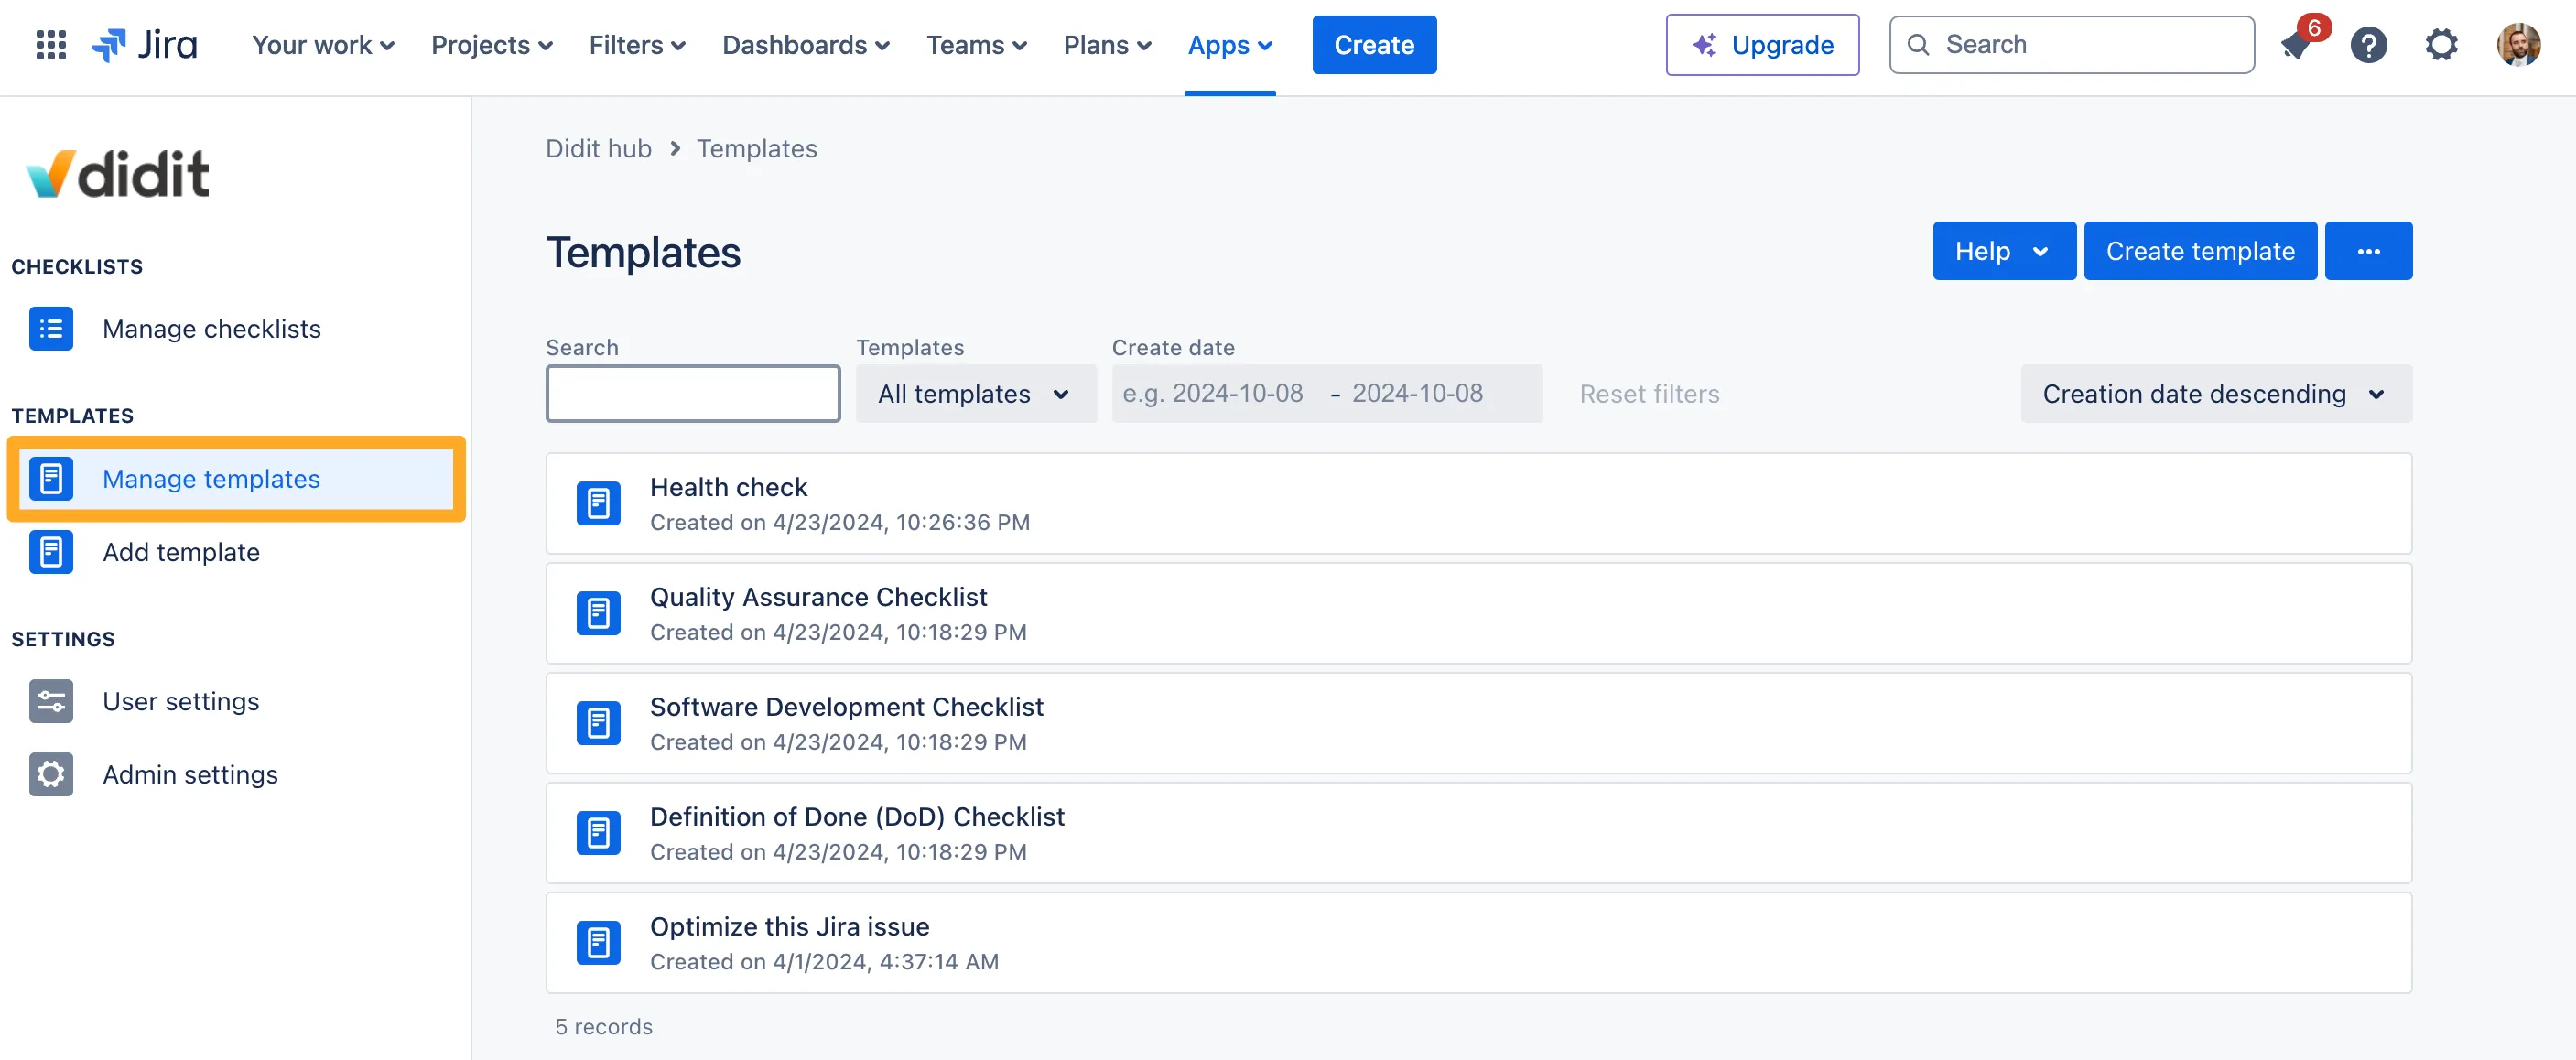
-
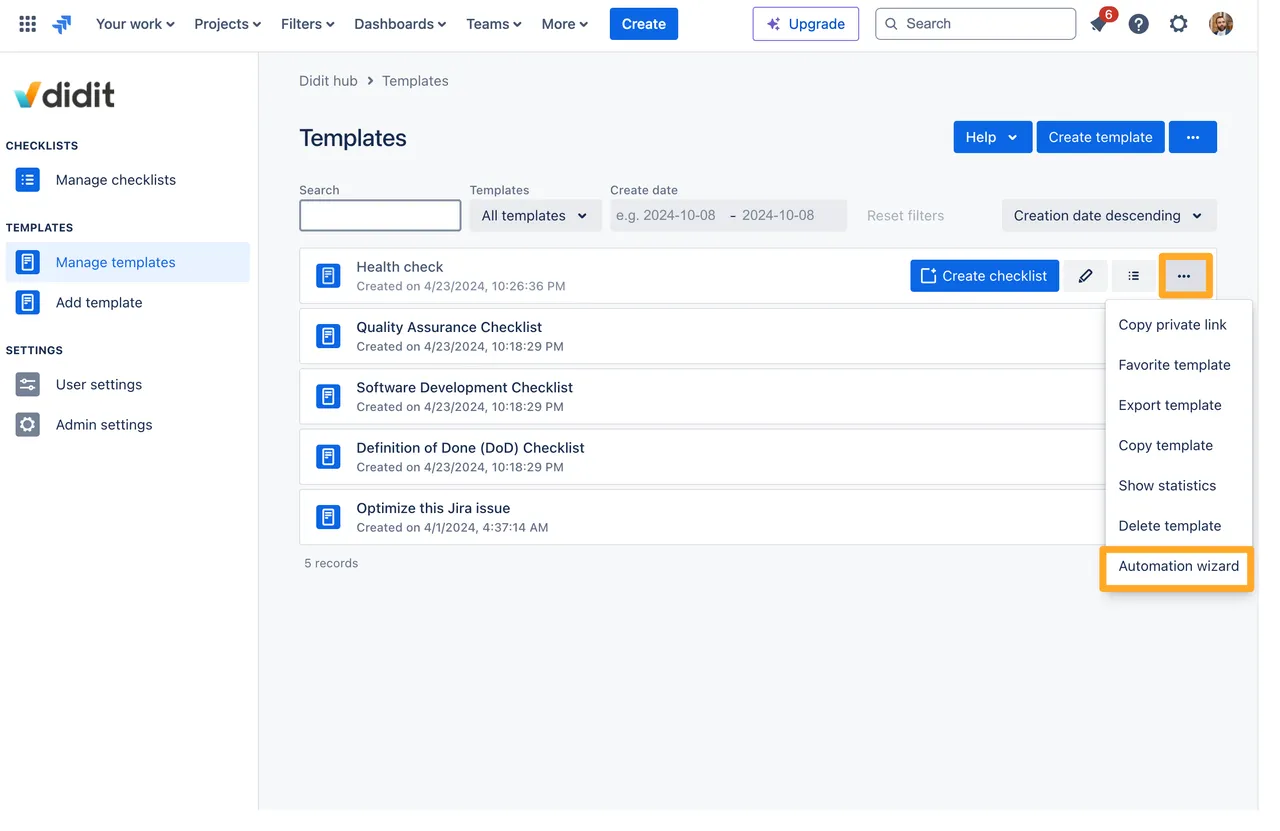
Click the ”…” menu on the right side of the template that you would like to use in an automation. Then click “Automation wizard.”
-
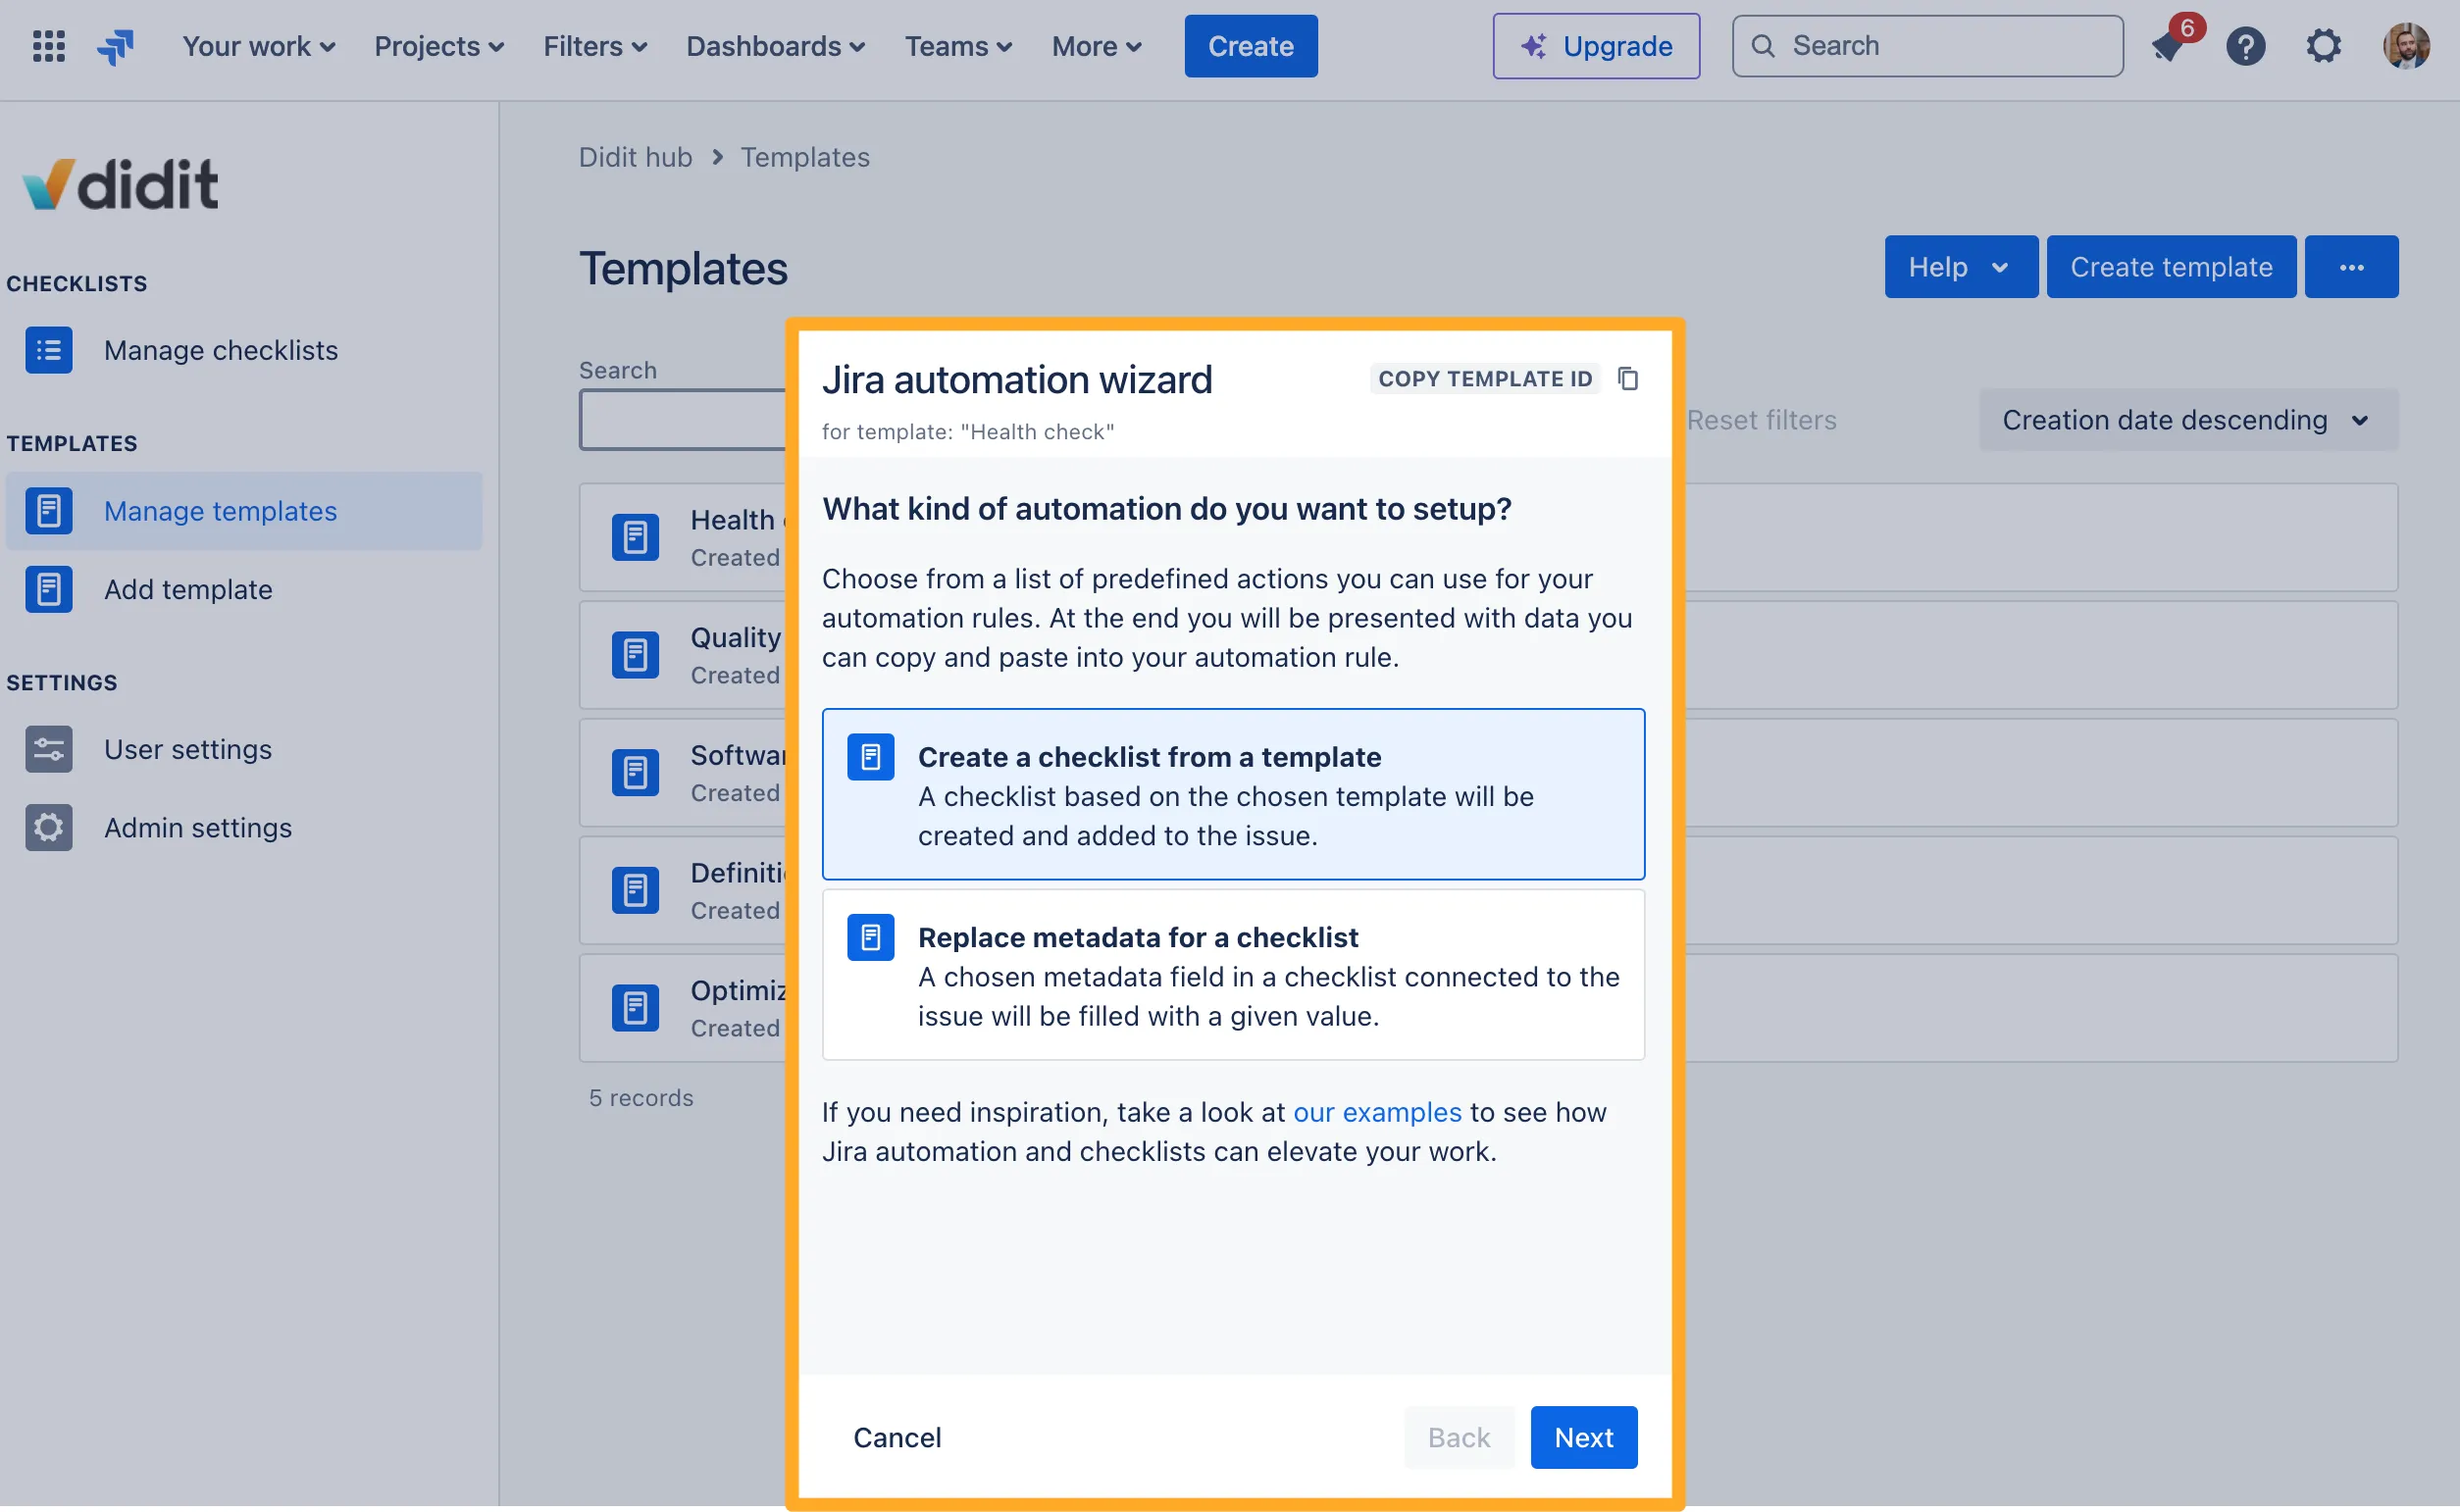
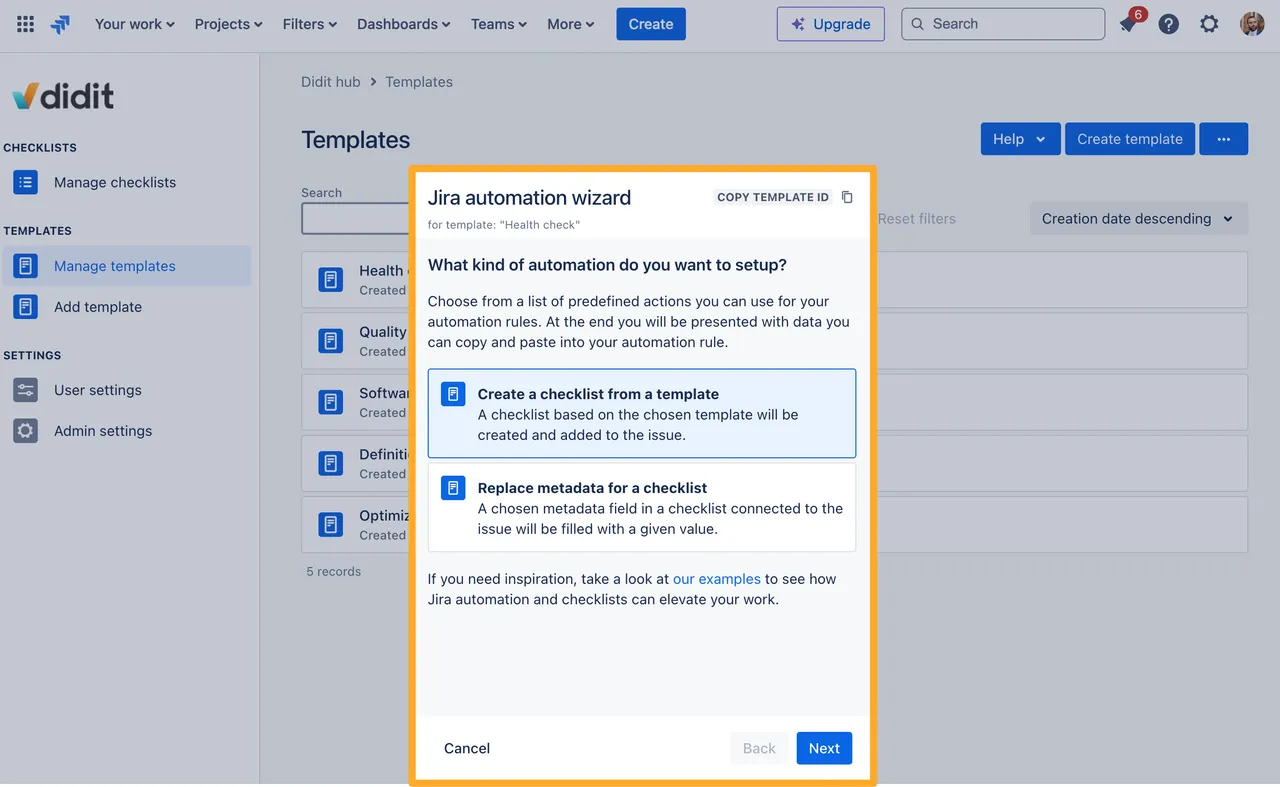
Choose if you want to “Create a checklist from a template” or “Replace metadata for a checklist.” These are the two actions you can perform on checklists.
-
Follow the rest of the steps depending on which option you choose.
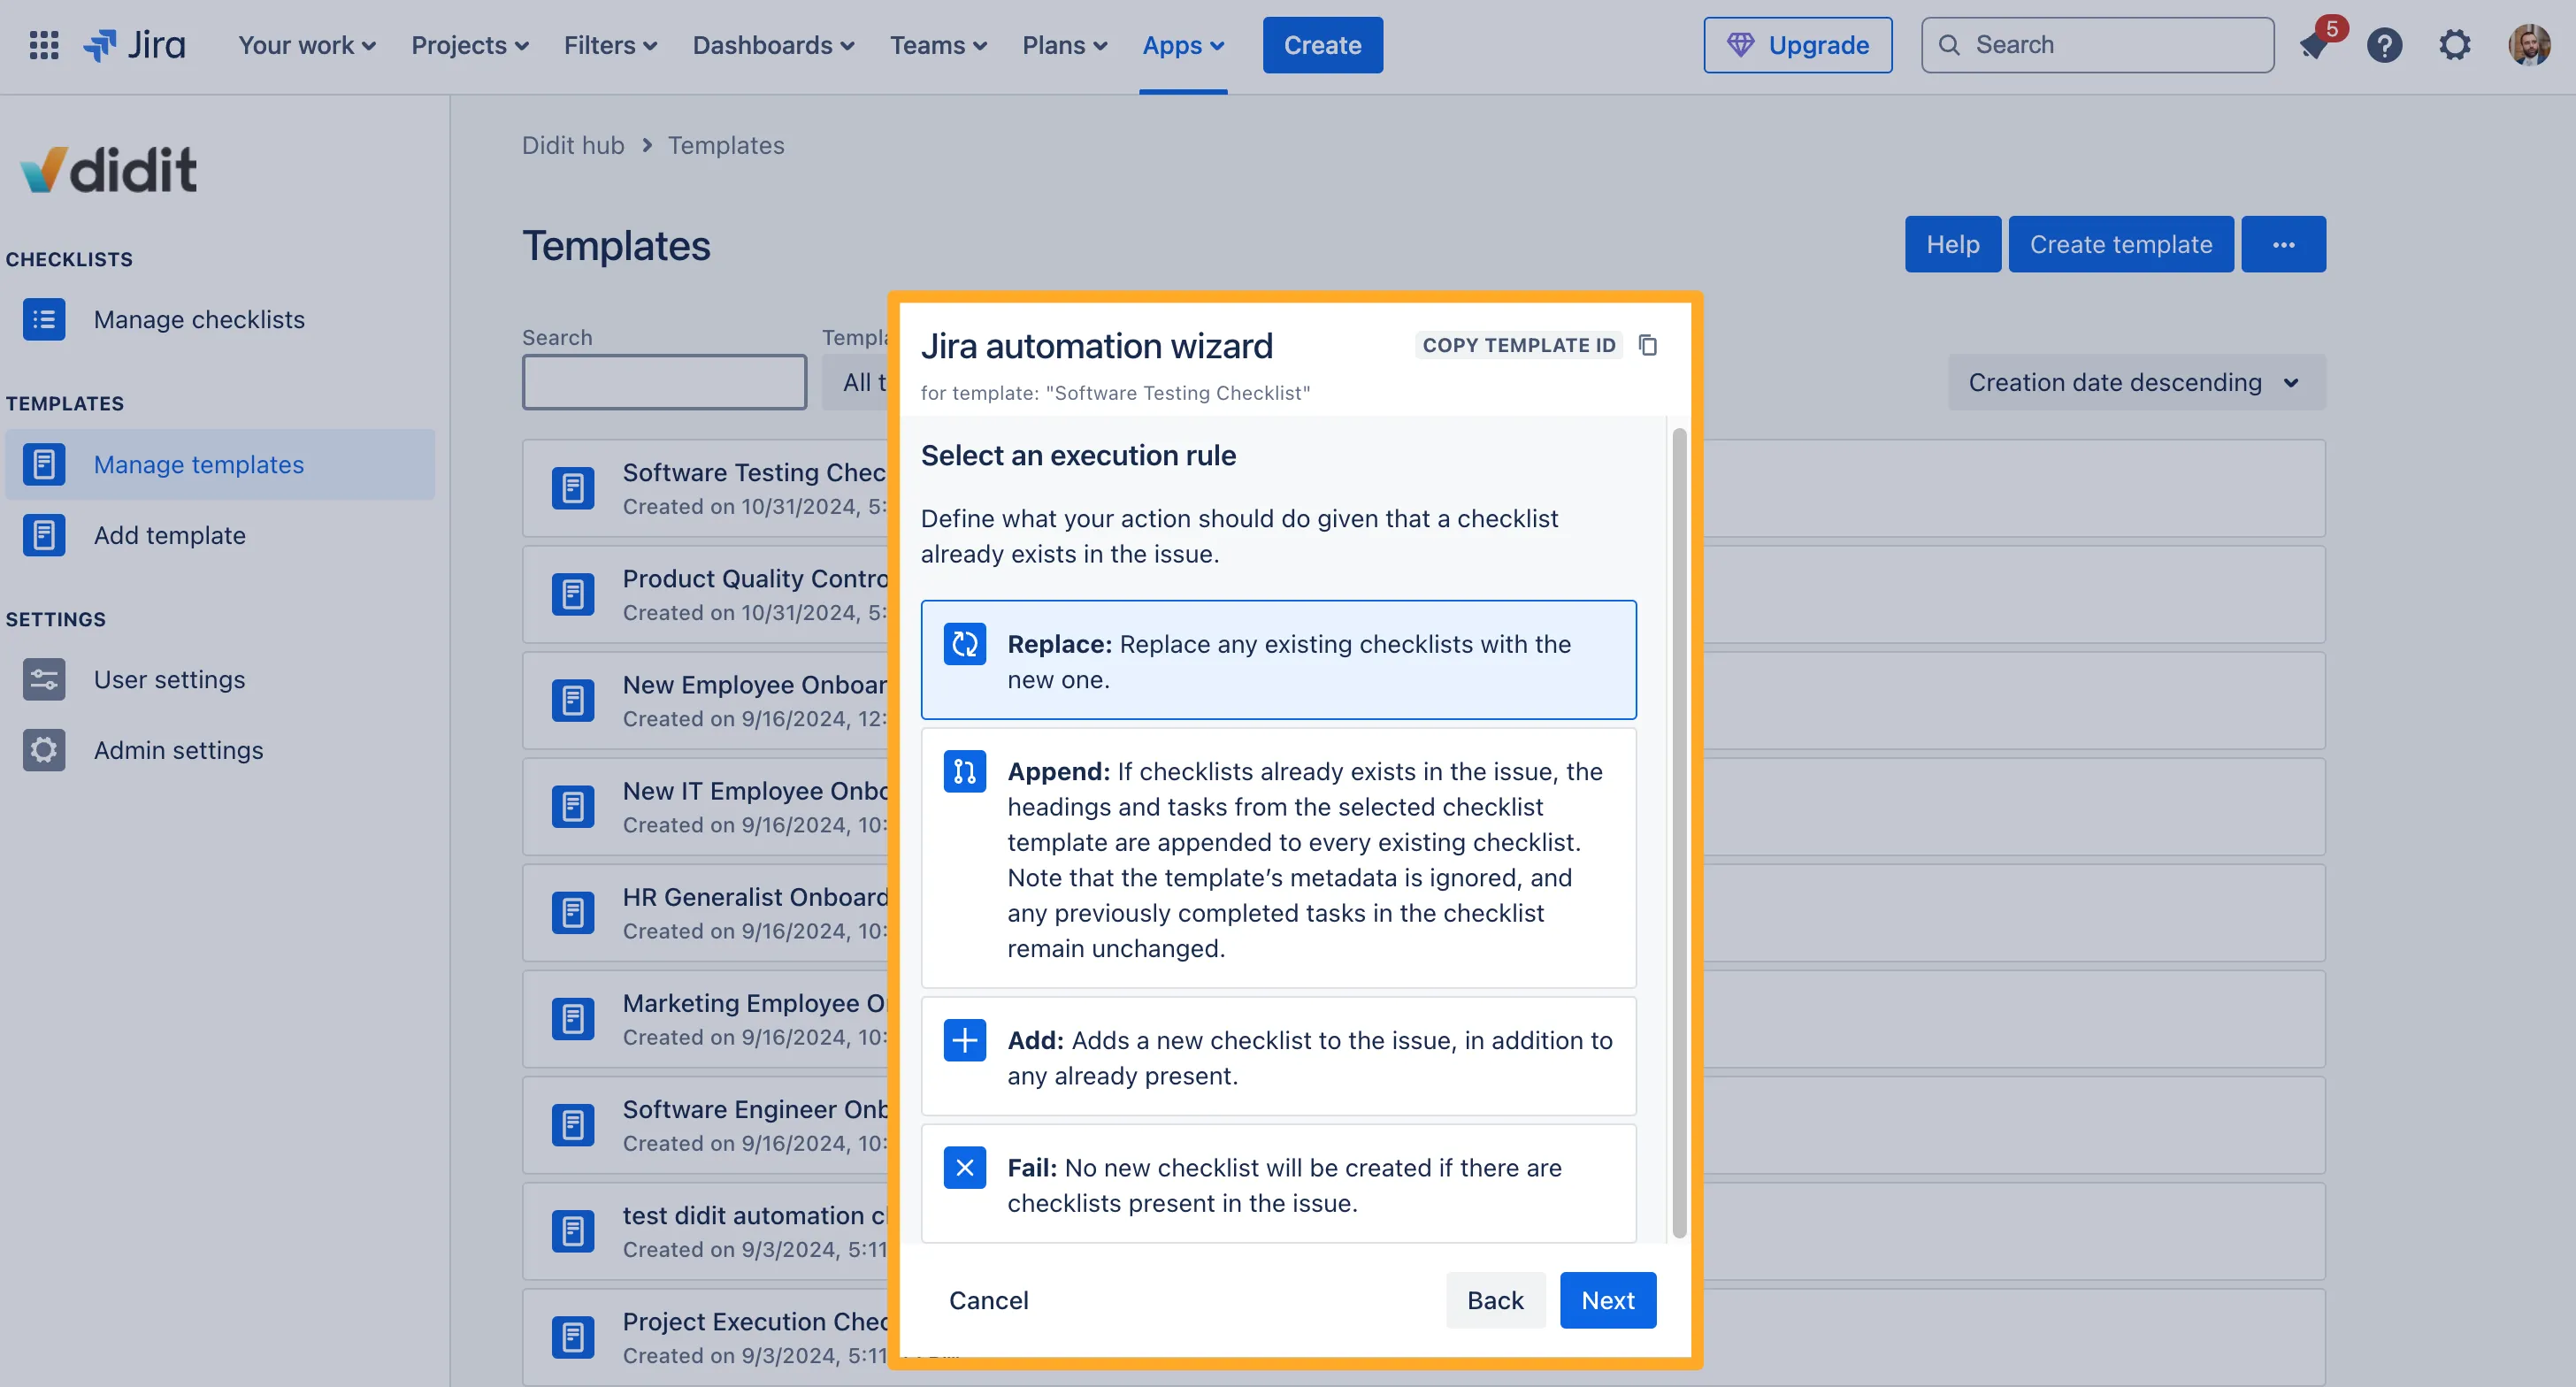
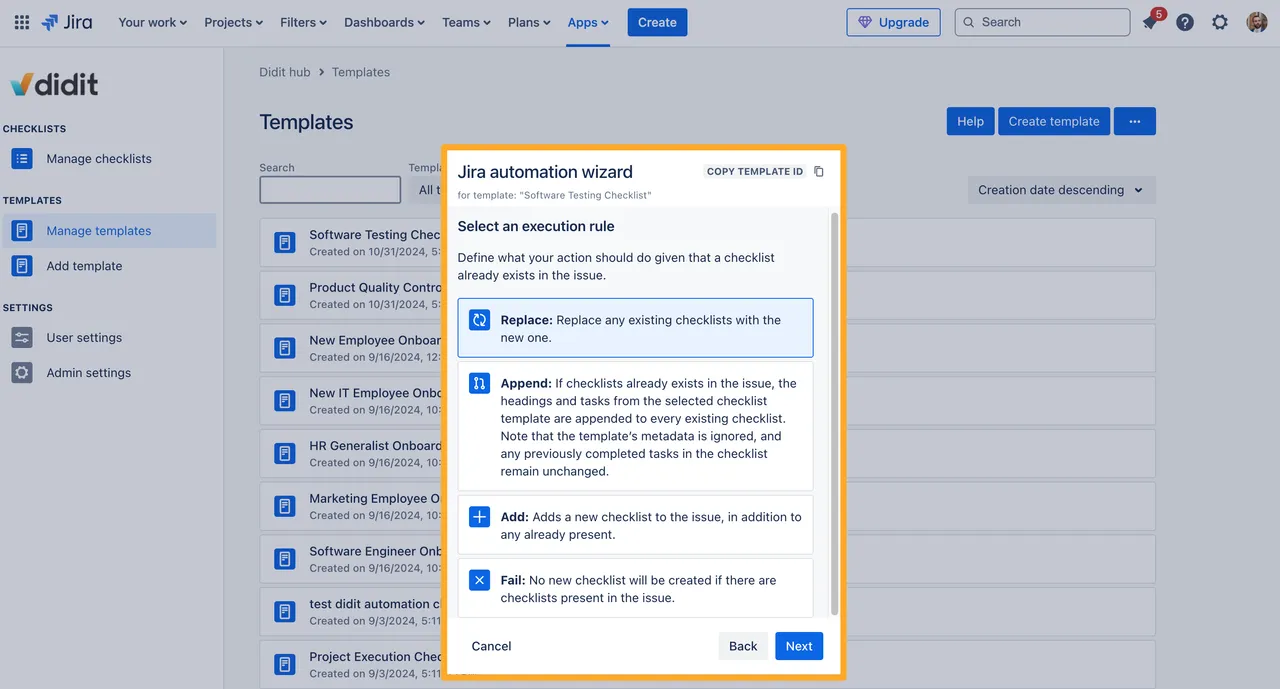
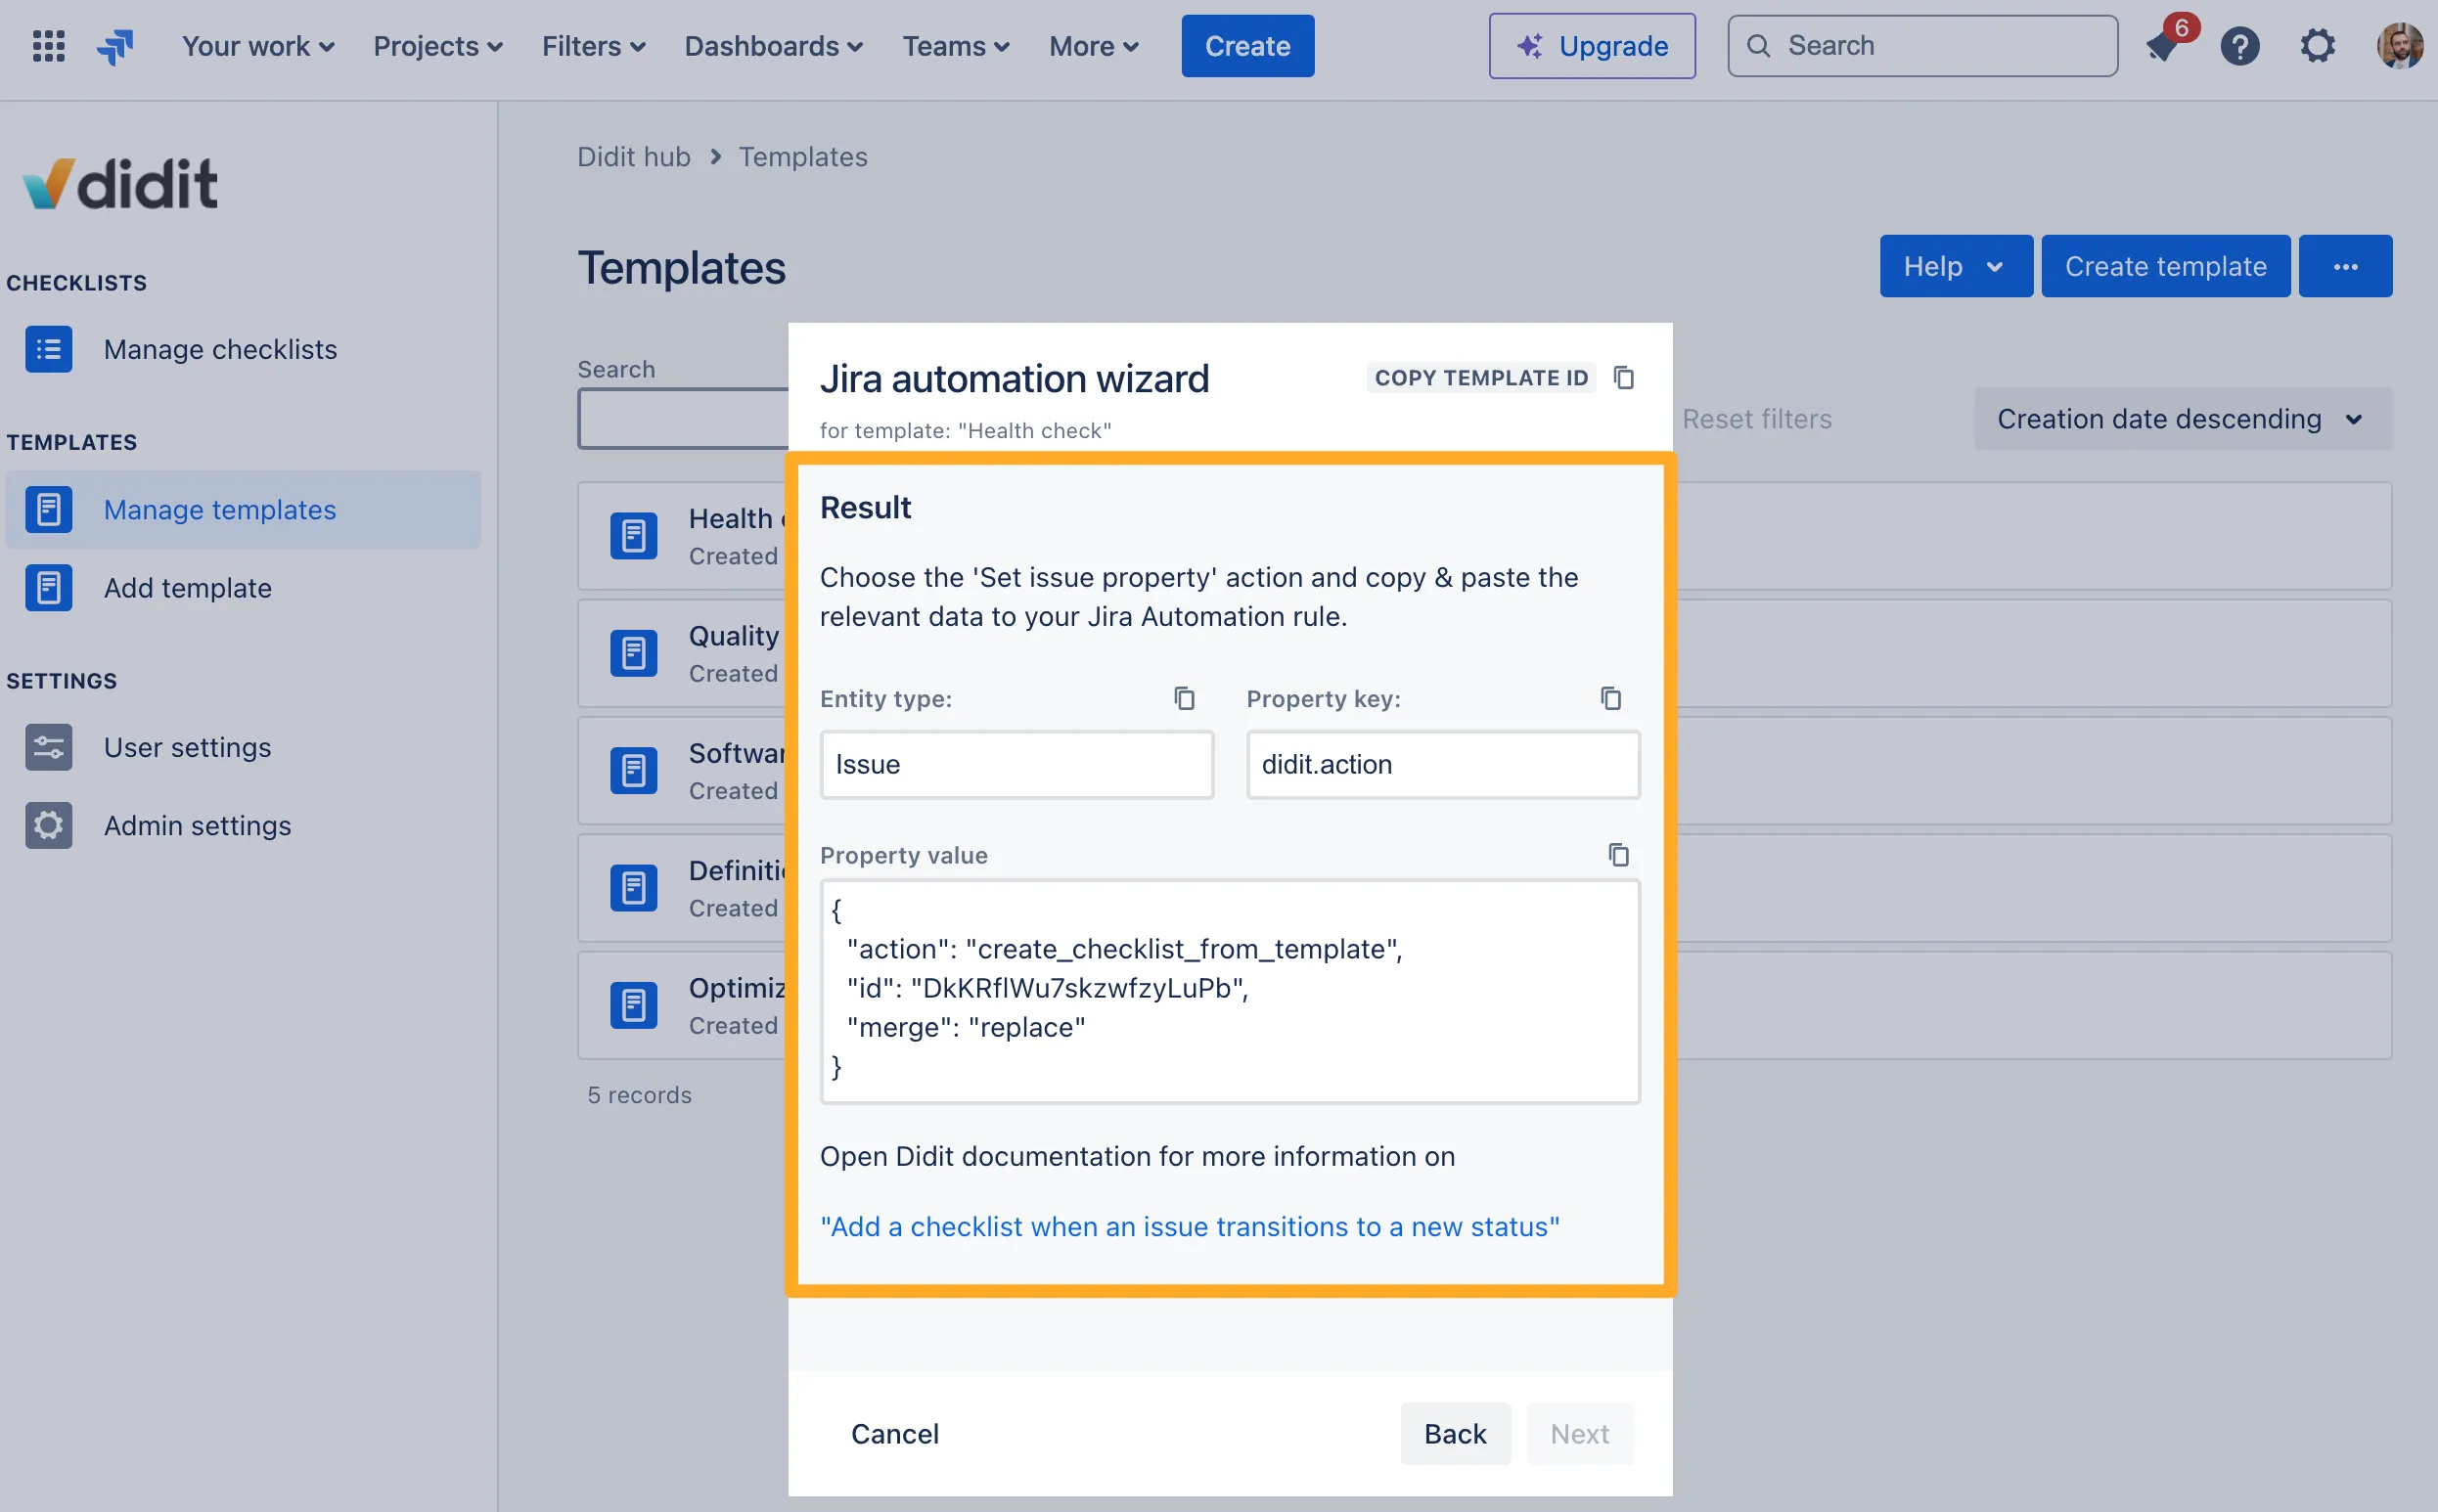
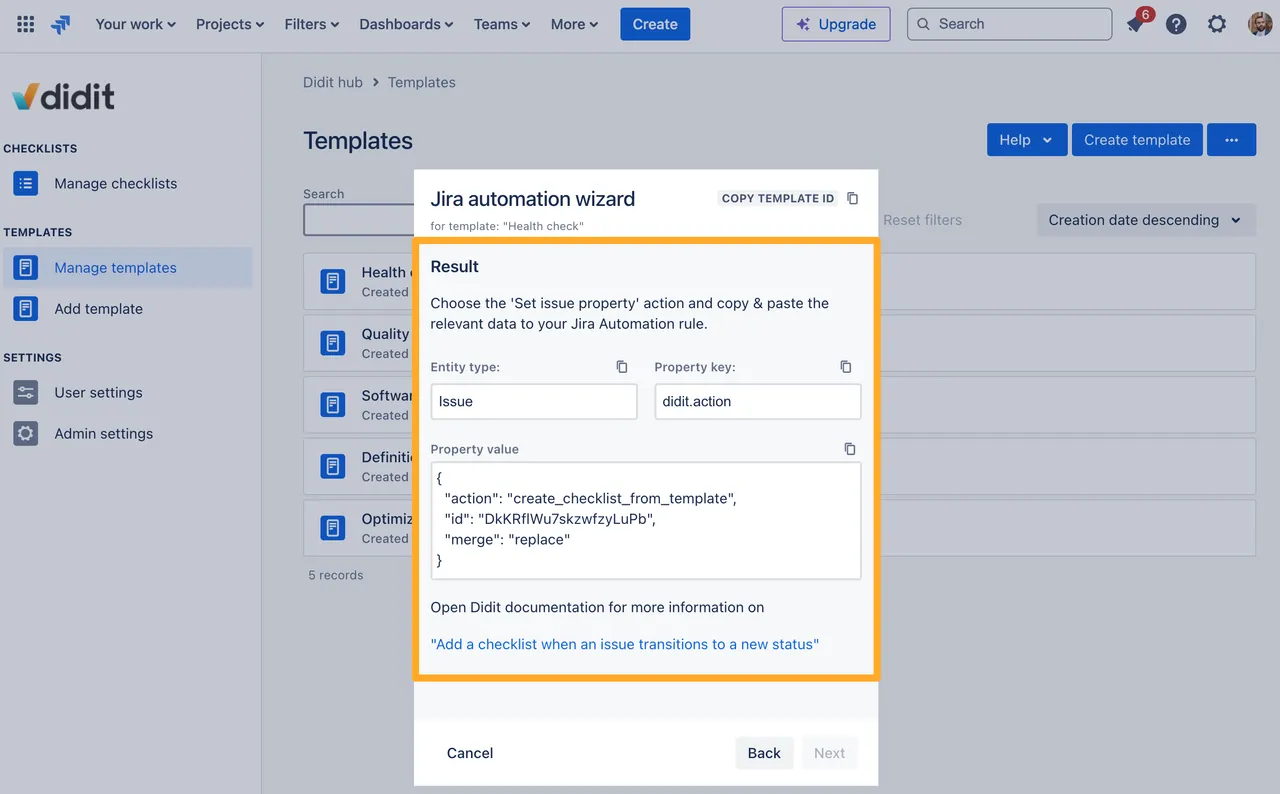
Here we are choosing the action for our checklist create action. We can choose to replace, append, add, or fail the checklist template. Add is especially important if you want to add multiple checklists to one issue. Fail means we won’t add a checklist if one already exists.
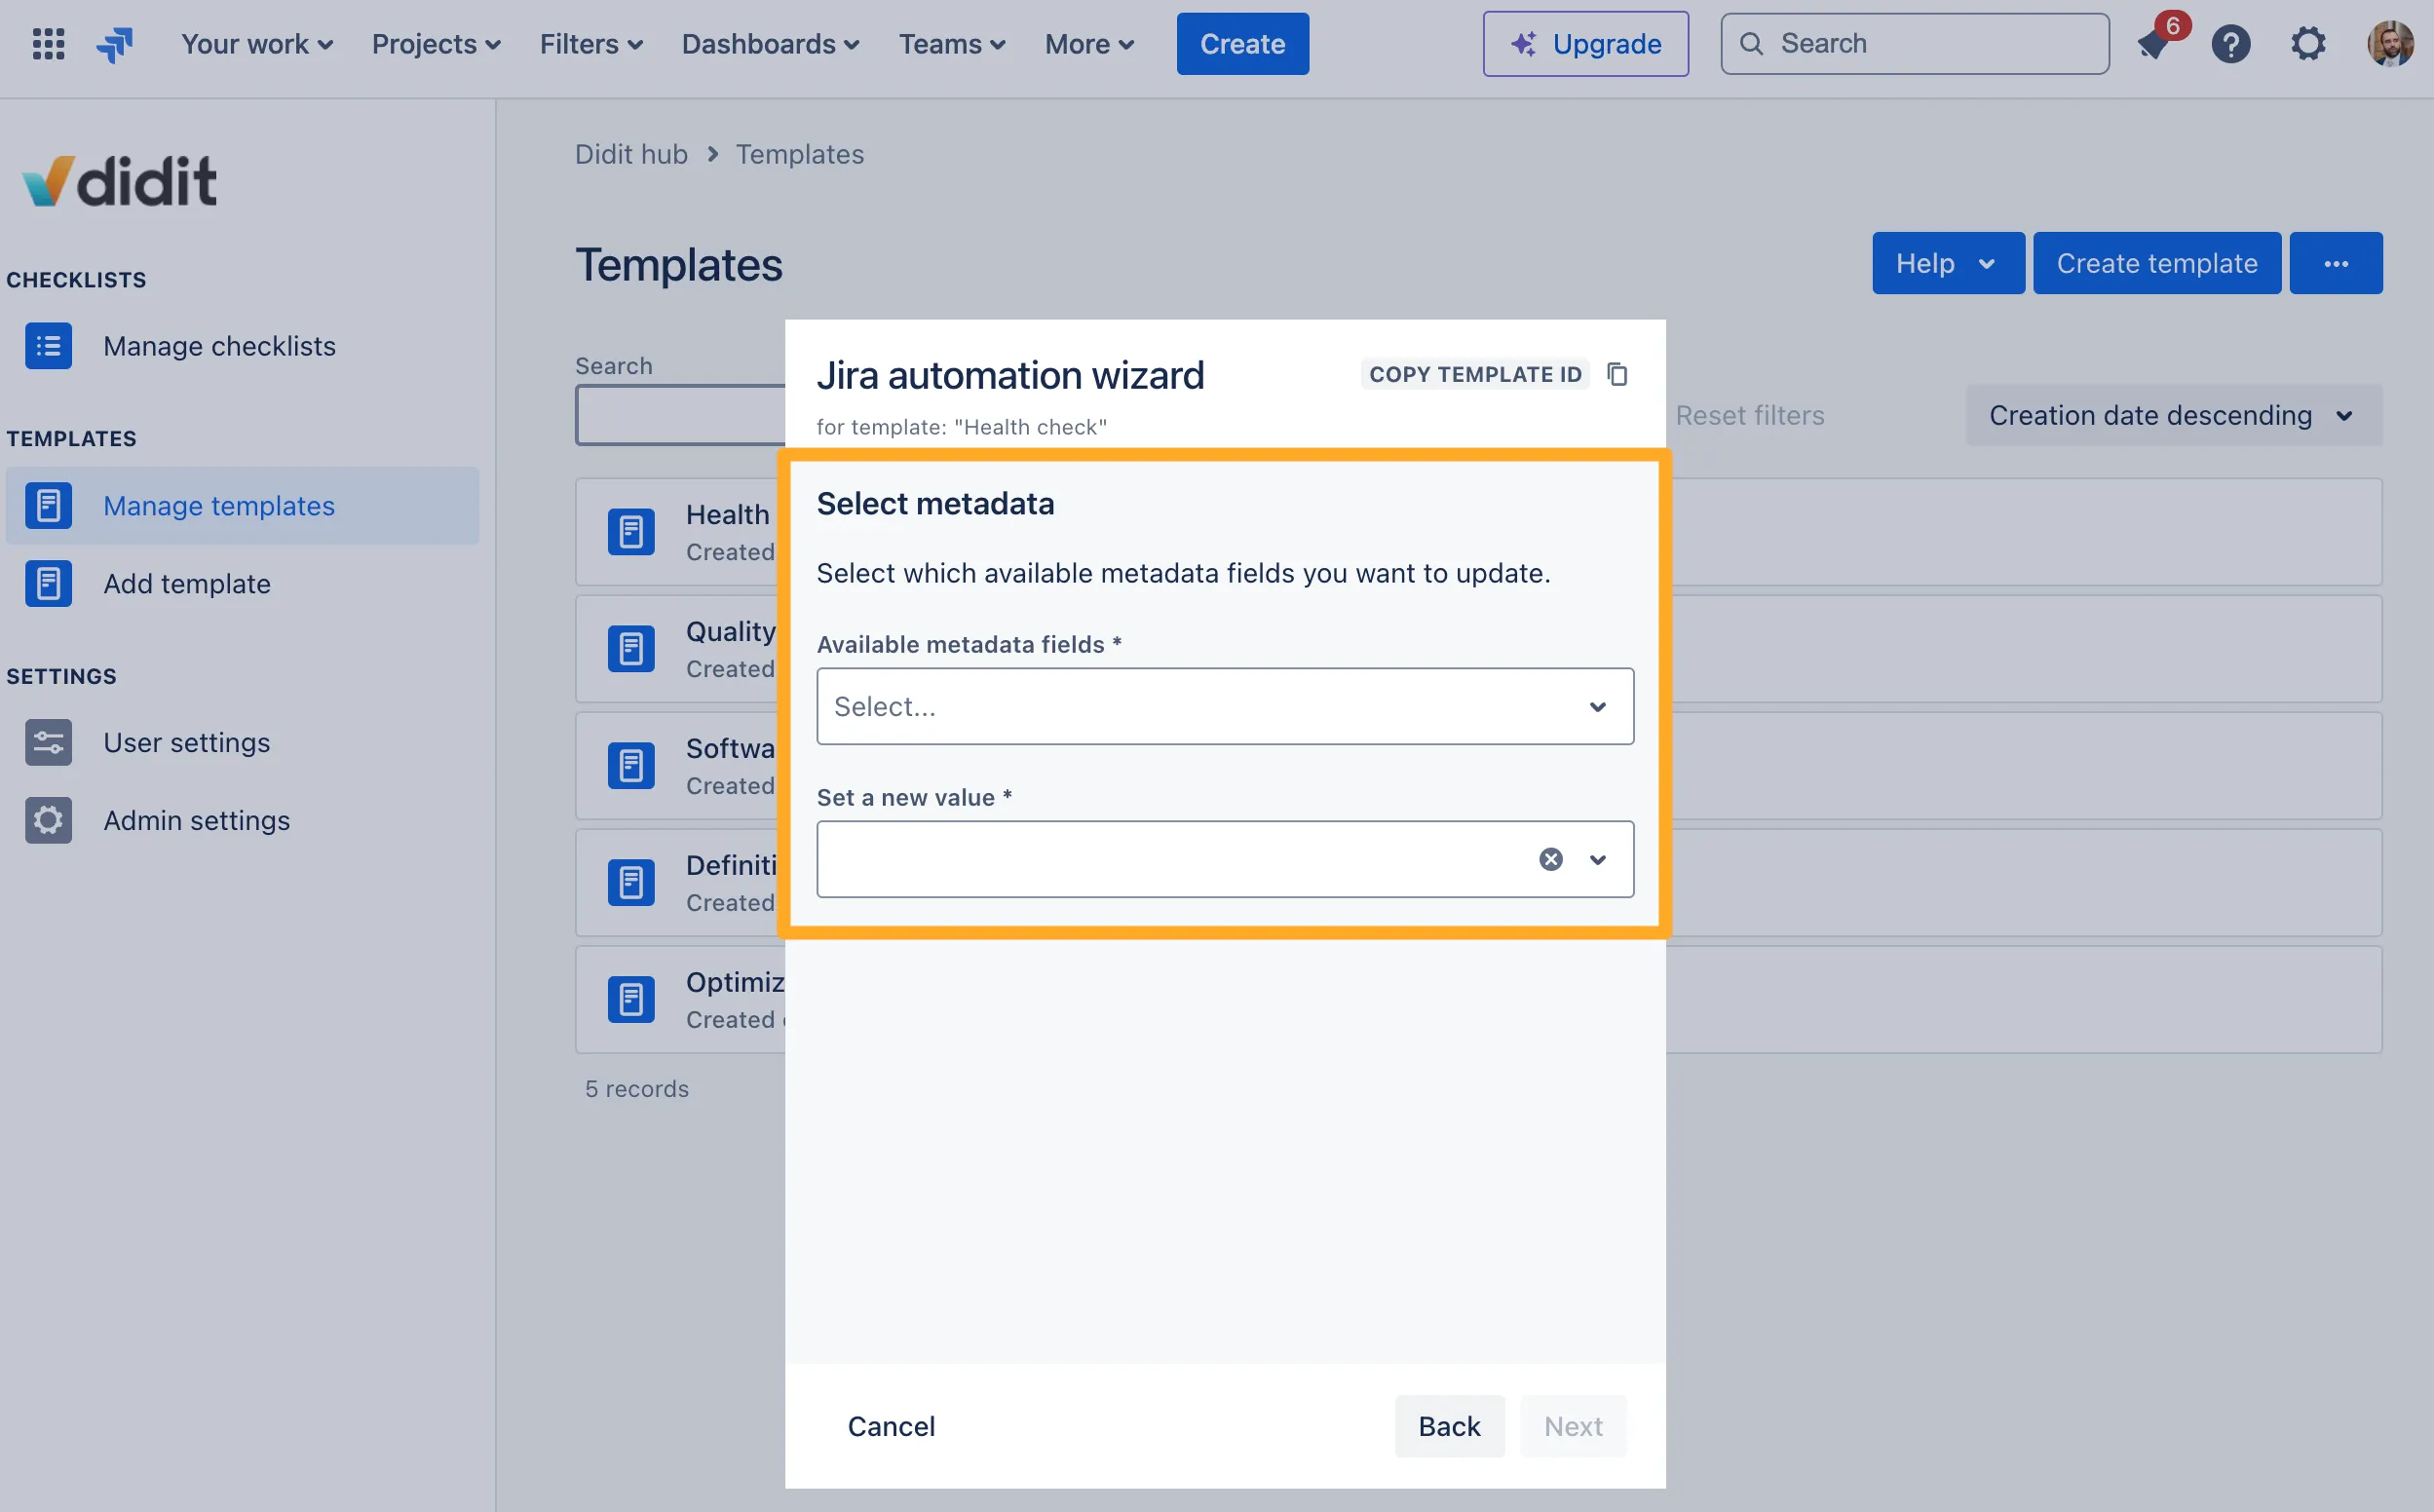
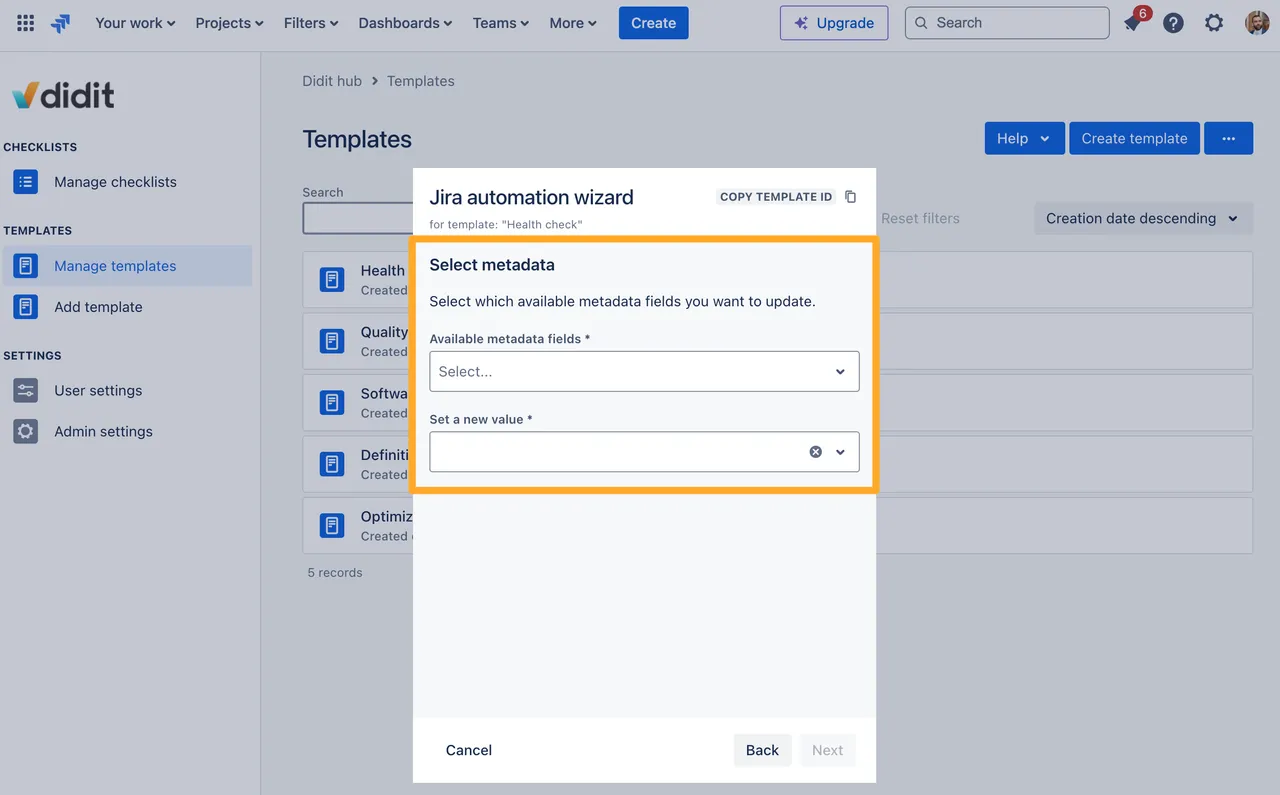
And here we are choosing some information to set metadata
-
Copy the values you need for your automation rule and paste them into the corresponding fields in the set entity. When you are done, you can click “Cancel.”
| Execution Rule | Explanation |
|---|---|
| Replace | Replace any existing checklists with the new one. |
| Append | If checklists already exist in teh issue, the headings and tasks from the selected checklist template are appended to every existing checklist. Note that the template’s metadata is ignored, and any previously completed tasks in the checklist remain unchanged. |
| Add | Adds a new checklist to the issue, in addition to any already present. |
| Fail | No new checklist will be created if there are checklists present in the issue. |
Tutorial
Link to this page: https://seibert.biz/diditautomationwizard