Preparation and background information
This guide will help you with the migration process from Checklists for Jira (Free), Checklists for Jira (Pro), and Checklists for Jira (Enterprise) to Didit Checklists. If you’re in the middle of the process and need help, please reach out to our support team. We also have a live chat for immediate assistance.
Be sure to ready through our preparation steps before migrating. To get right into migrating individual checklists, please check out our dedicated page. To perform a global migration of all checklists in your instance, check out our other dedicated page.
Preparation
Checklists for Jira | Free and Pro installed in the same instance
If you have both Checklists for Jira | Free and Checklists for Jira | Pro installed, we have found that migrating from the free version could cause you to also migrate some data from the Pro version, due to the way the Checklists for Jira app stores data.
Jira administrator permission required for some settings.
In order to migrate individual checklists from Checklists for Jira to Didit, you need to enable a setting that is only visible to Jira administrators. Migrating individual checklists can be done at the user level, while bulk migration also requires Jira administrator permission.
-
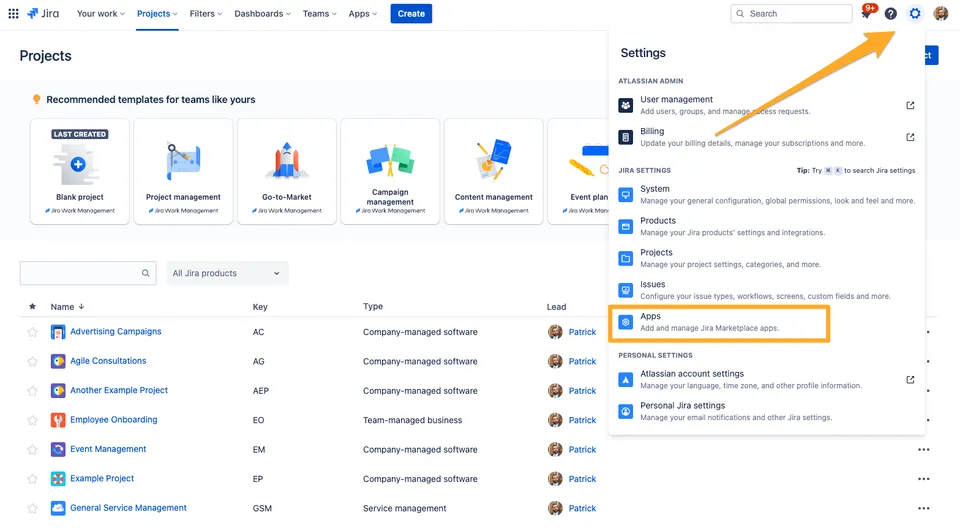
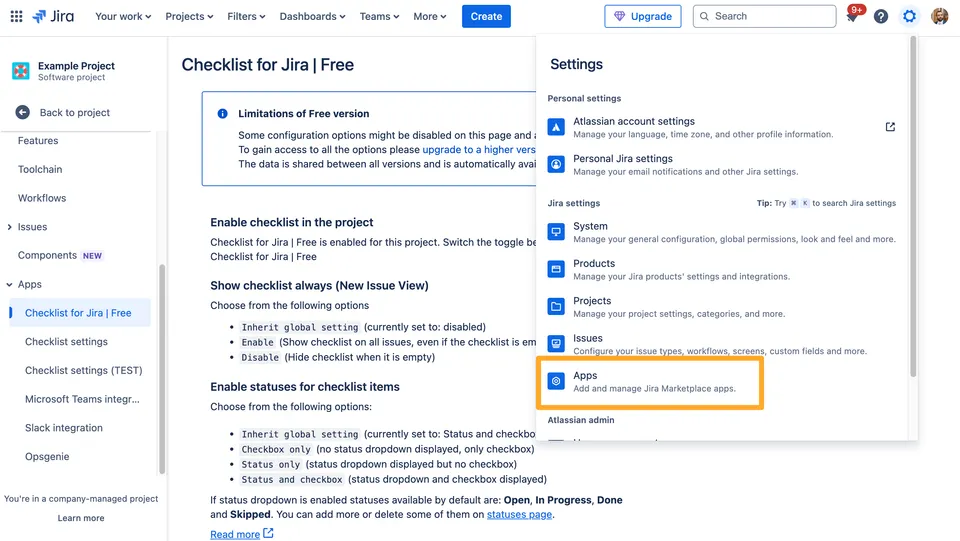
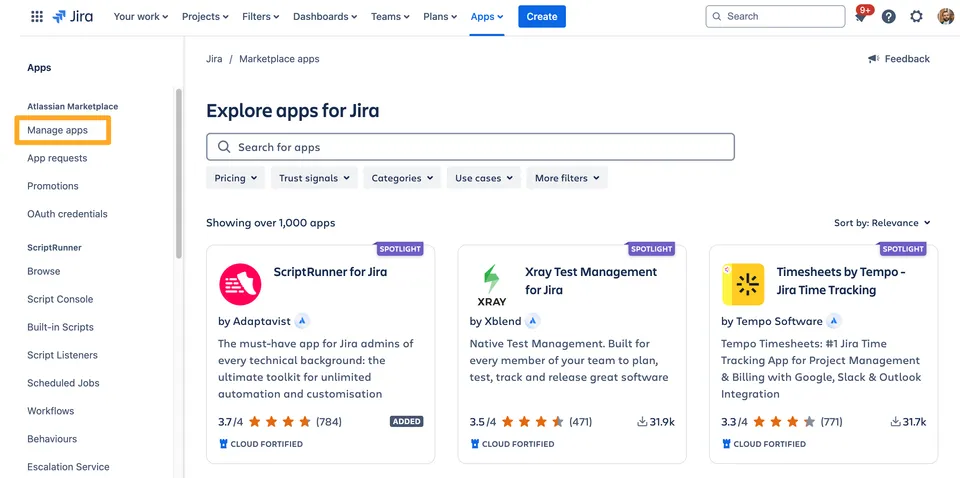
Go to the Jira apps admin section using the gear icon in the top right corner and then click on “Apps.” This is the part that requires Jira administrator permission, if you are not able to see this, please contact you Jira administrator.

-
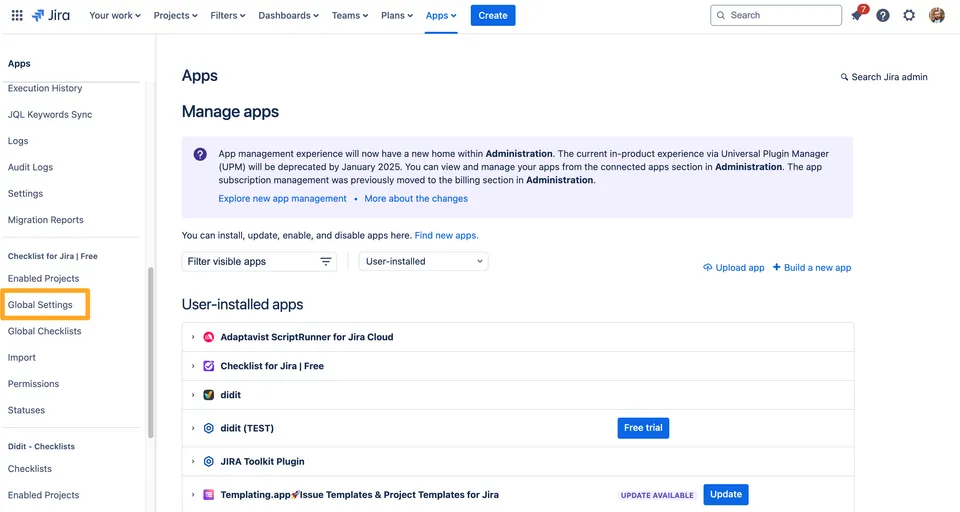
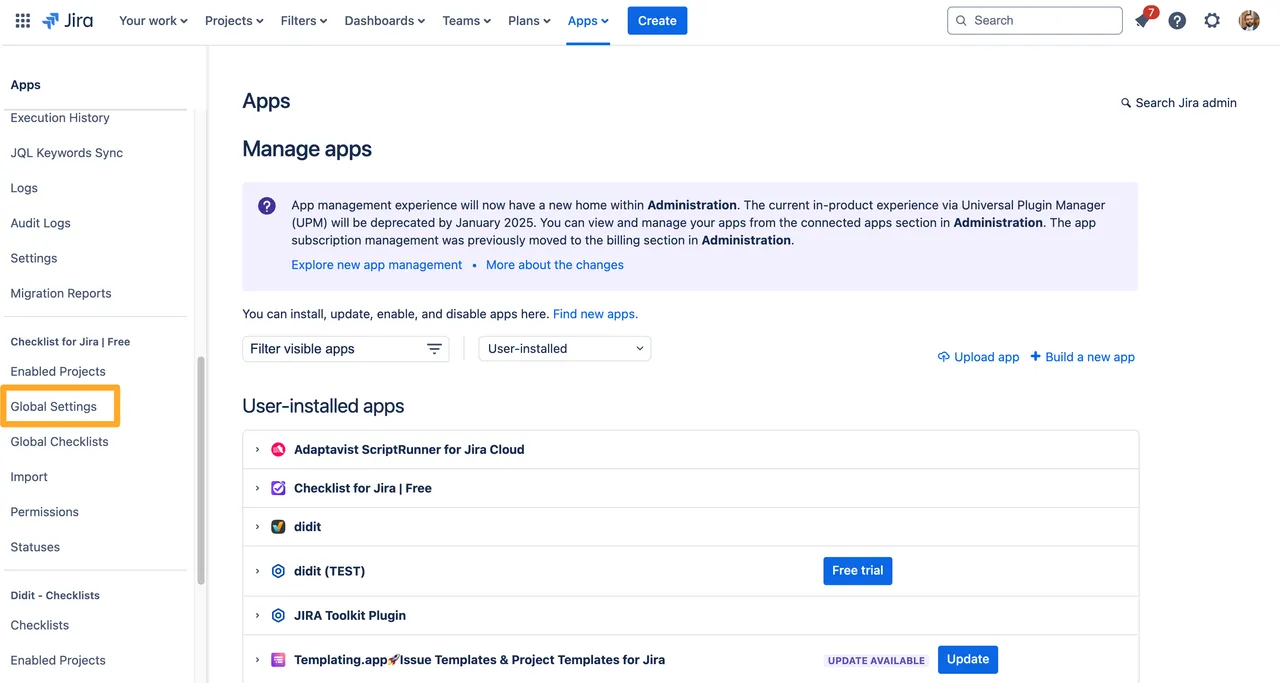
Navigate to “Checklist for Jira” “Global Settings” on the left hand side navigation. The section name will be slightly different depending on which version of Checklists for Jira you have installed. If you have multiple Checklists for Jira versions installed, please enable this setting in version you would like to migrate from.
-
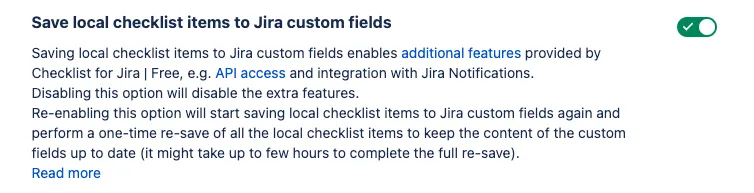
Enable the switch “Save local checklist items to Jira custom fields.” Please note that it can take up to few hours until all custom fields are filled. If the switch is already activated, leave it on.

-
You are ready to convert “Checklist for Jira” to Didit.
Migration scope
Whether you are migrating individual checklists or your entire site, it’s important to first understand all the issues in Jira that have checklists attached. Therefore, we recommend finding all the issues with checklists before migrating globally or individually.
-
Identify your checklists
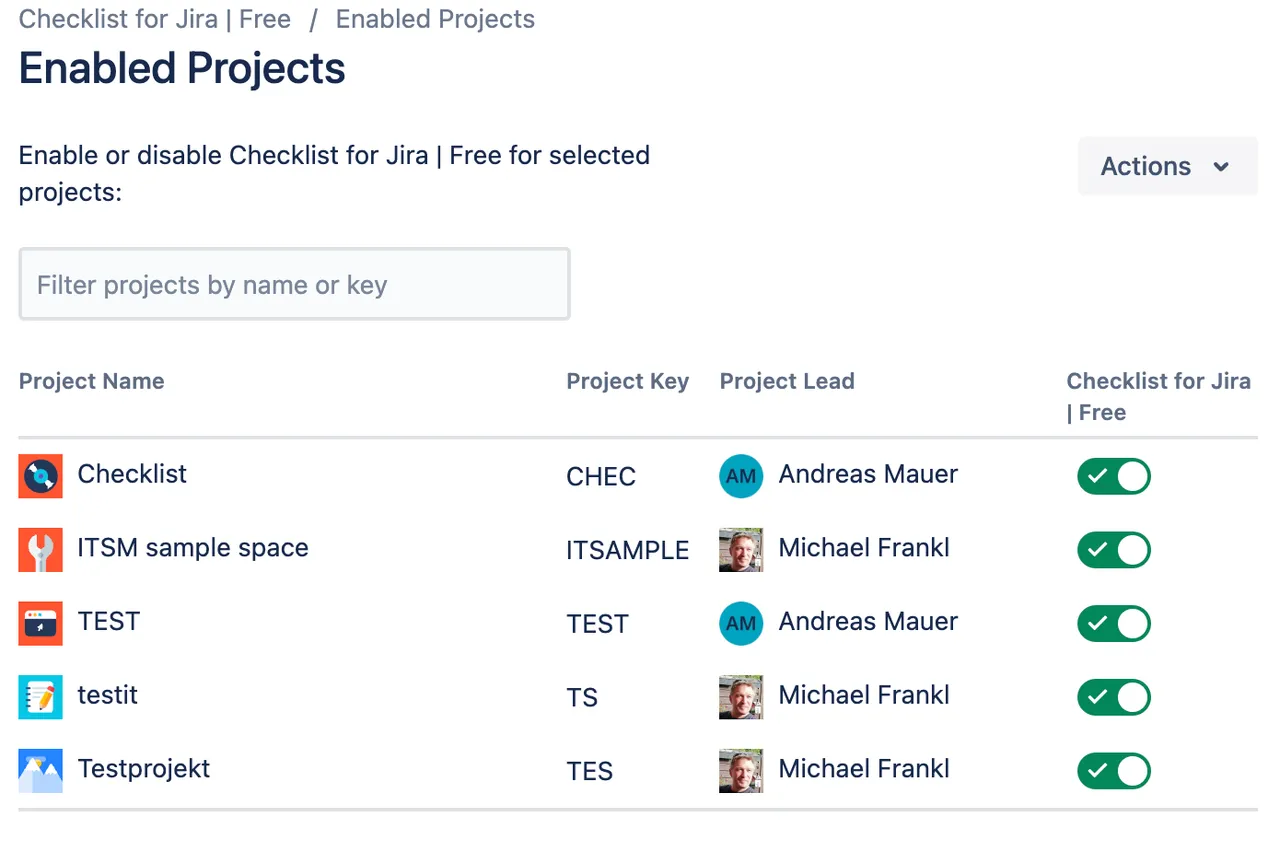
Find all relevant checklists in your Jira instance. A good first step is to identify all projects that use checklists. You can find them in the Jira administration under
Checklist for Jira>Enabled Projects. The same “Enabled Projects” setting is available no matter what version you are on.
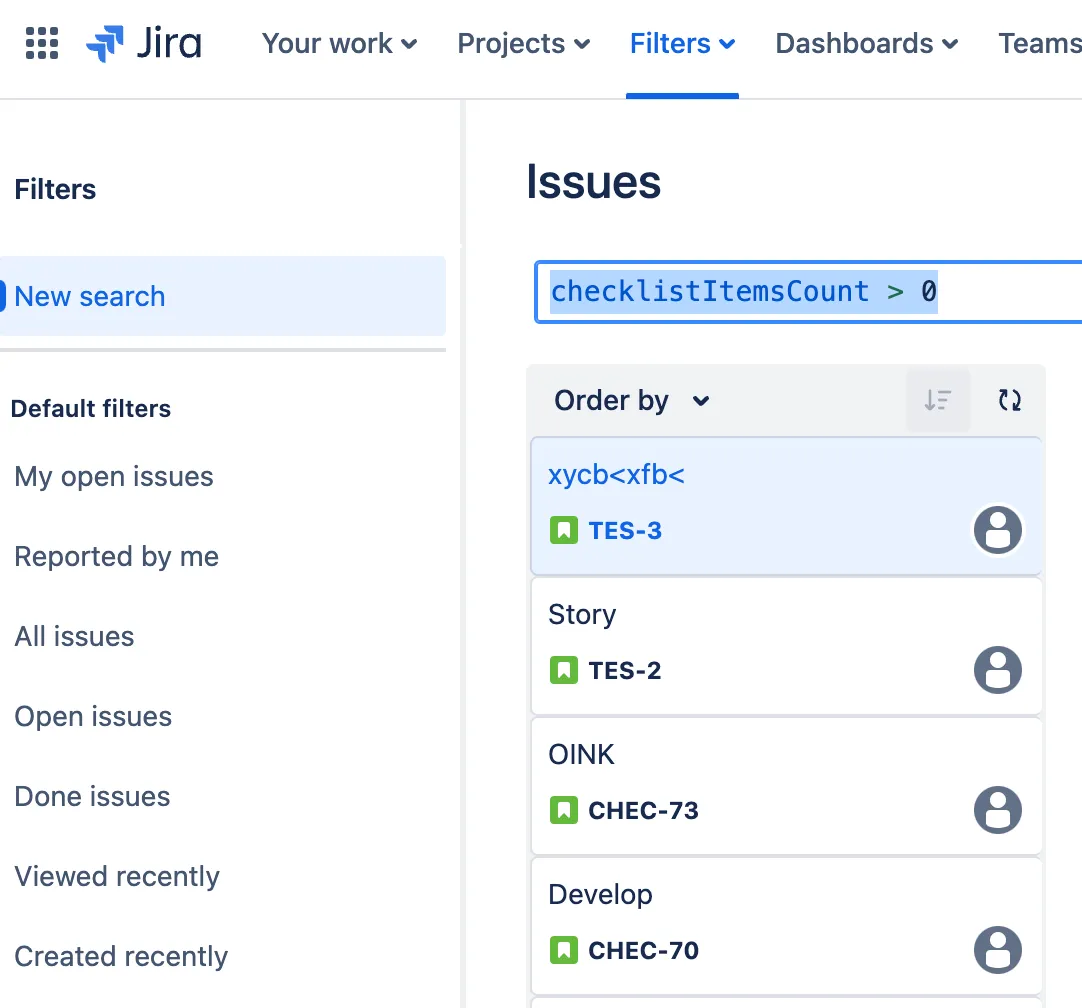
You can find all issues with checklists in the Jira issue search. You can copy this query and paste it into the Jira issue search:
checklistItemsCount > 0. If you add your own subdomain this web address should work as well:https://INSERTYOURDOMAIN.atlassian.net/issues/?jql=checklistItemsCount%20%3E%200
Team-managed projects
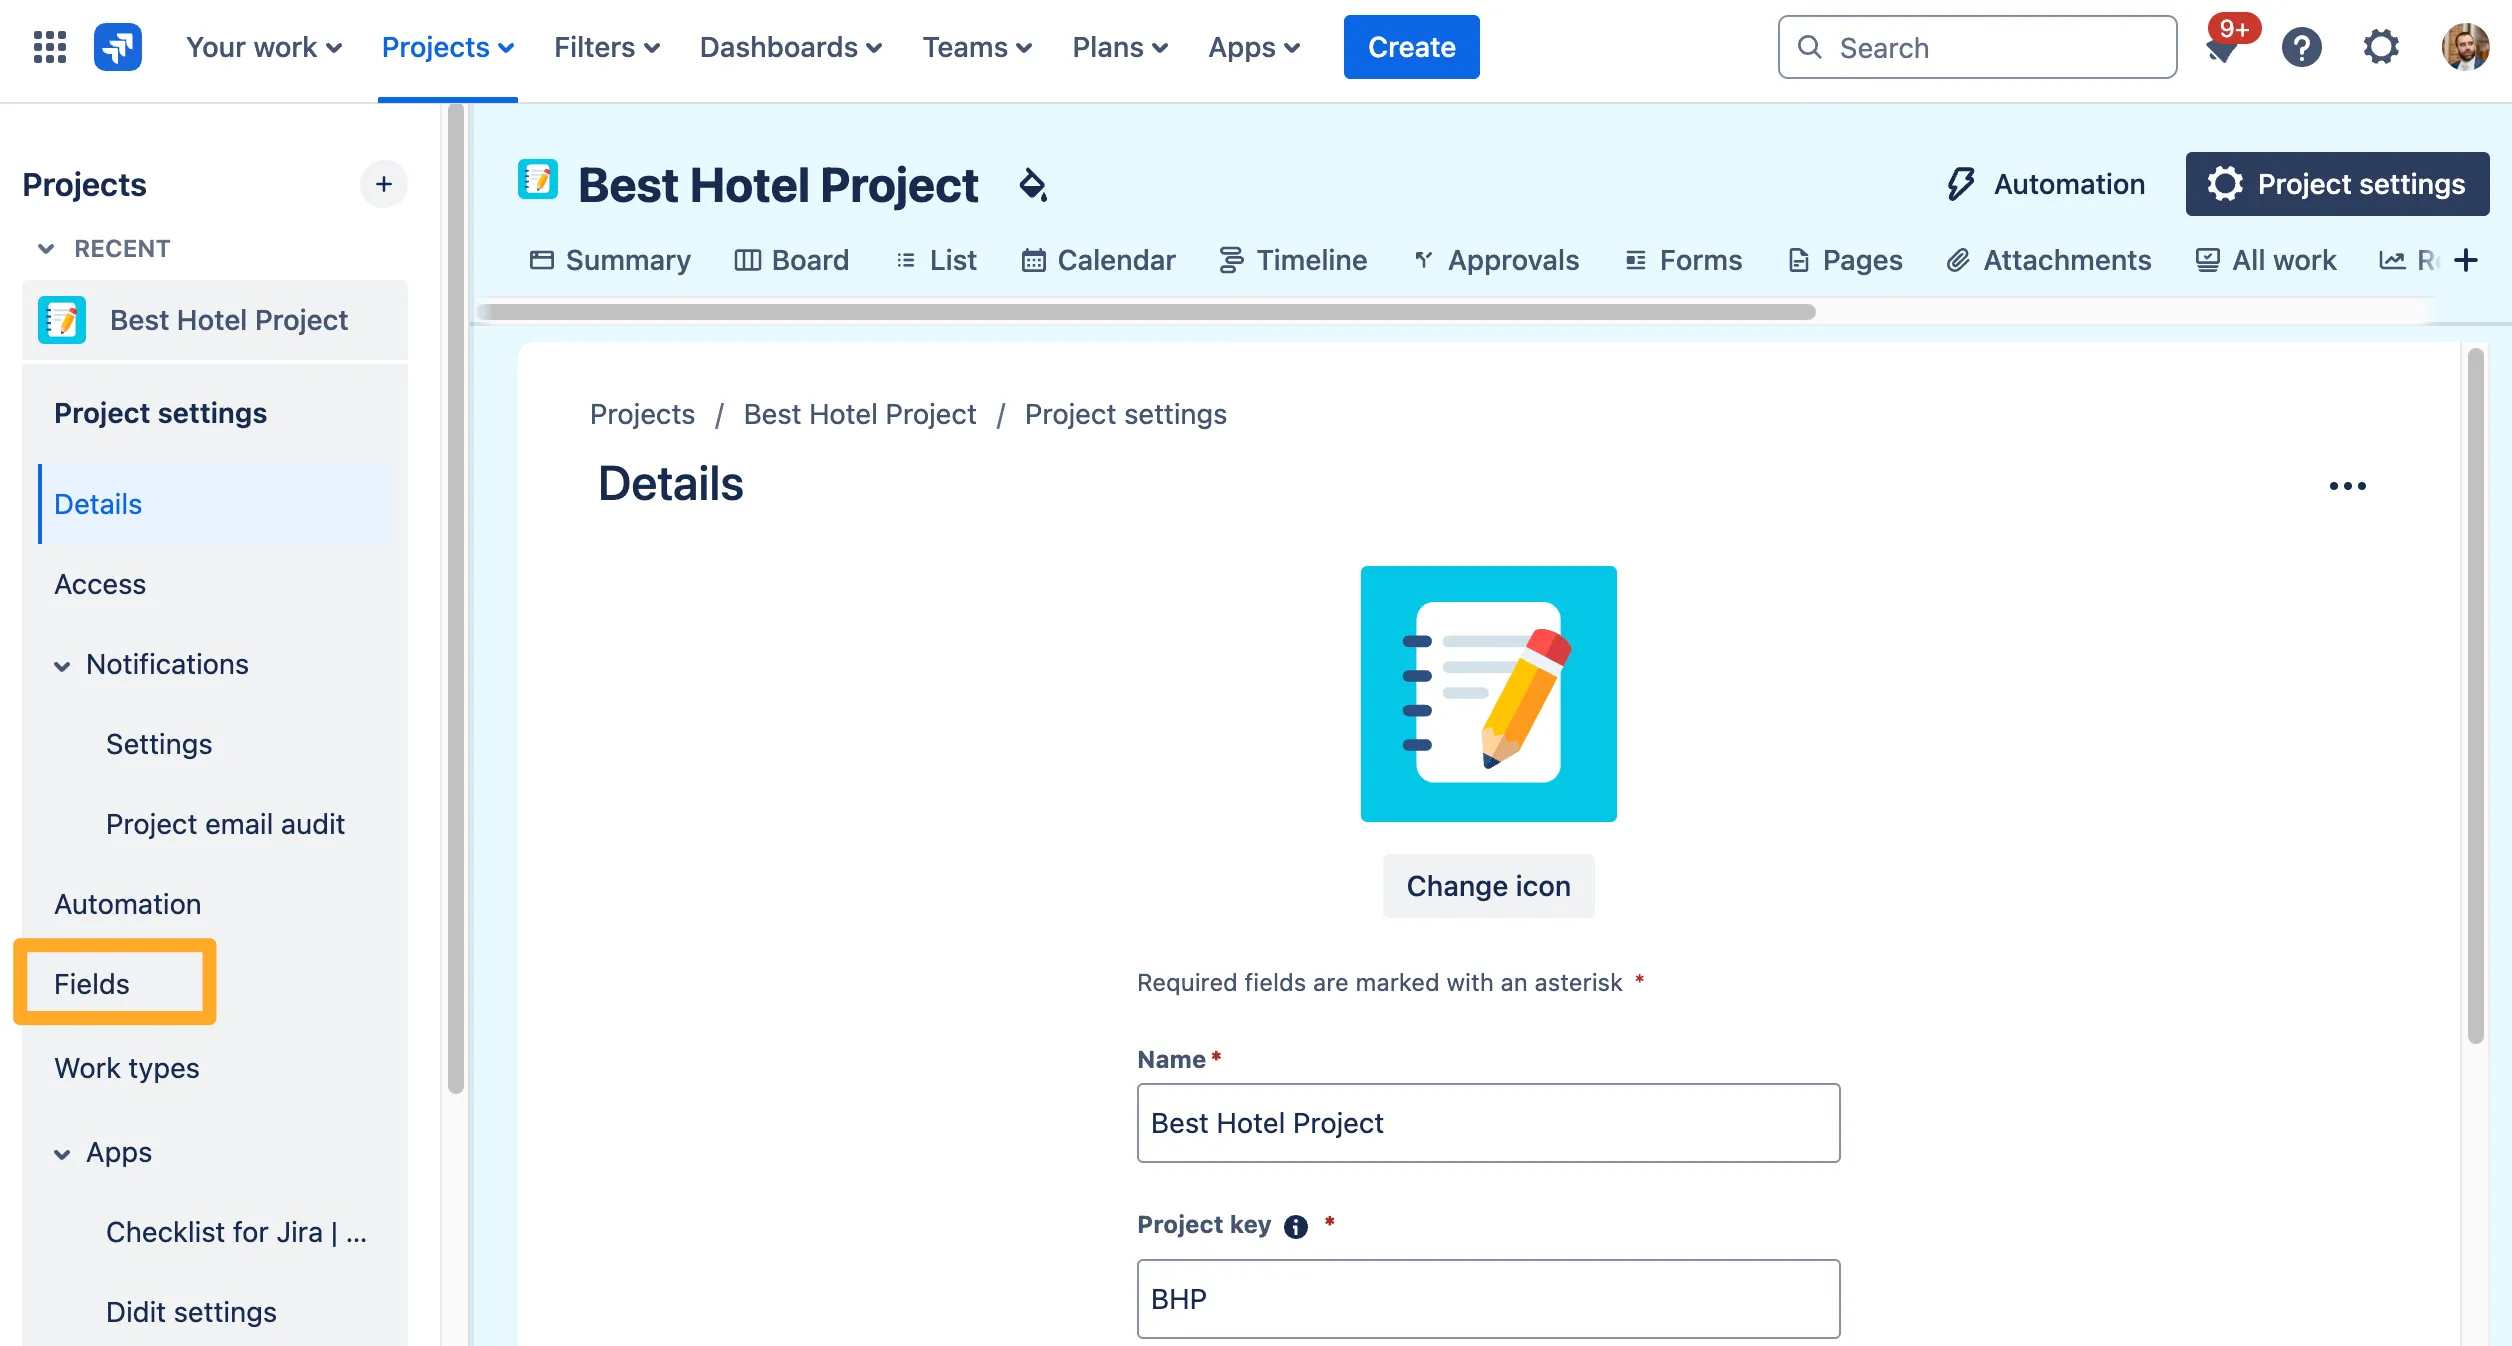
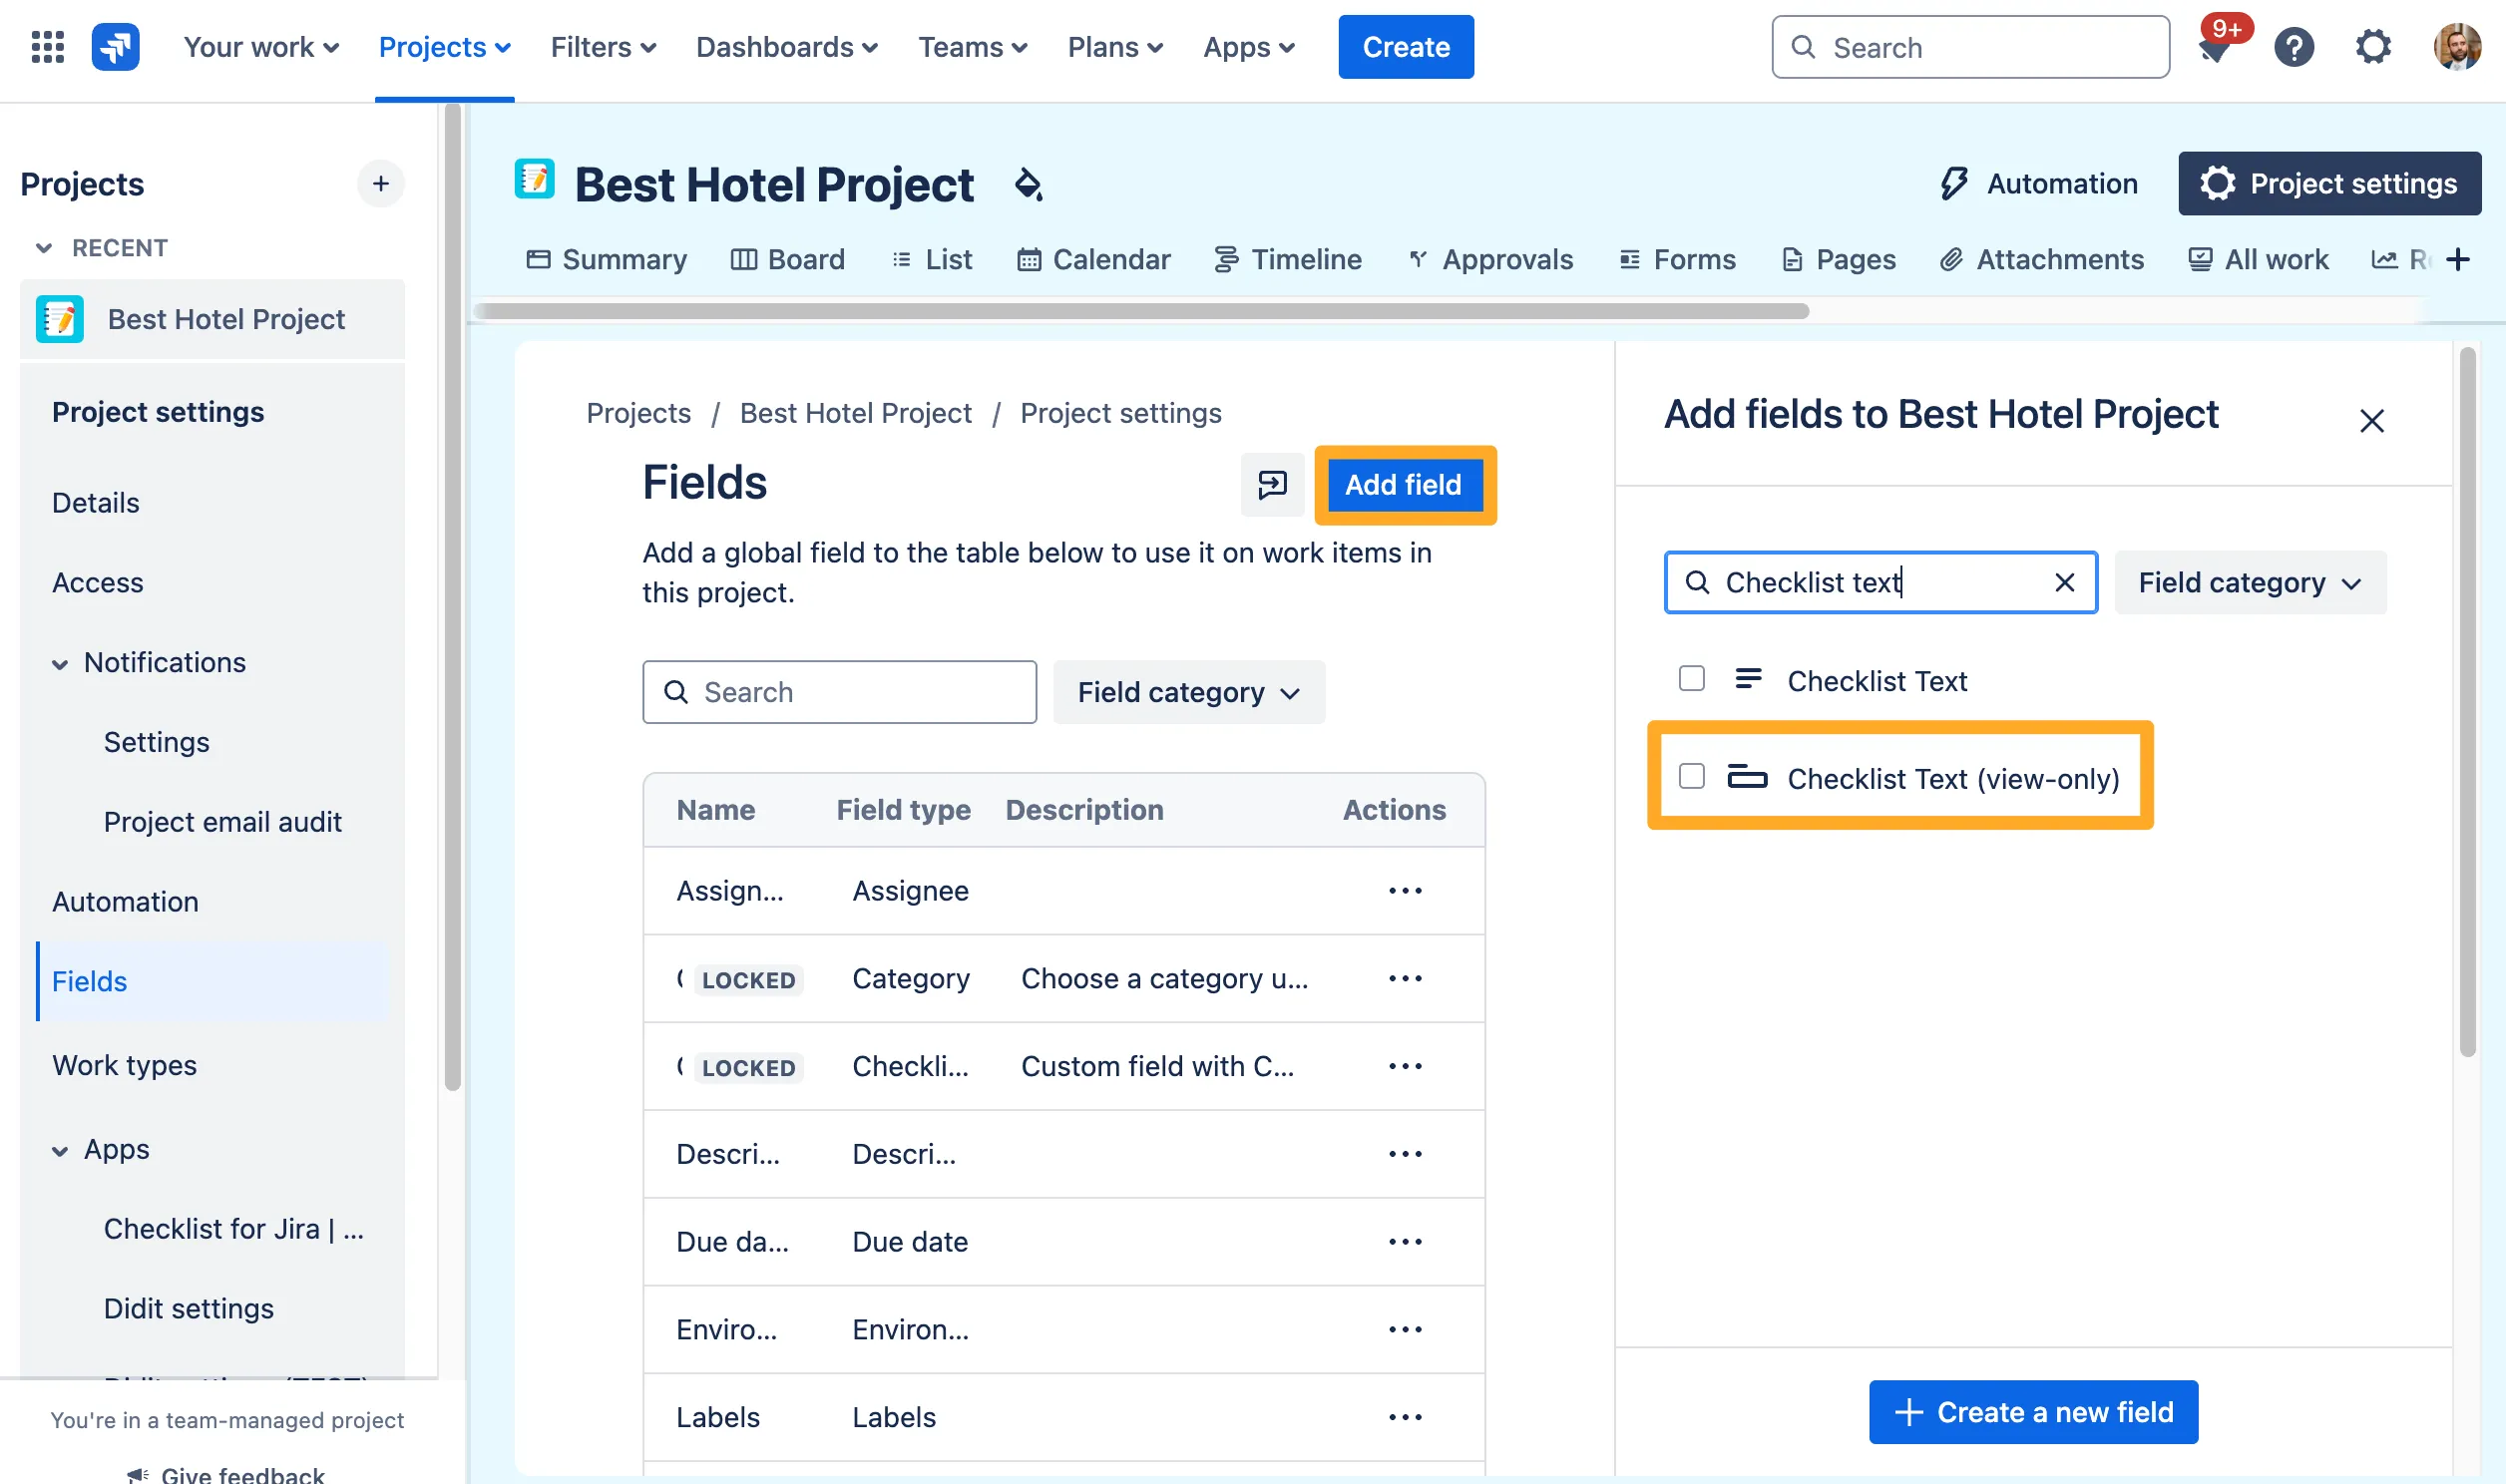
If you want to migrate checklists that are in team-managed projects, you will need to ensure the “Checklist Text (view-only)” field is added to the “Fields” settings of the project before you initiate an individual or global migration. Use the following steps to add the field.
-
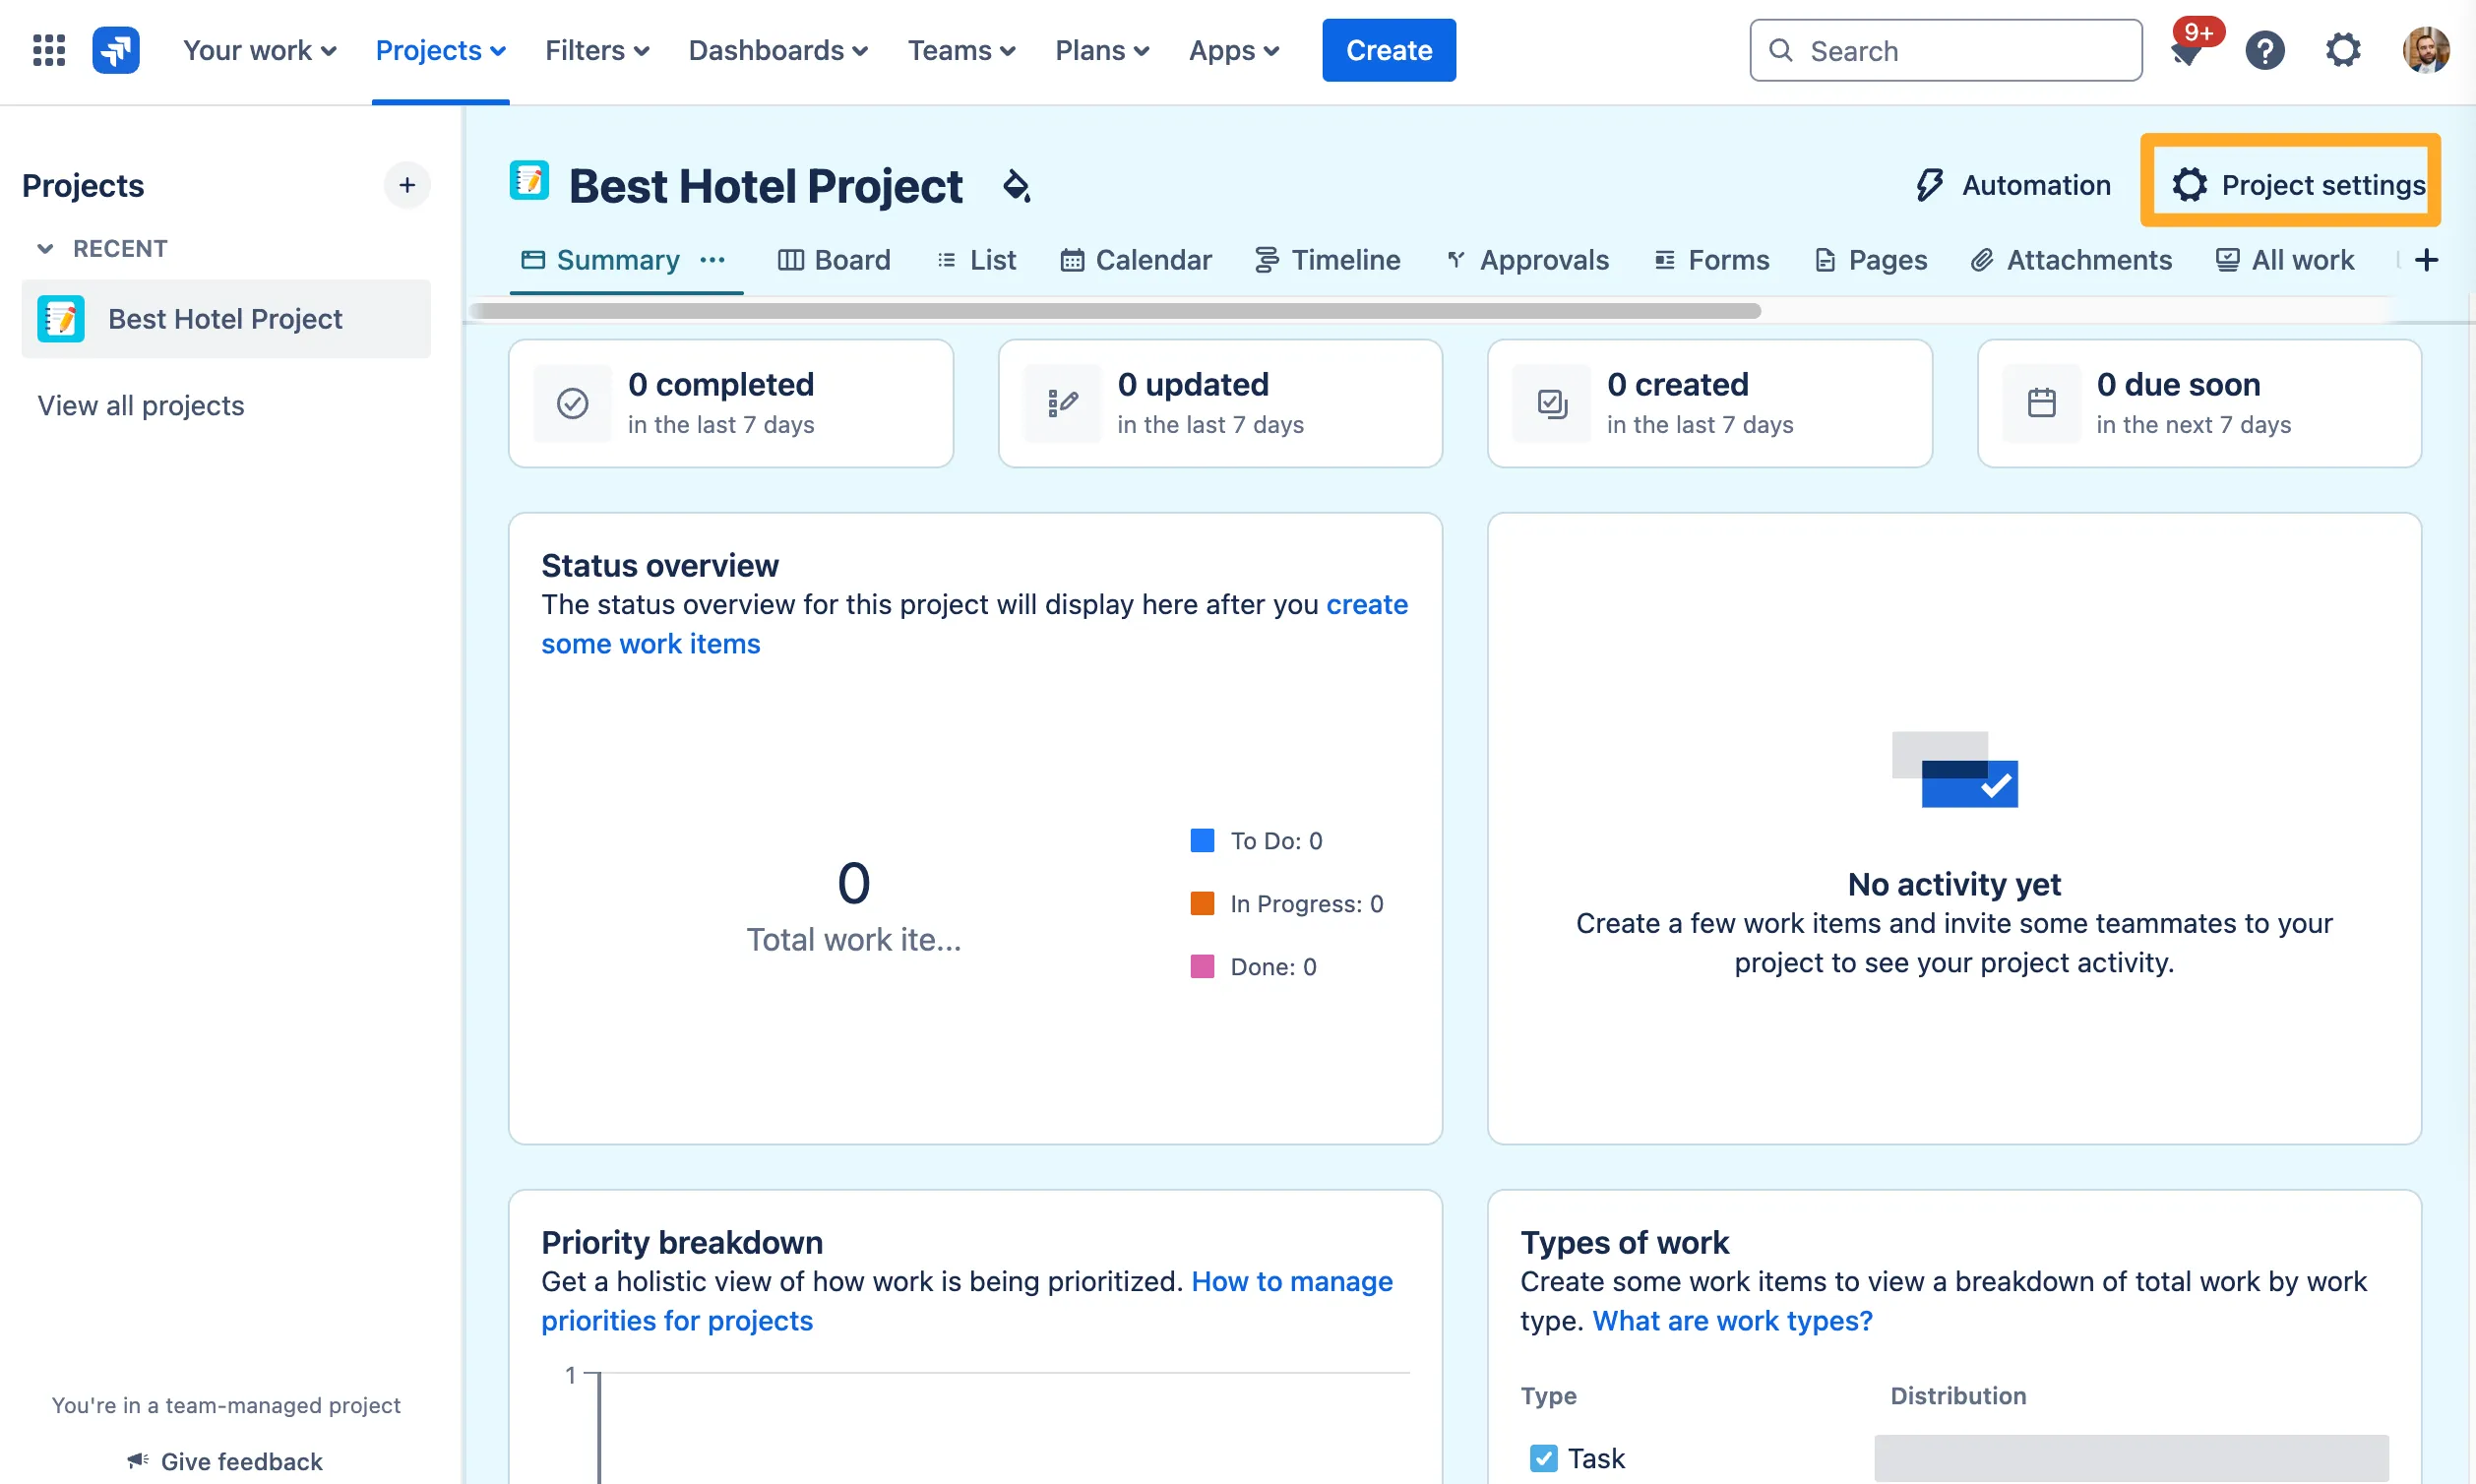
Navigate to the project settings of the project you would like to migrate.

-
Choose “Fields.”

-
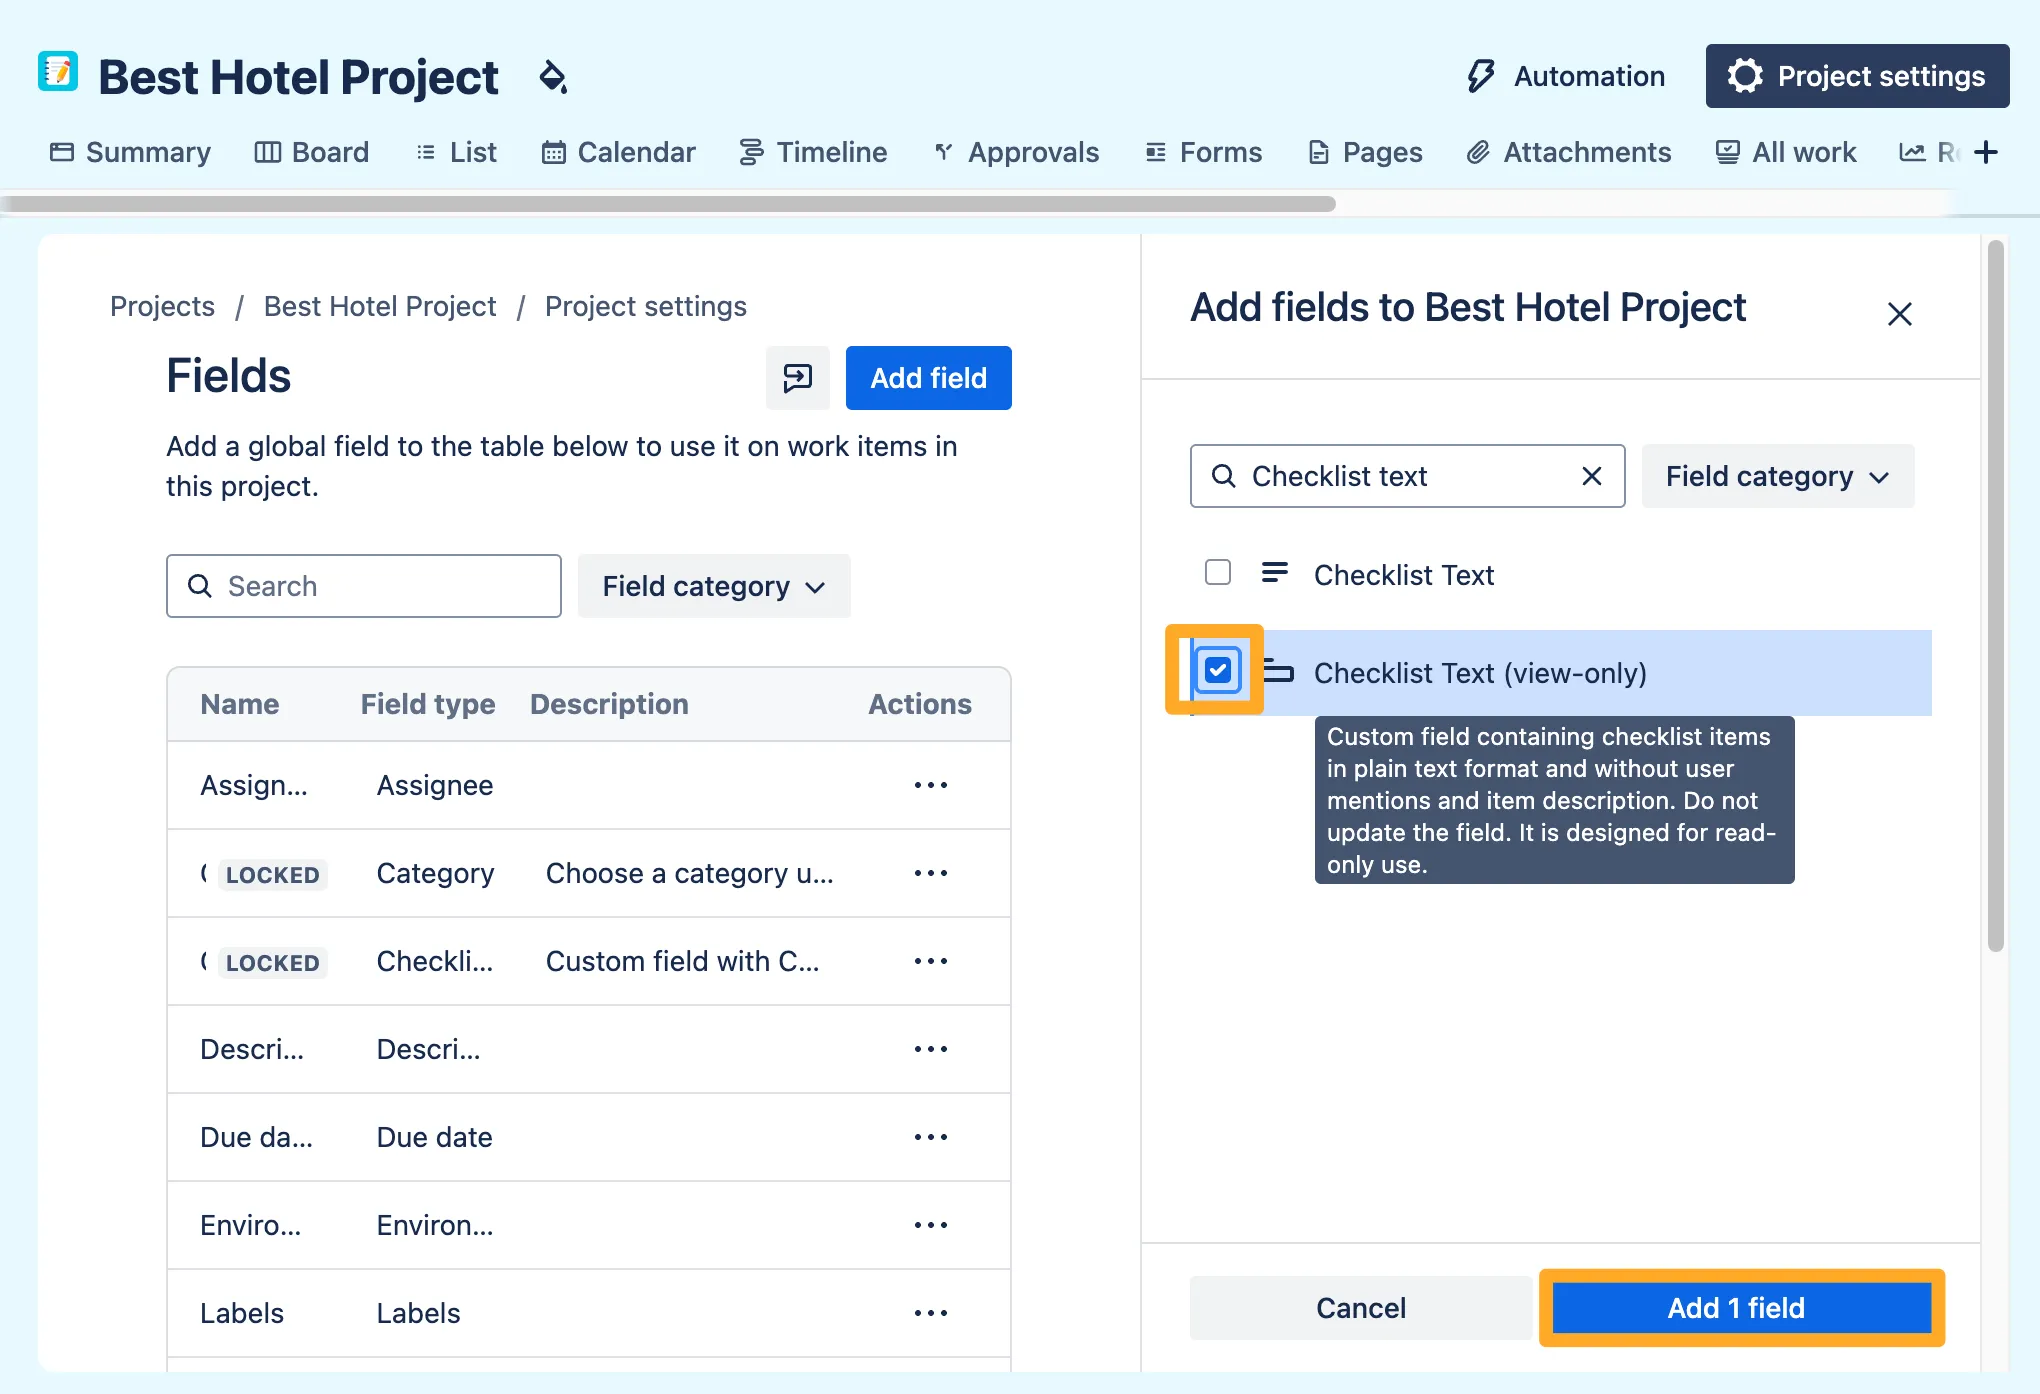
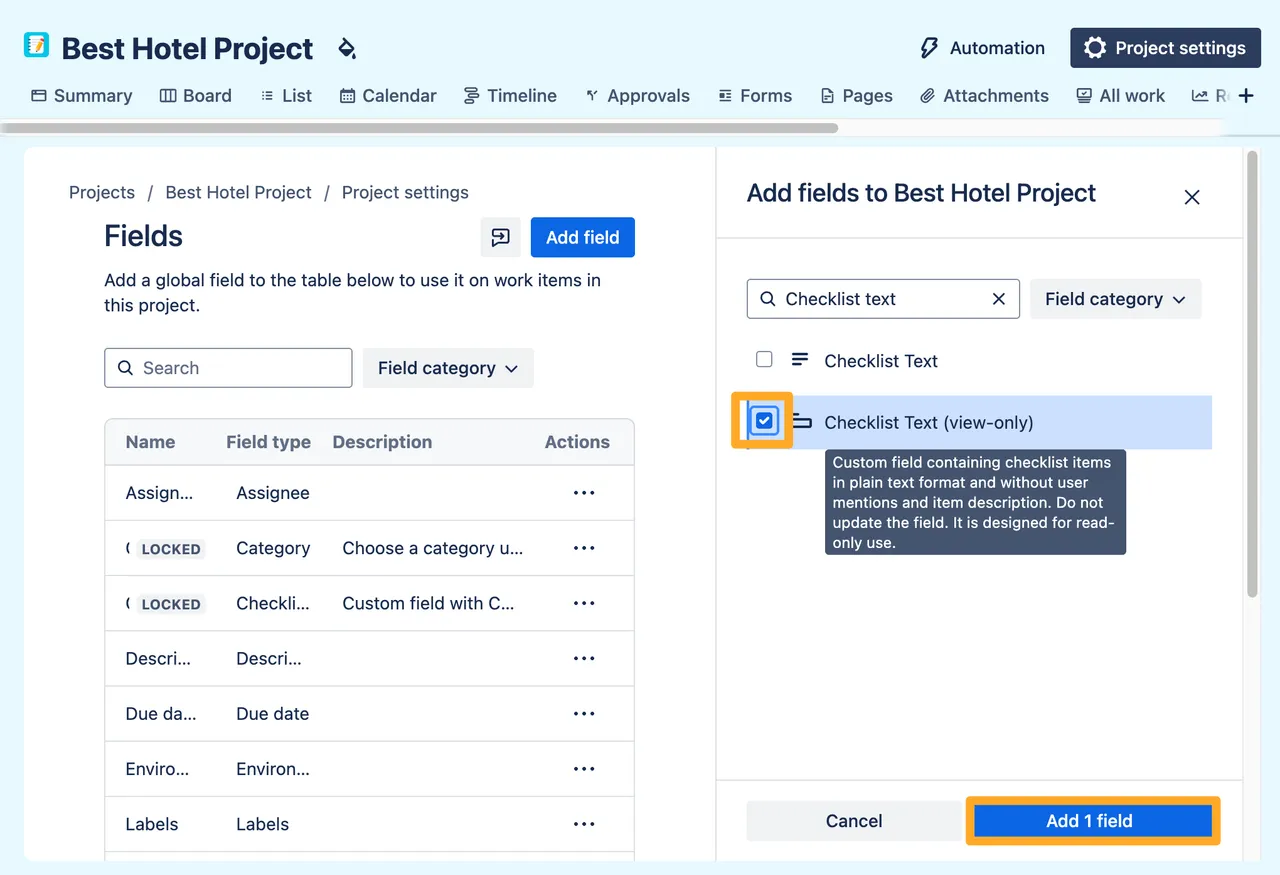
Click “Add field” and search for the “Checklist Text (view-only)” field on the right side.

-
Check the box next to the field and then click “Add 1 field.”
Create checklists in the same places
Some other settings you might want to consider when switching apps.
- Rewire the Jira automation configuration.
- Configure projects and issue types to have the same checklists as before.
- Add checklists to existing issues. You can do this following one of our processes on this page.
Deactivate the Checklists for Jira app
Finally, to not clutter the issue view and to maintain a single source of checklist truth, you should deactivate the Checklists for Jira app in your Jira instance. You can do this in the Jira administration. It will not lose any data. You can reactivate it at any time.
-
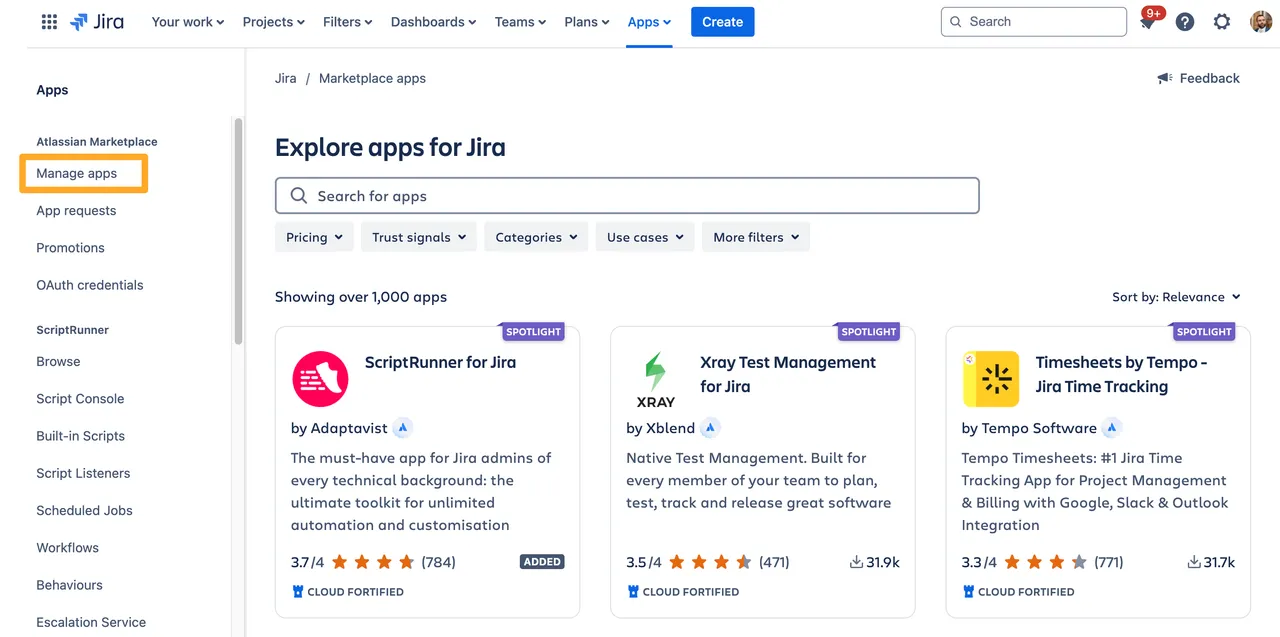
Navigate to the apps section of Jira administration.

-
Make sure you are on the “Manage apps” tab.
-
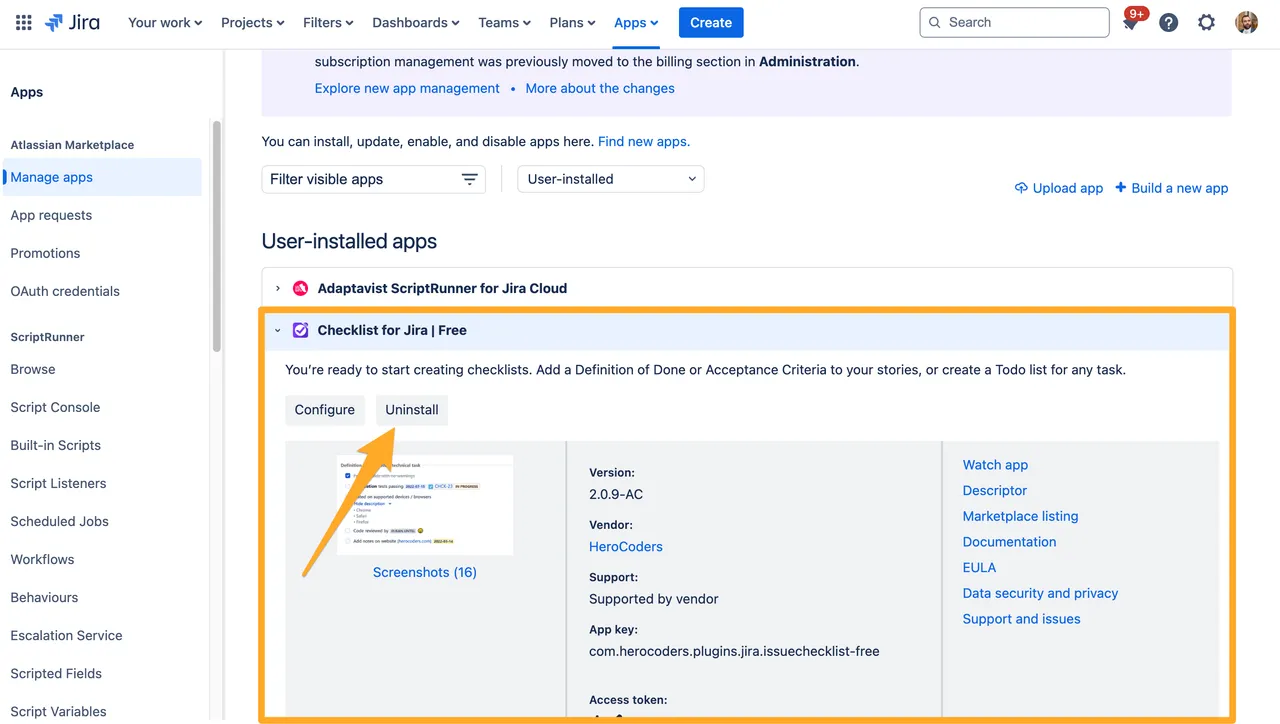
Expand the Checklists for Jira app and press “Uninstall.”

-
You now can use Didit checklists exclusively.
Limitations
- @Mentions cannot be converted. They will appear as @… in the converted checklist.
- Non Standard task statuses will be converted to “Open.” The standard task statuses are “Open”, “In progress”, “Done” and “Skipped”. See the table below for status conversions.
| Checklists for Jira Status | Didit task status |
|---|---|
| Open | Open |
| In progress | Open |
| Skipped | Skipped |
| Done | Completed |
| Custom statuses | Open |
- Optional tasks will be converted to have (optional) string in the task title. Example: “Clean the issue” will become “Clean the issue (optional)”.
- Descriptions of tasks cannot be converted at the moment.
Frequently asked questions
Yes, you can use both apps at the same time. You can deactivate the Checklists for Jira app in the Jira administration for specific projects as well. You can reactivate it at any time. And whenever you’re ready, you can uninstall the app. Please note that uninstalling the app will deactivate the display of all checklist items as the panel will disappear. But the data will not be deleted directly. If you want to reinstall the app again, the data reappears. We have no info if and when the vendor will actually delete your data.
Yes, we can help you. We have a global migration feature which you can find documentation on here Please reach out to our support team for help. We have experience with migrations and can help you with the process.
No, there is no fully automated migration tool yet. We recommend that you use the manual process described above for now. You can also vote for the feature in our Canny board.
Schedule a call with us via Calendly or provide your email address, and we'll get in touch with you.

Dominic Spike
Didit Product Owner
Link to this page: https://seibert.biz/diditmigratefromchecklistforjira