How to set checklist metadata with automation
You need a checklist with metadata in order to use this automation rule.
-
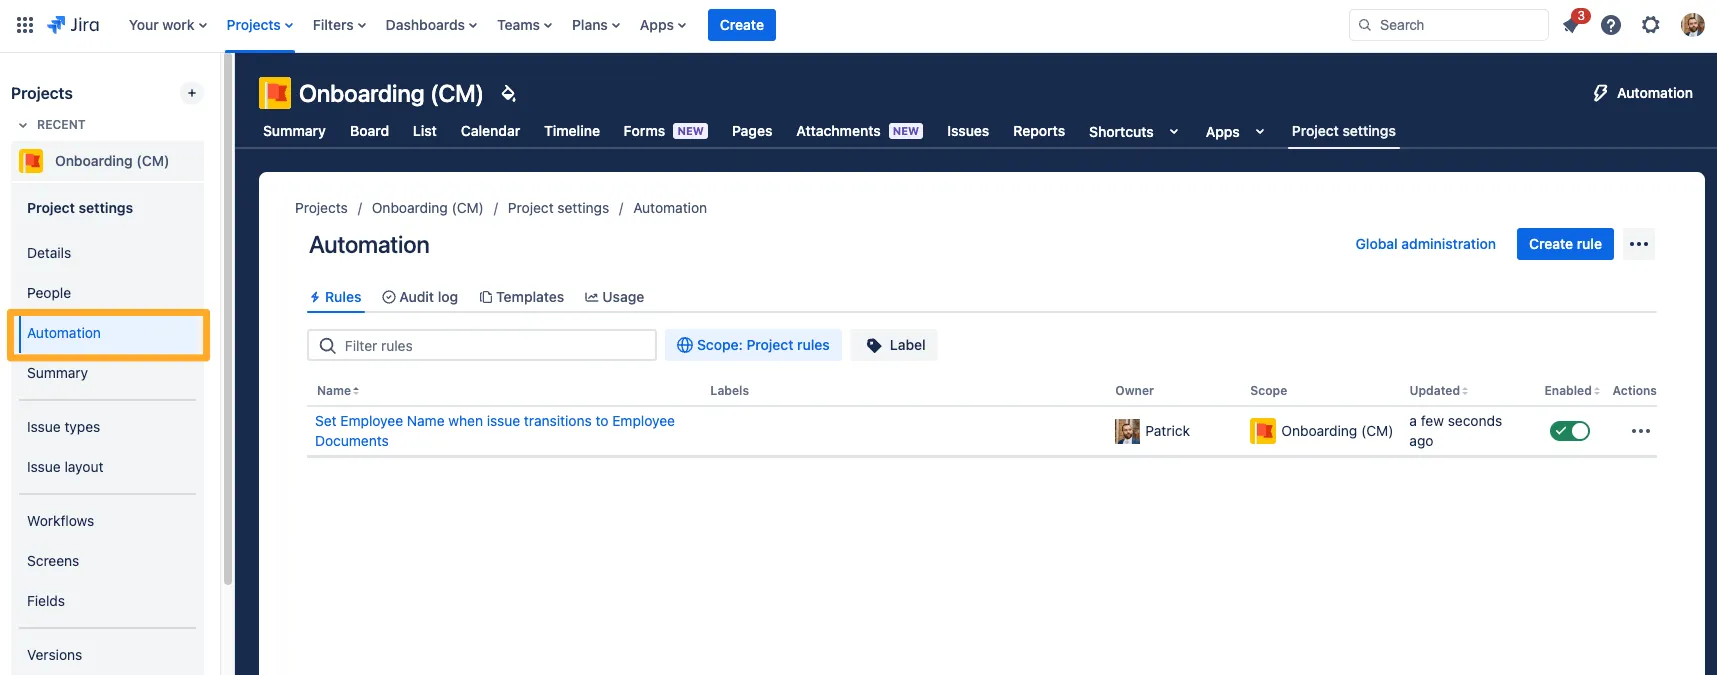
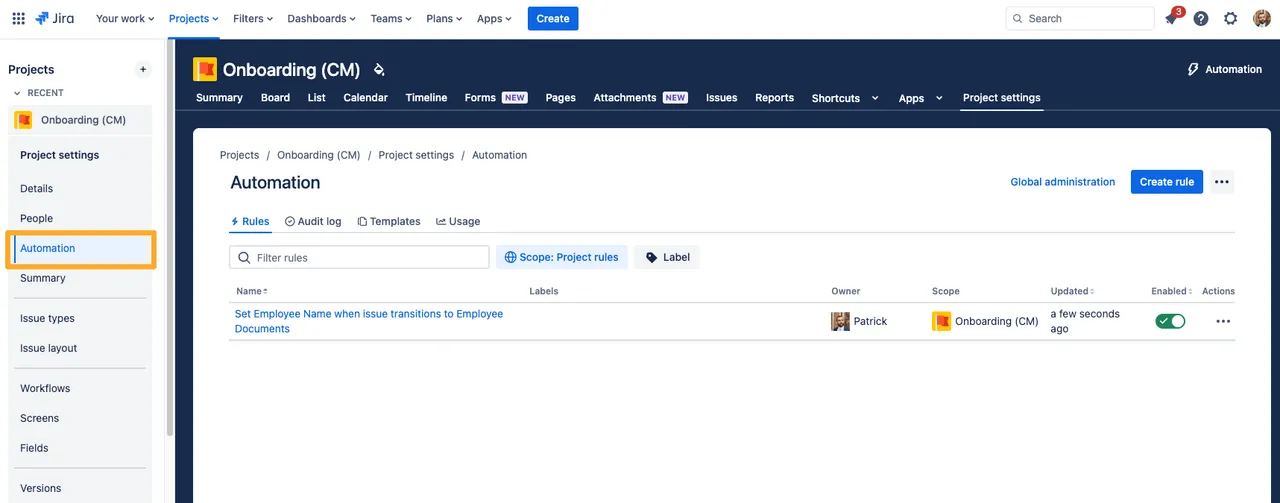
Navigate to the project automation section of your Jira project. If you are a Jira admin, you can do this from the global automation administration page.
-
Click “Create rule.”


-
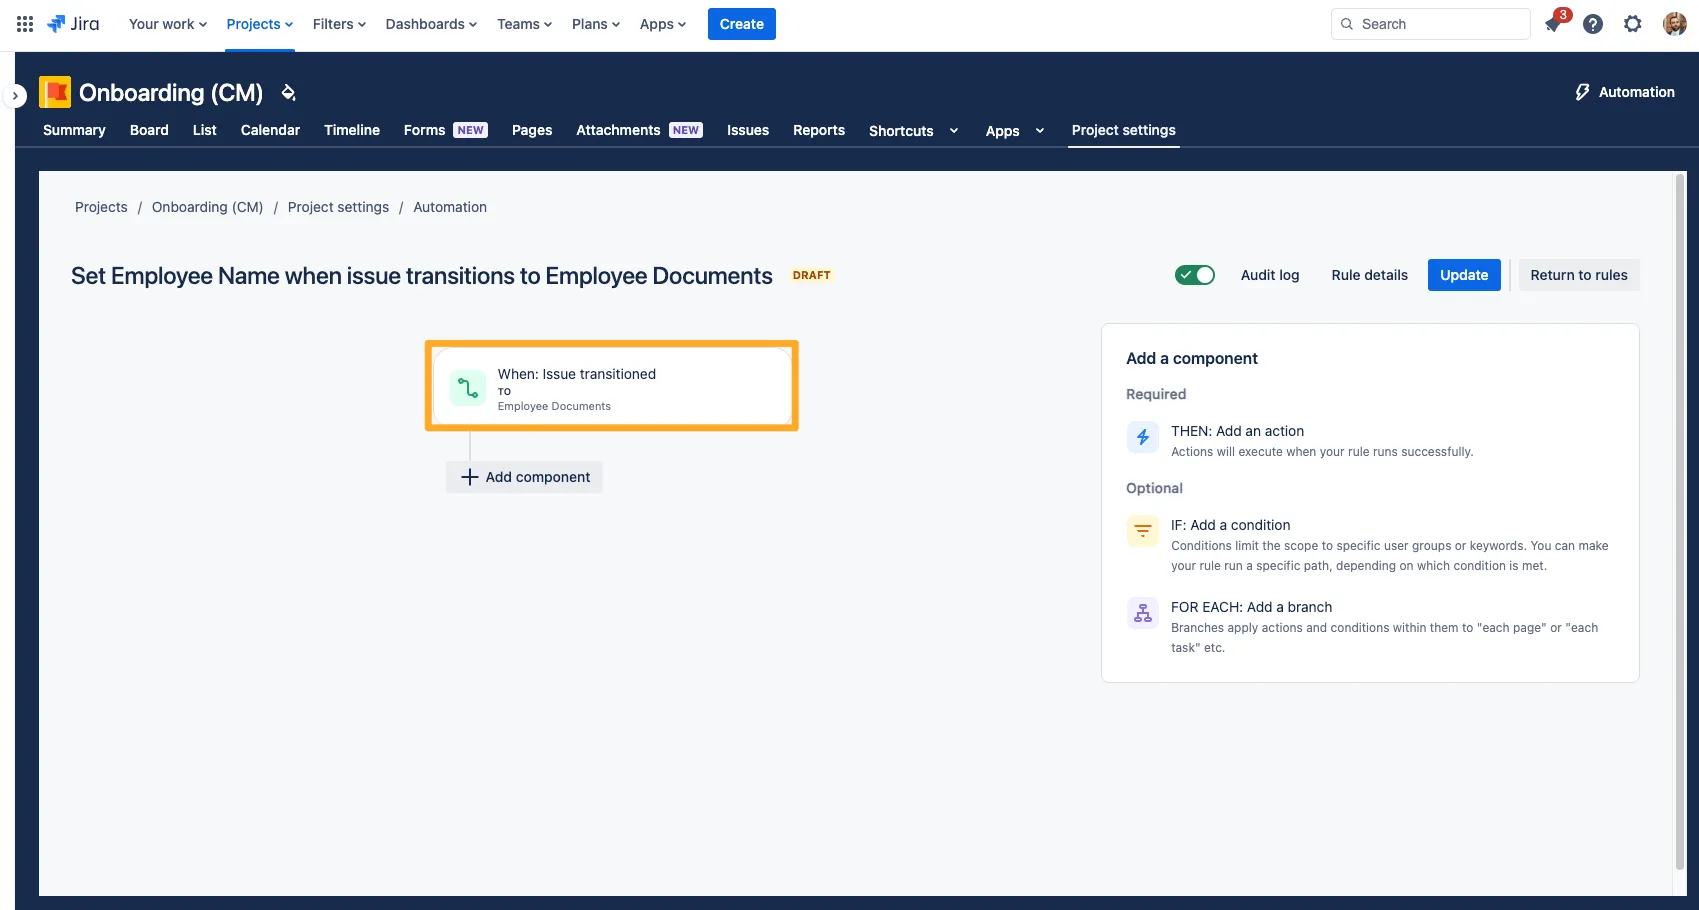
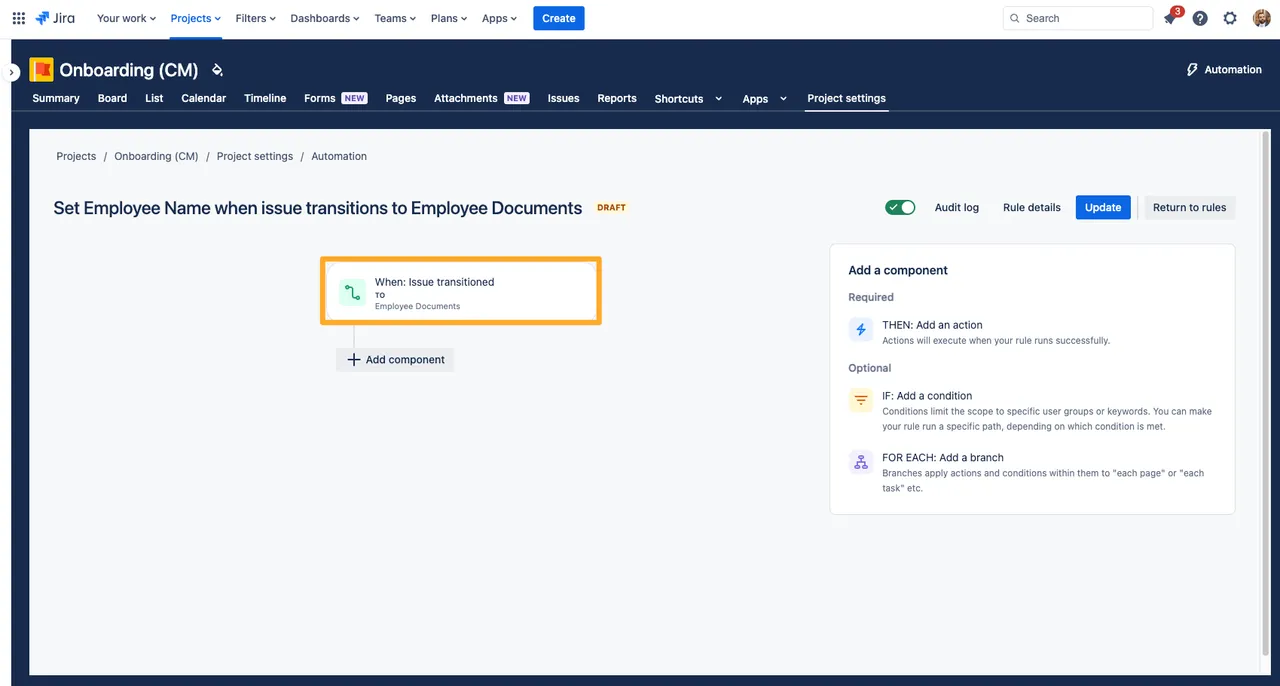
Choose any trigger you would like. For this example, we will use the “Issue transitioned” trigger.
-
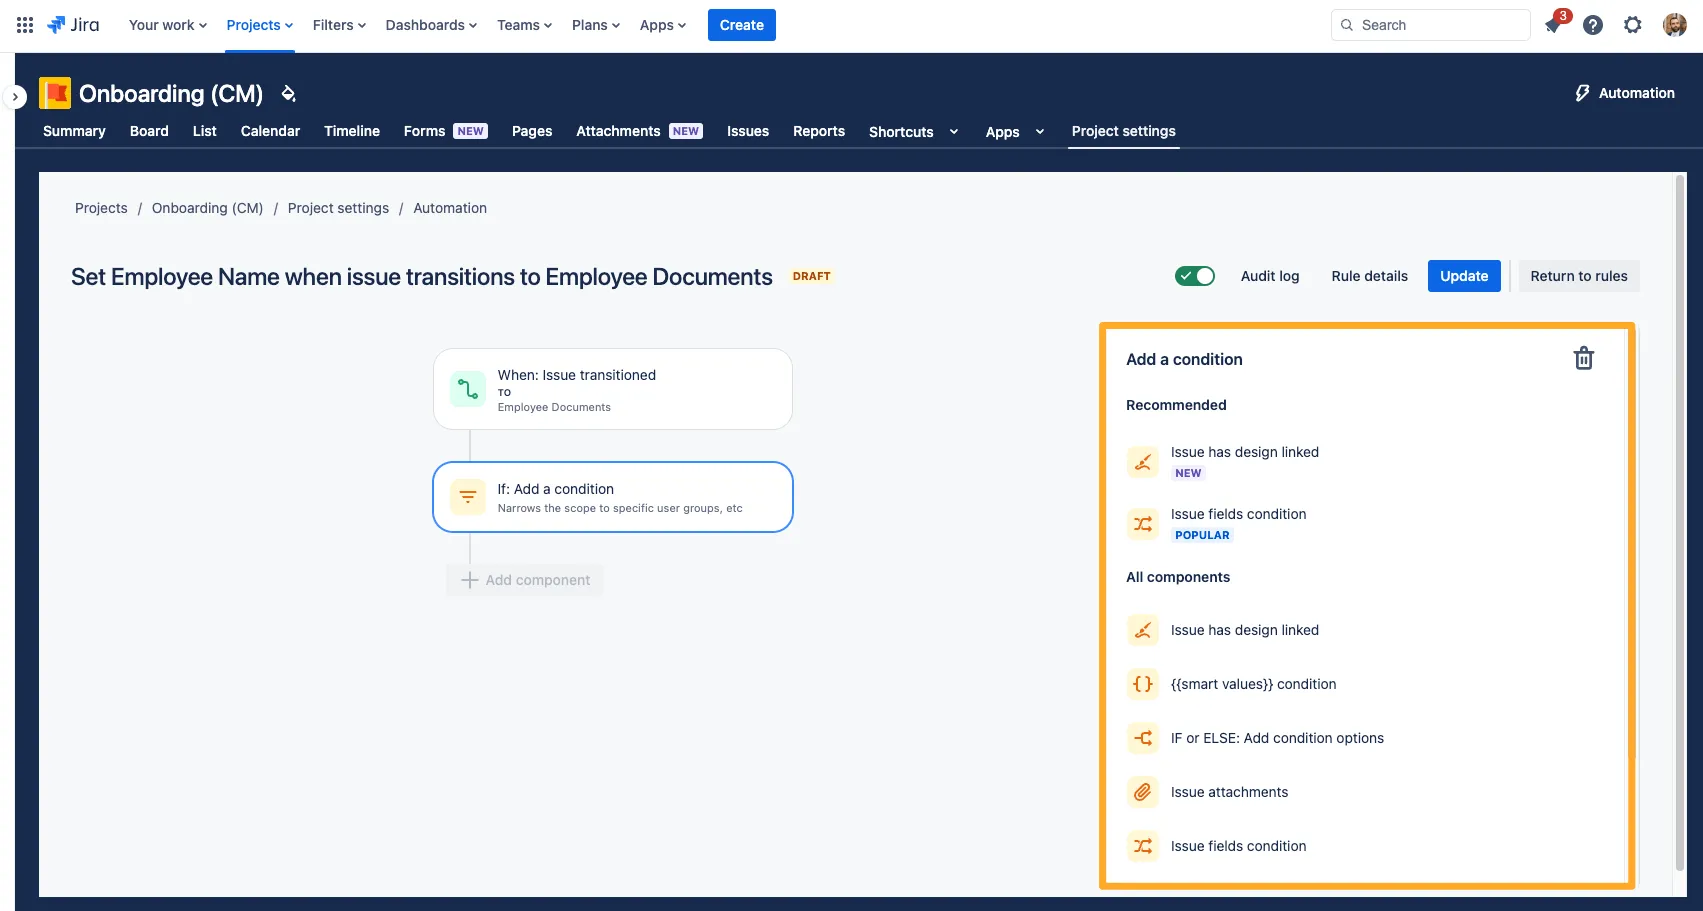
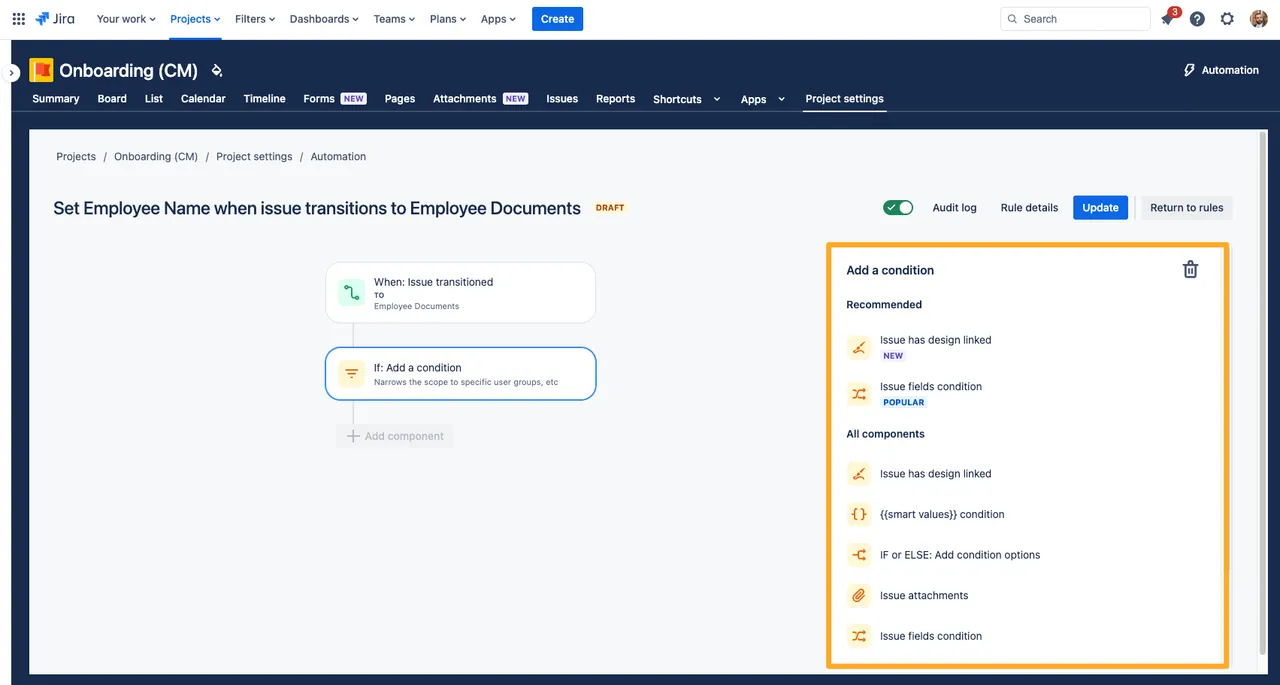
If you would like to add a condition, you may do so here.
-
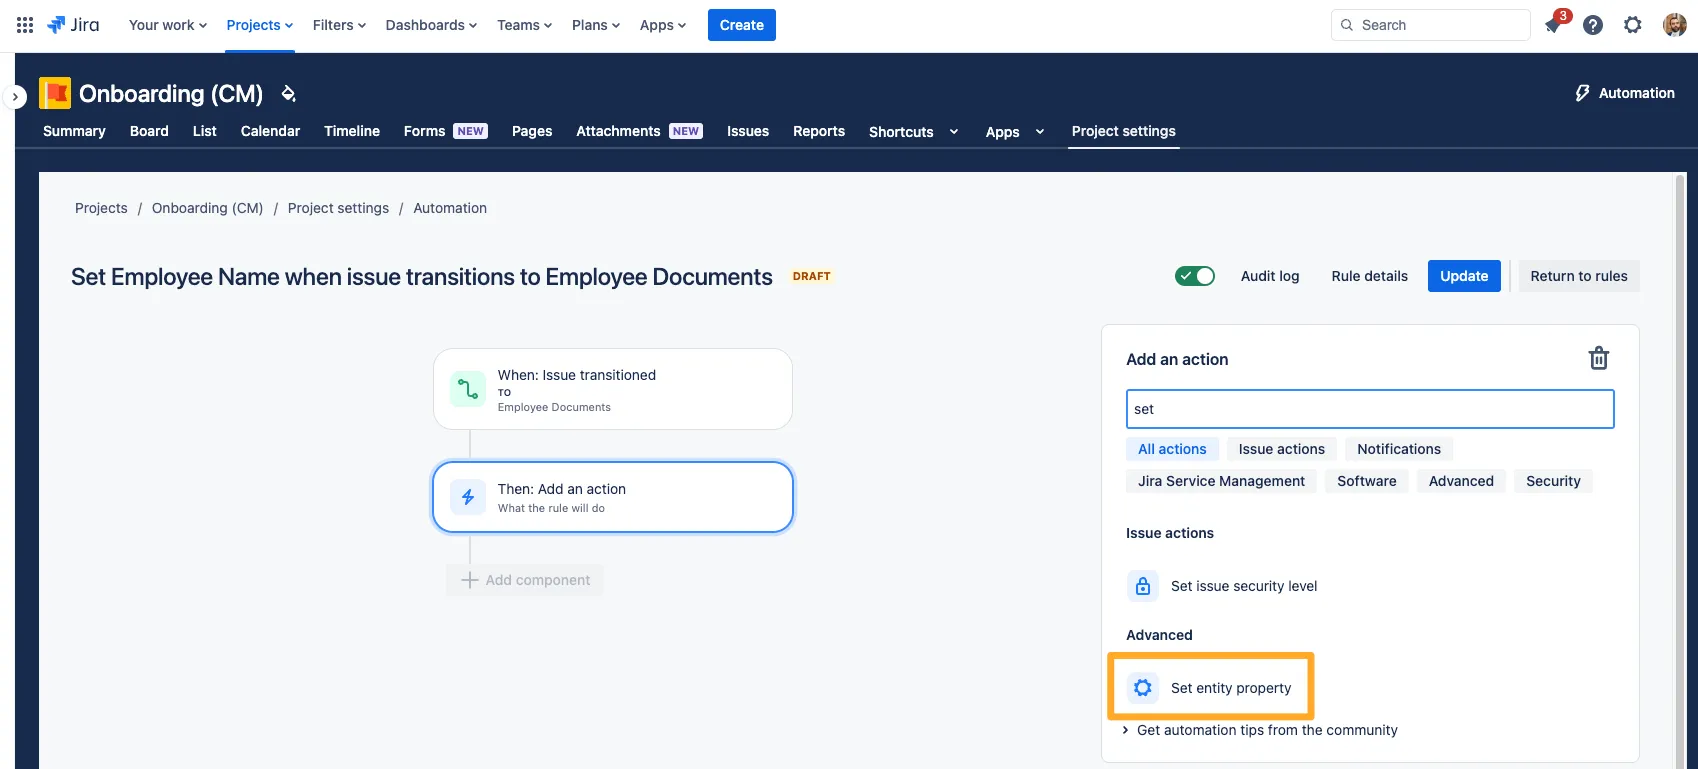
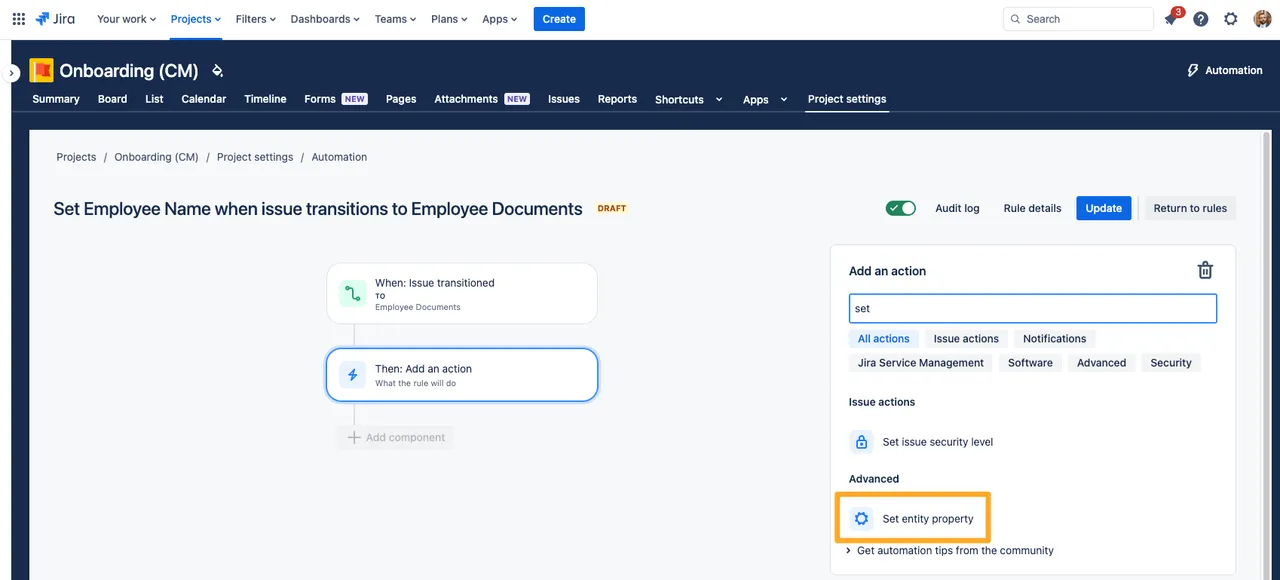
For the automation action, choose the “Set entity property” action.
-
In the “Property key” field, add the text “didit.action.” Please note that the “didit.action” property is case sensitive.
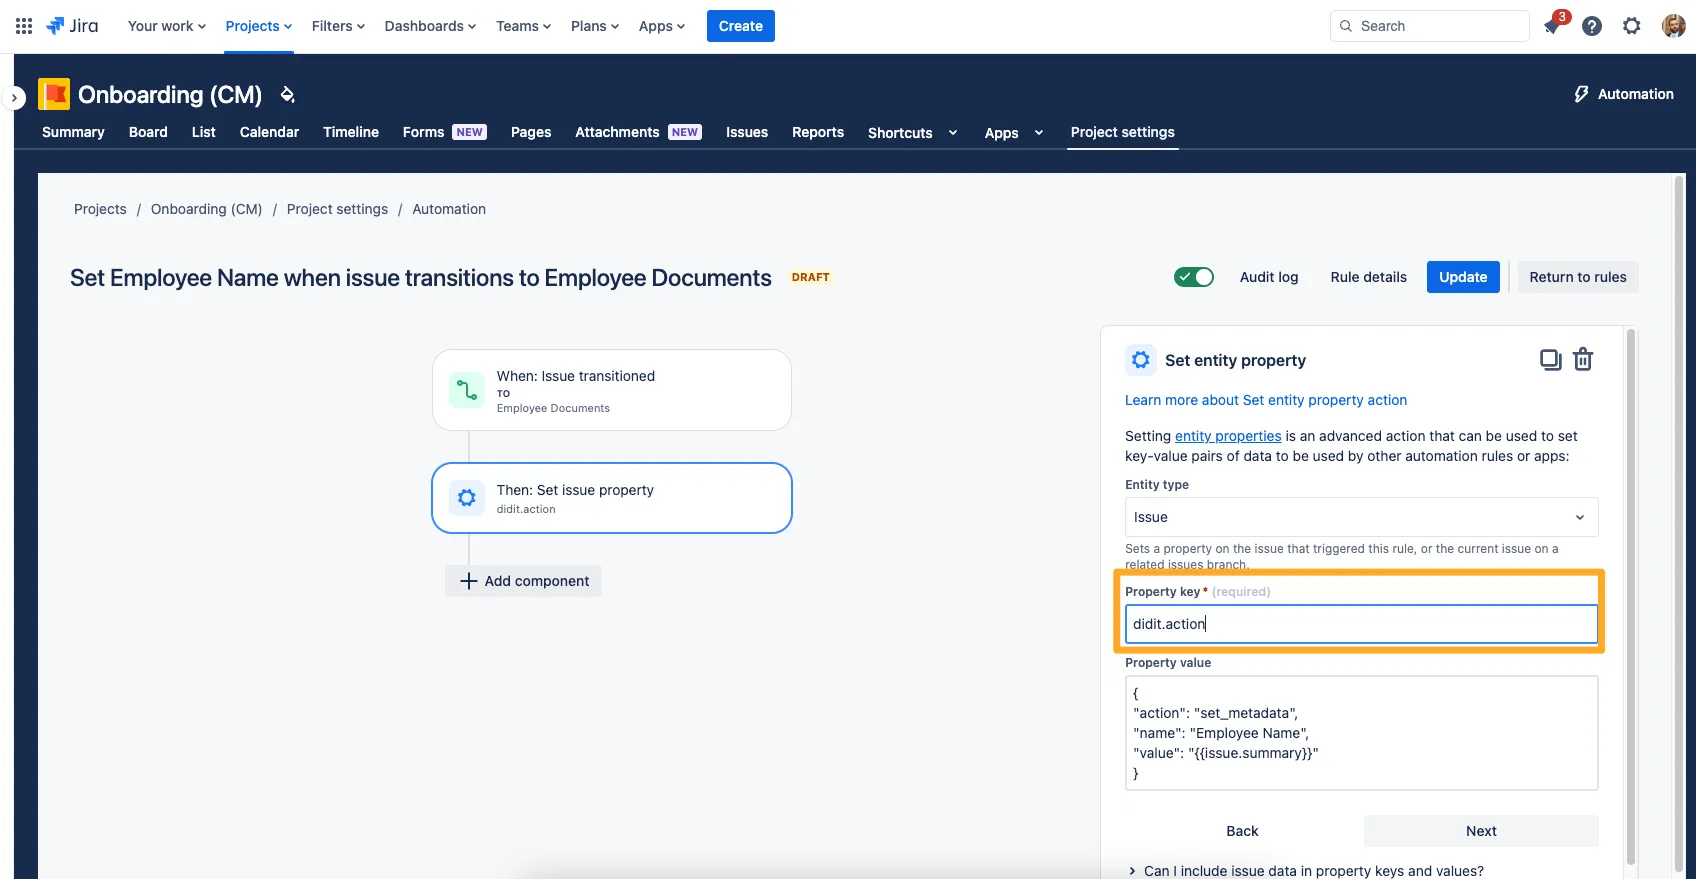
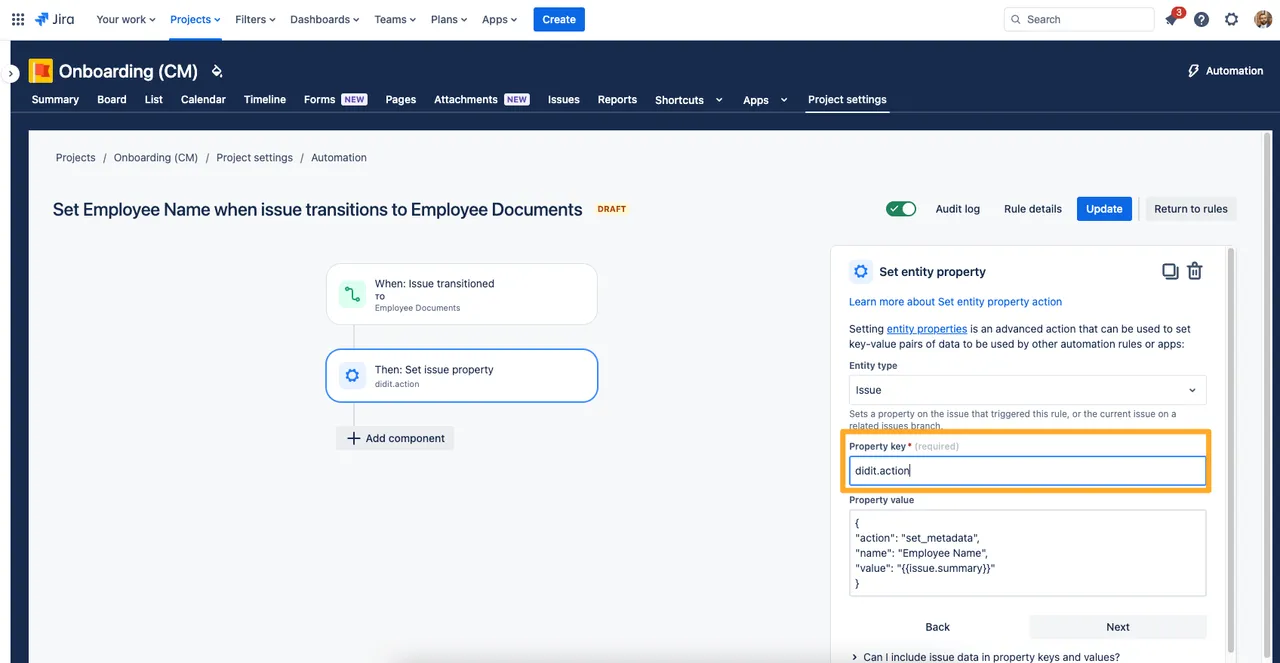
-
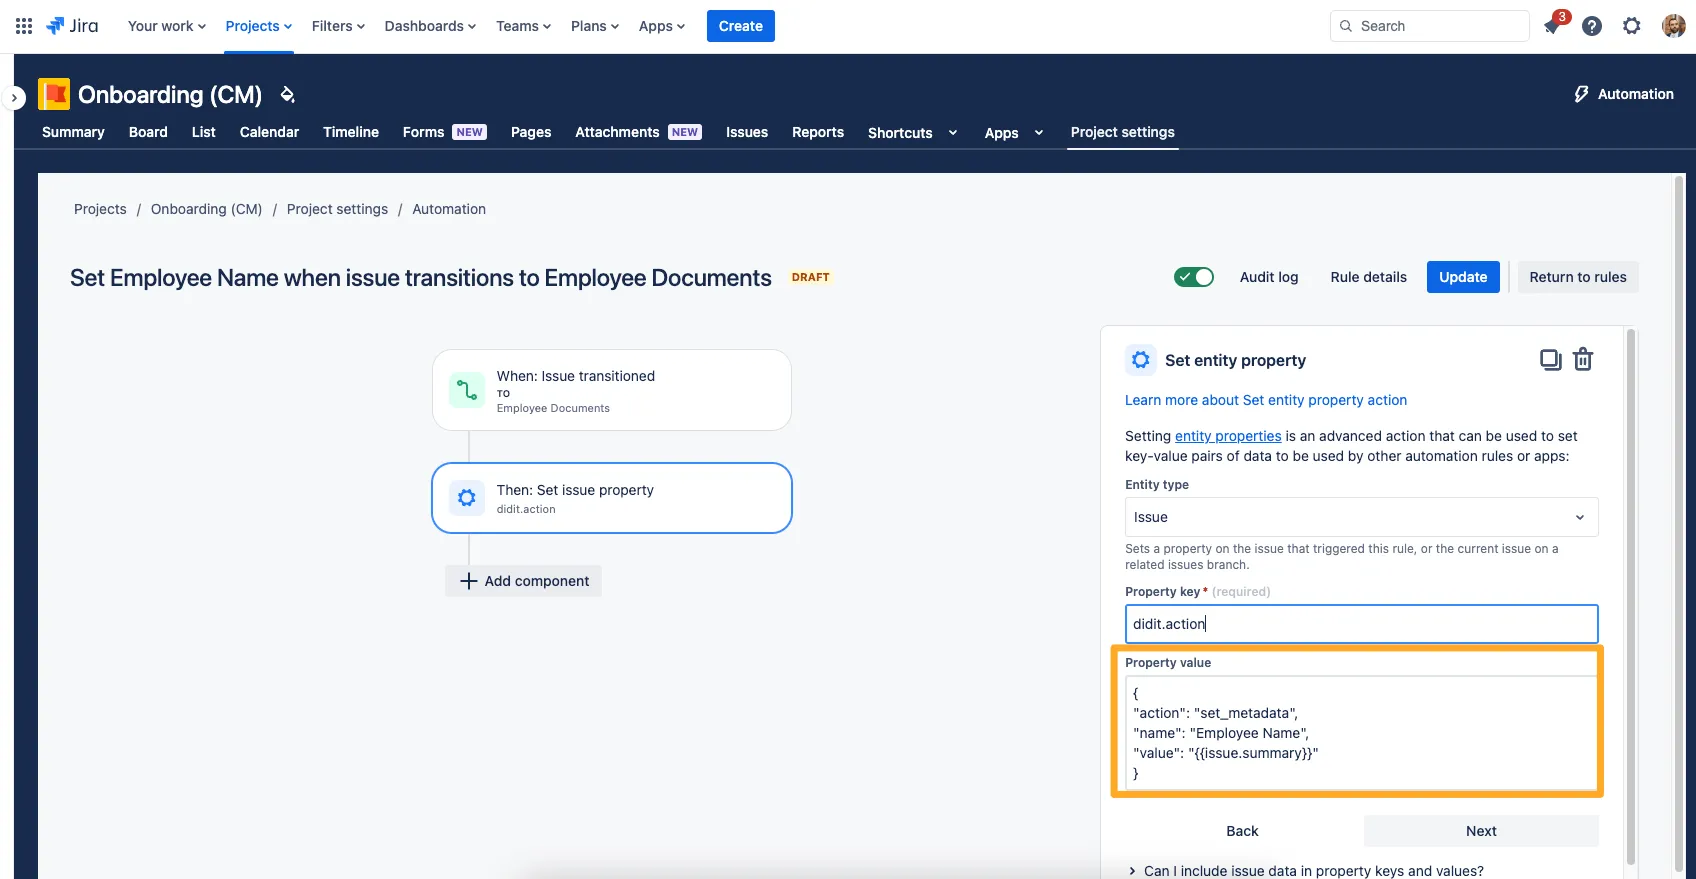
For the “Property value,” use JSON like below.
The action will always be “set_metadata” if you want to set a checklist’s metadata. For the “name” row, choose the name of the metadata you would like to set. Finally, in the “value” field, choose the value or Jira smart value you would like to put in the metadata field.
For JSON examples, please visit our Jira automation examples page.
{
"action": "set_metadata",
"name": "Employee Name",
"value": "{{issue.summary}}"
}
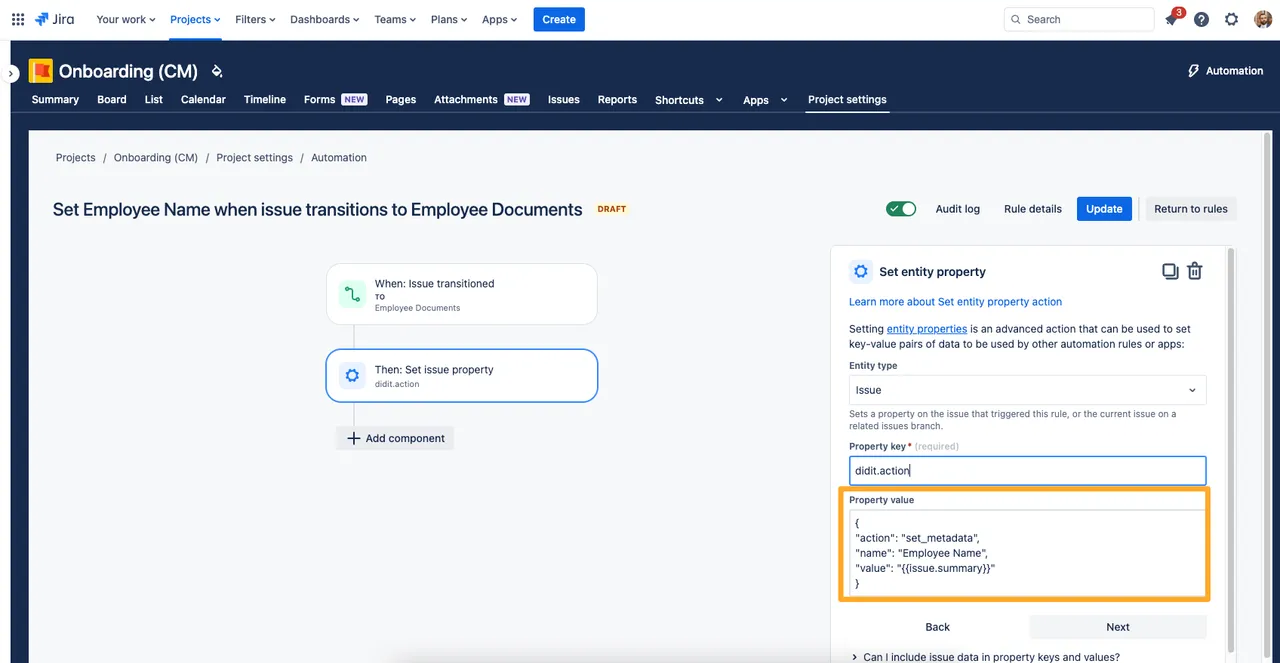
-
When you are finished, turn on the rule and you can see it in action.
Link to this page: https://seibert.biz/diditautomationsetmetadata