On this page:

How to hide a transition based on the number of skipped tasks

You must have Jira admin permission in order to add a validator to a Jira workflow. If you do not have Jira admin permission, request assistance from the Jira admin of your instance. Please keep in mind the general best practices when editing Jira workflows. This workflow could be shared with other projects, try to be aware of how many projects you are changing.

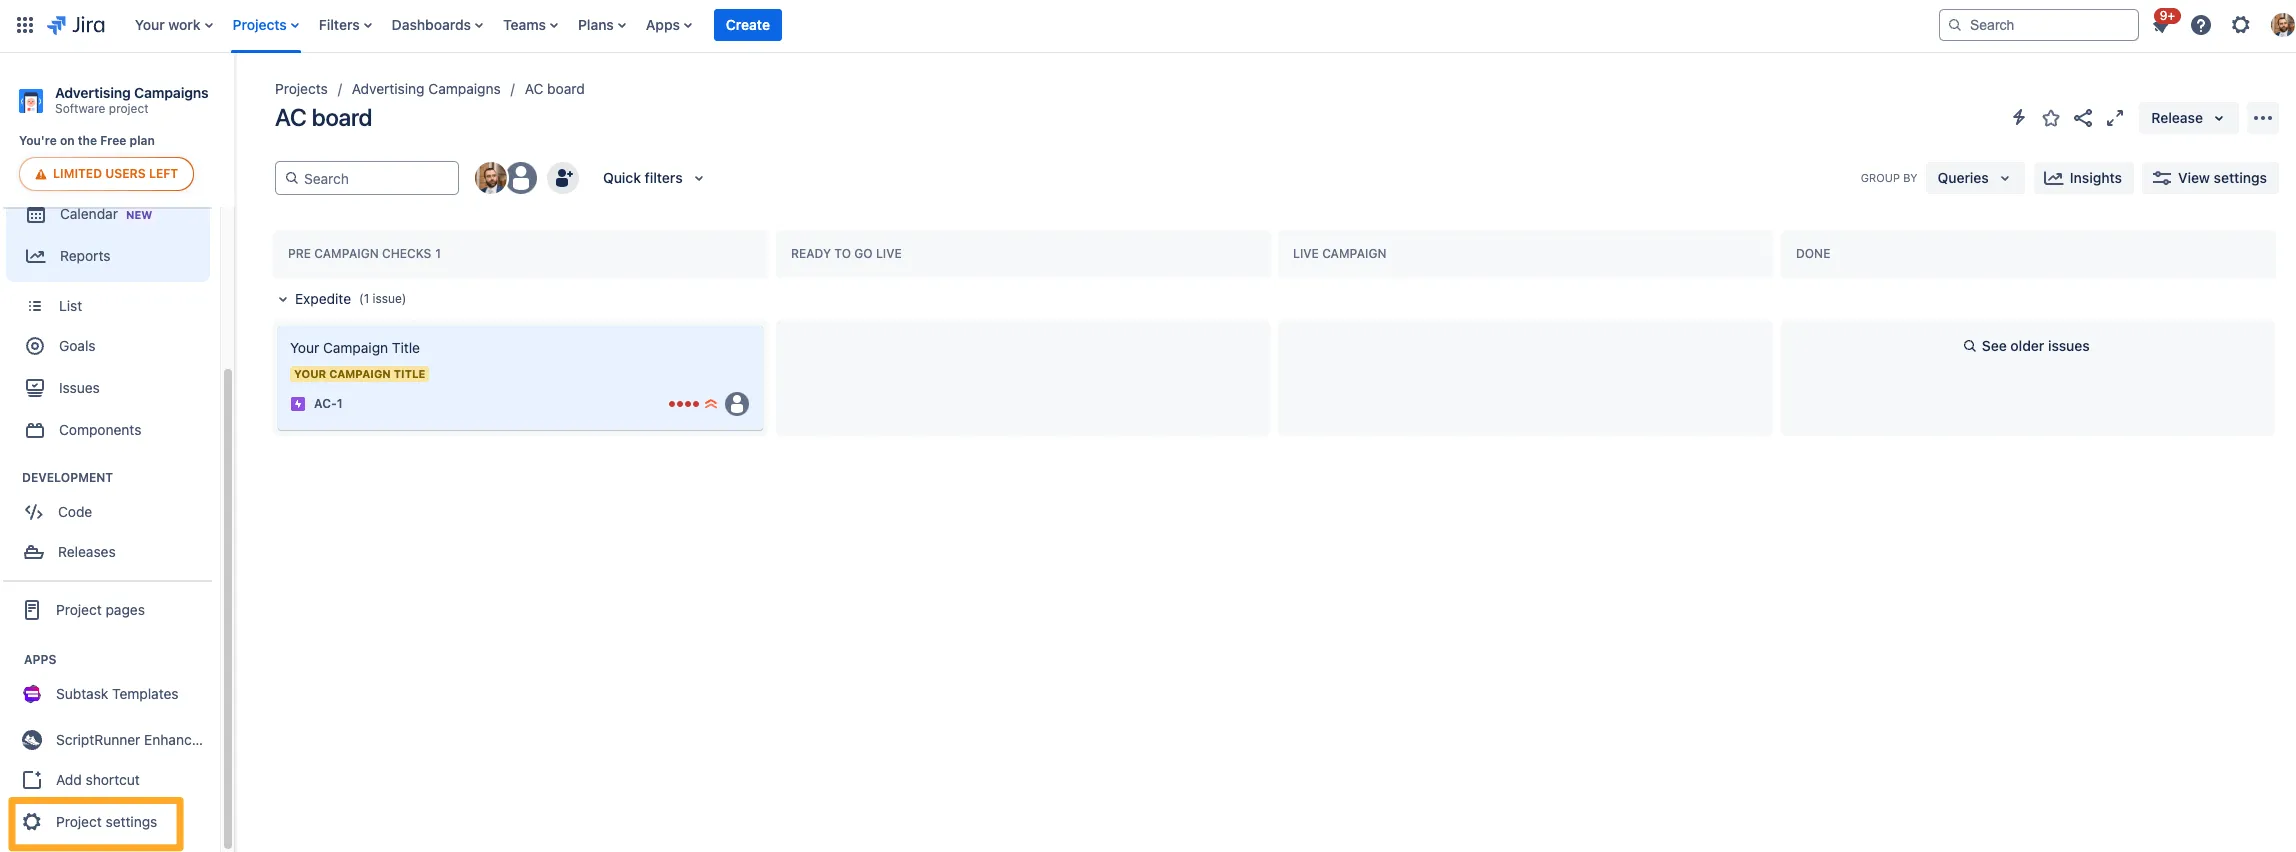
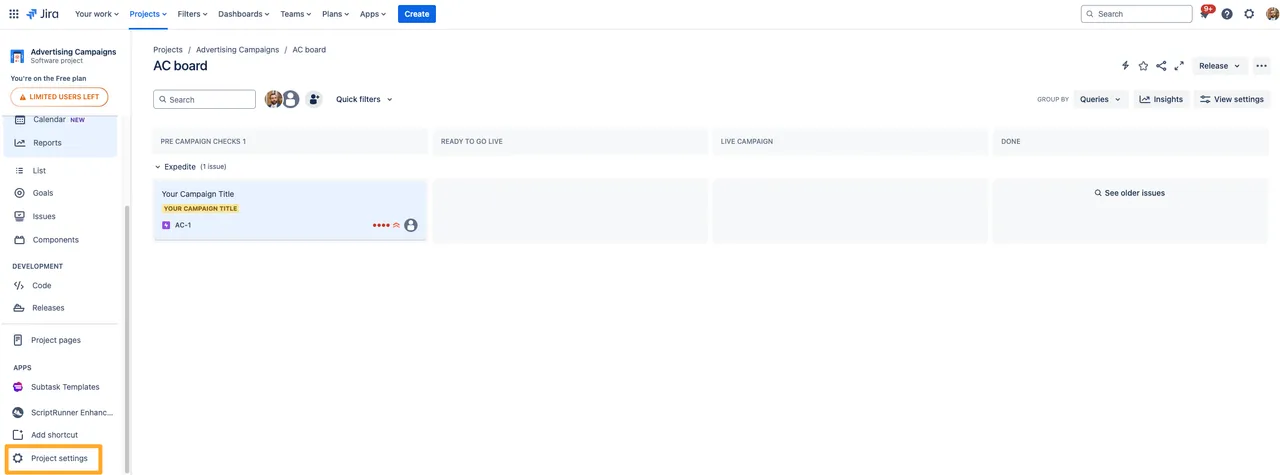
  1. A Jira project board with the project settings button highlighted.
    A Jira project board with the project settings button highlighted.
  2. Go to the “Workflows” on the left side and click the pencil icon to edit the workflow.

    The Jira project settings workflow section with an arrow to the pencil icon to edi the workflow.
    The Jira project settings workflow section with an arrow to the pencil icon to edi the workflow.
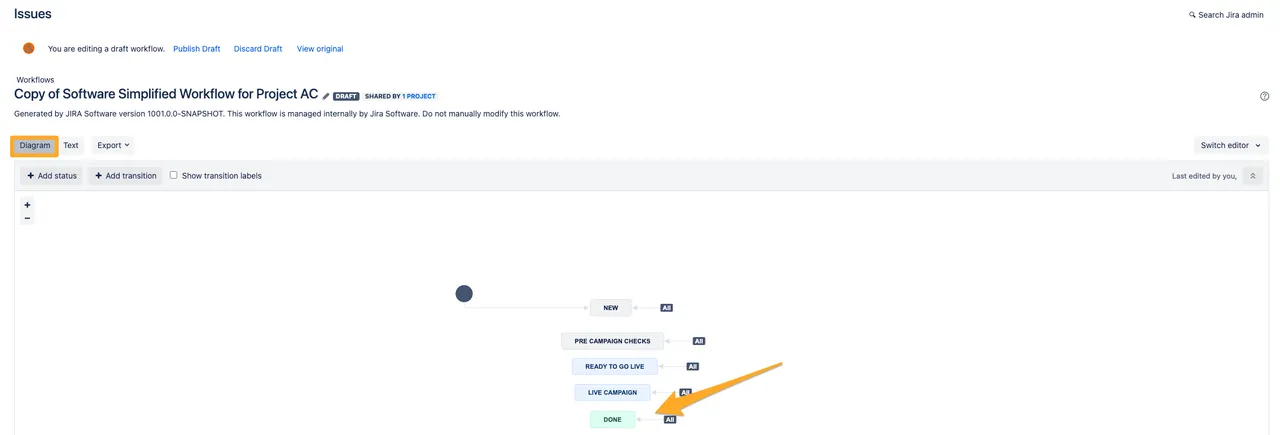
  3. In the diagram view, click the transition you would like to hide.
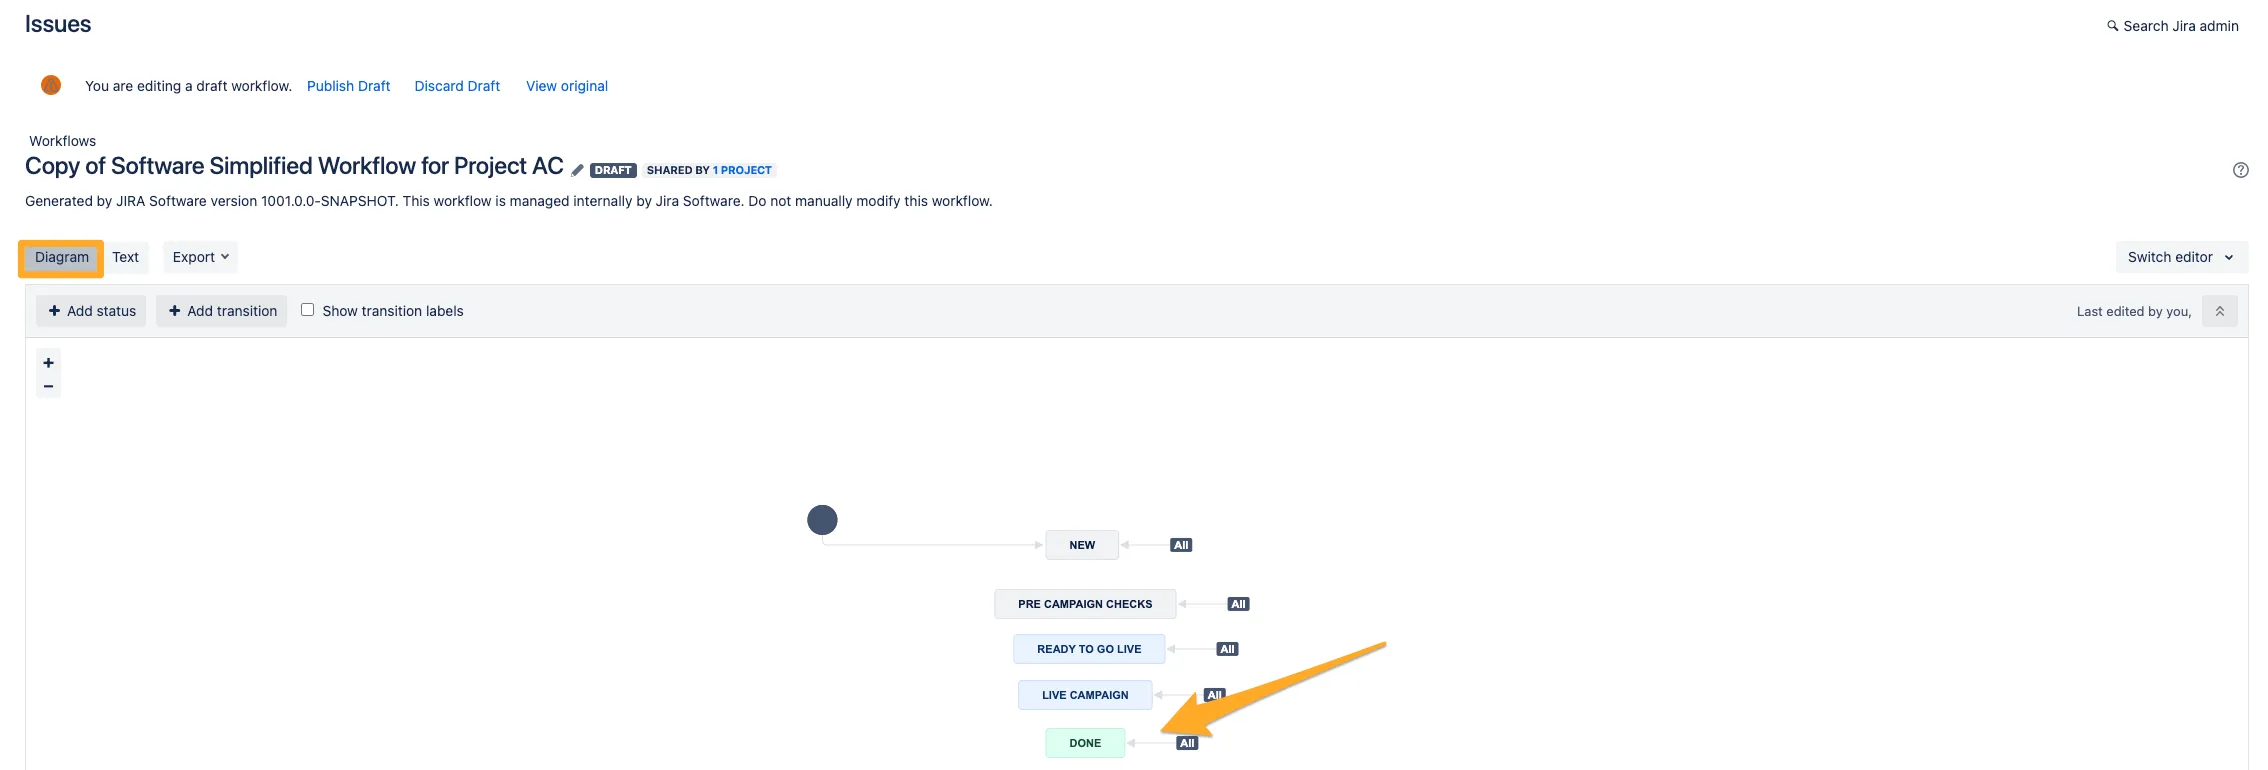
    The Jira workflow editor with an arrow to a transition.
    The Jira workflow editor with an arrow to a transition.
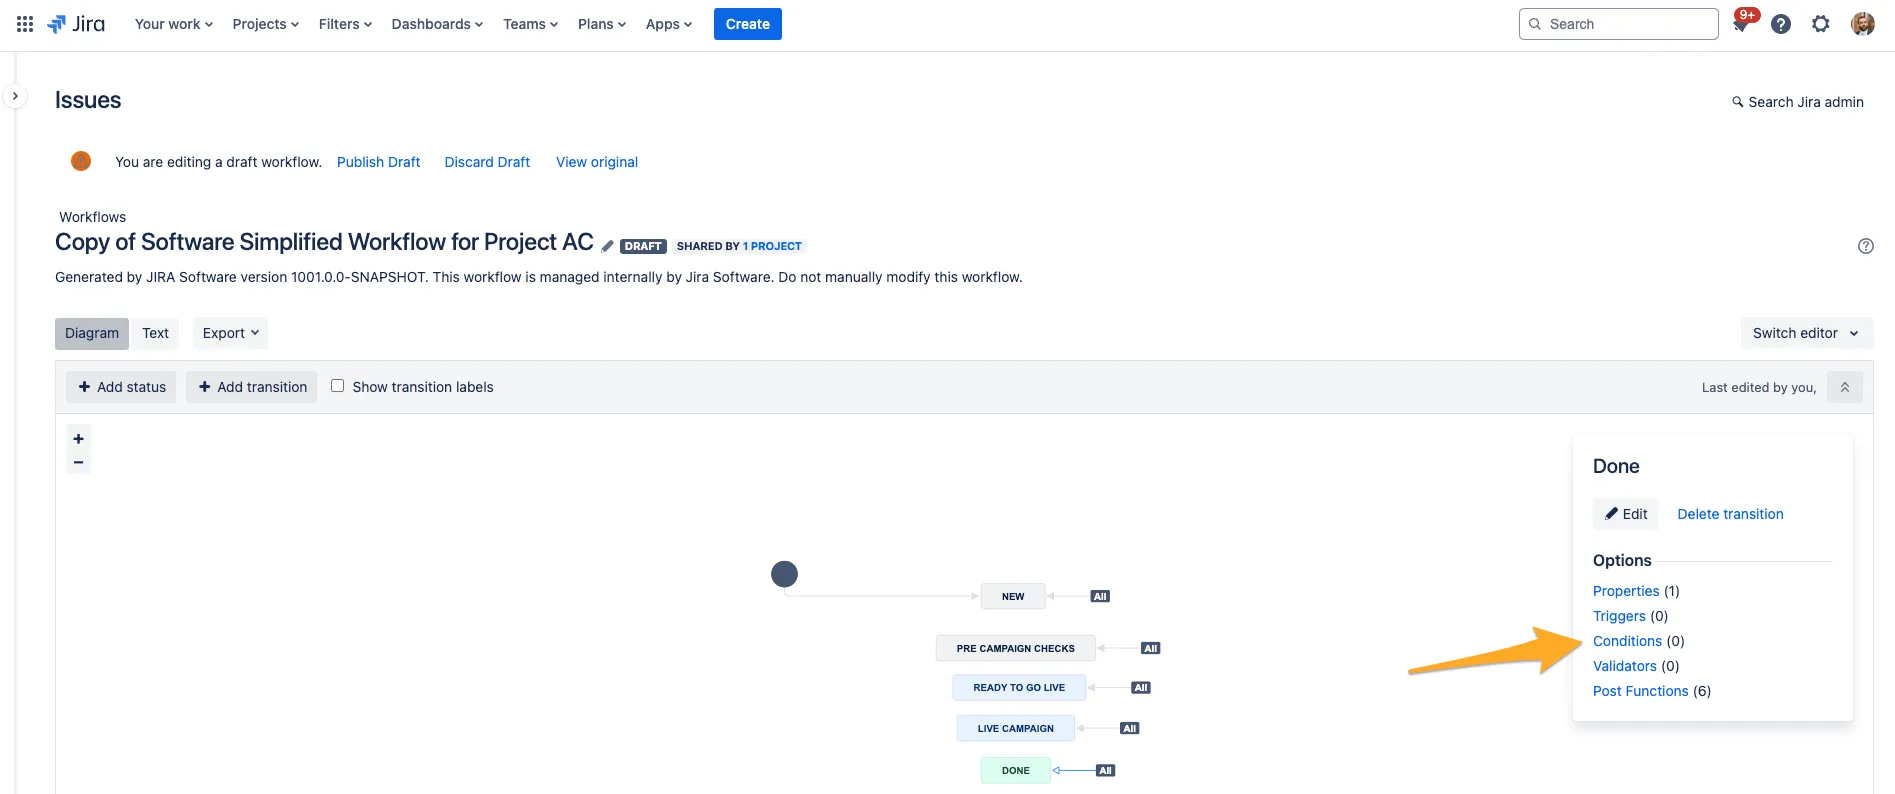
  4. Select “Conditions” from the options.
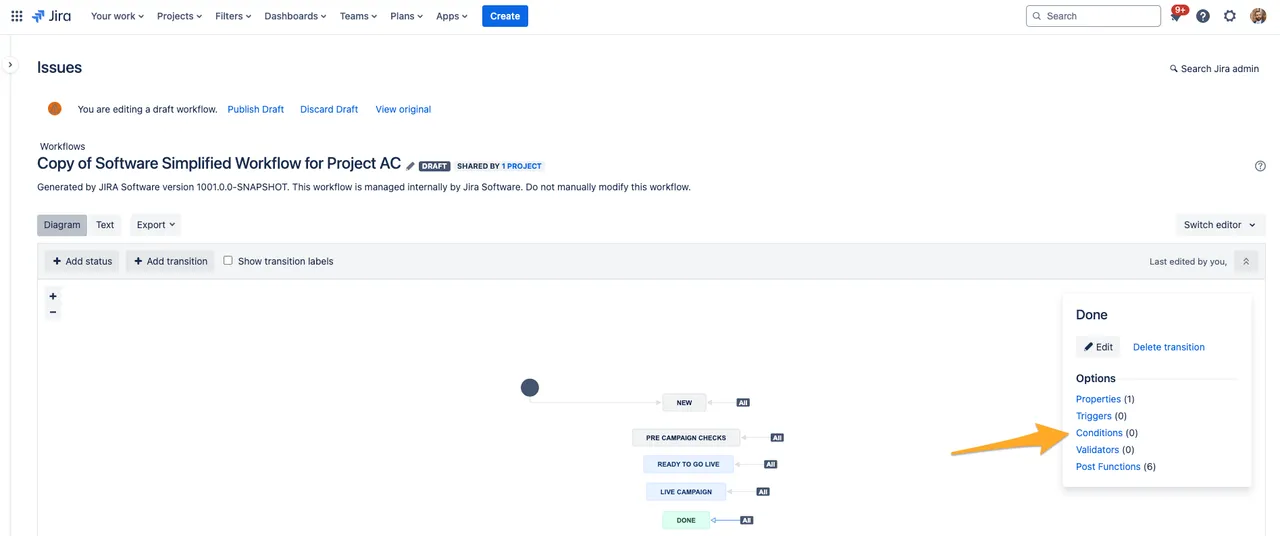
    The Jira workflow editor with a transition selected and an arrow to the Conditions button.
    The Jira workflow editor with a transition selected and an arrow to the Conditions button.
  5. Click “Add condition.”

    The Jira workflow conditions page.
    The Jira workflow conditions page.
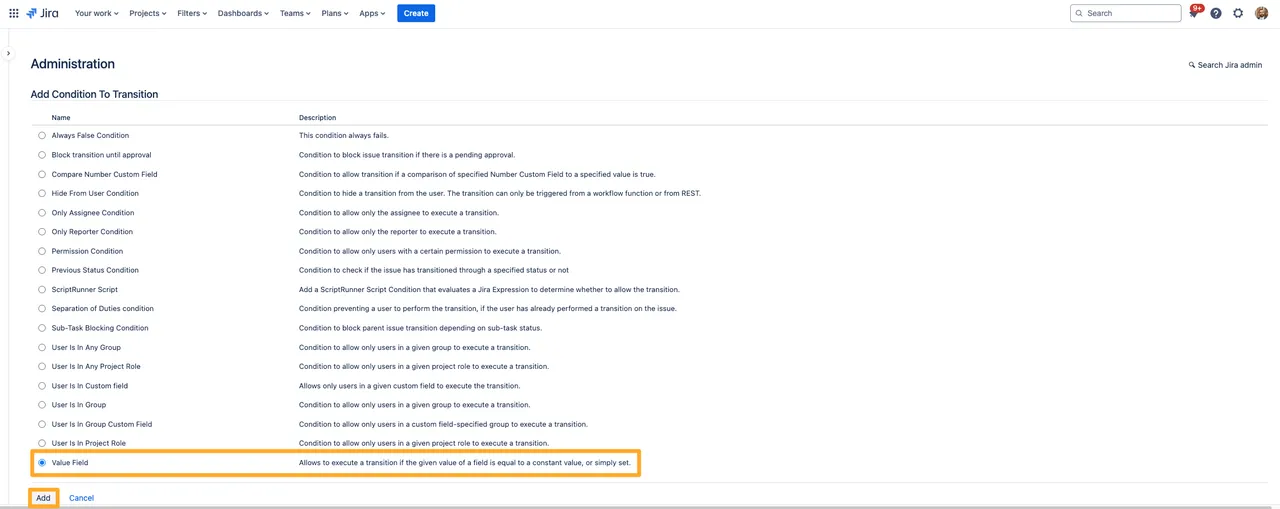
  6. Choose the condition “Value field” from the list and click “Add.”
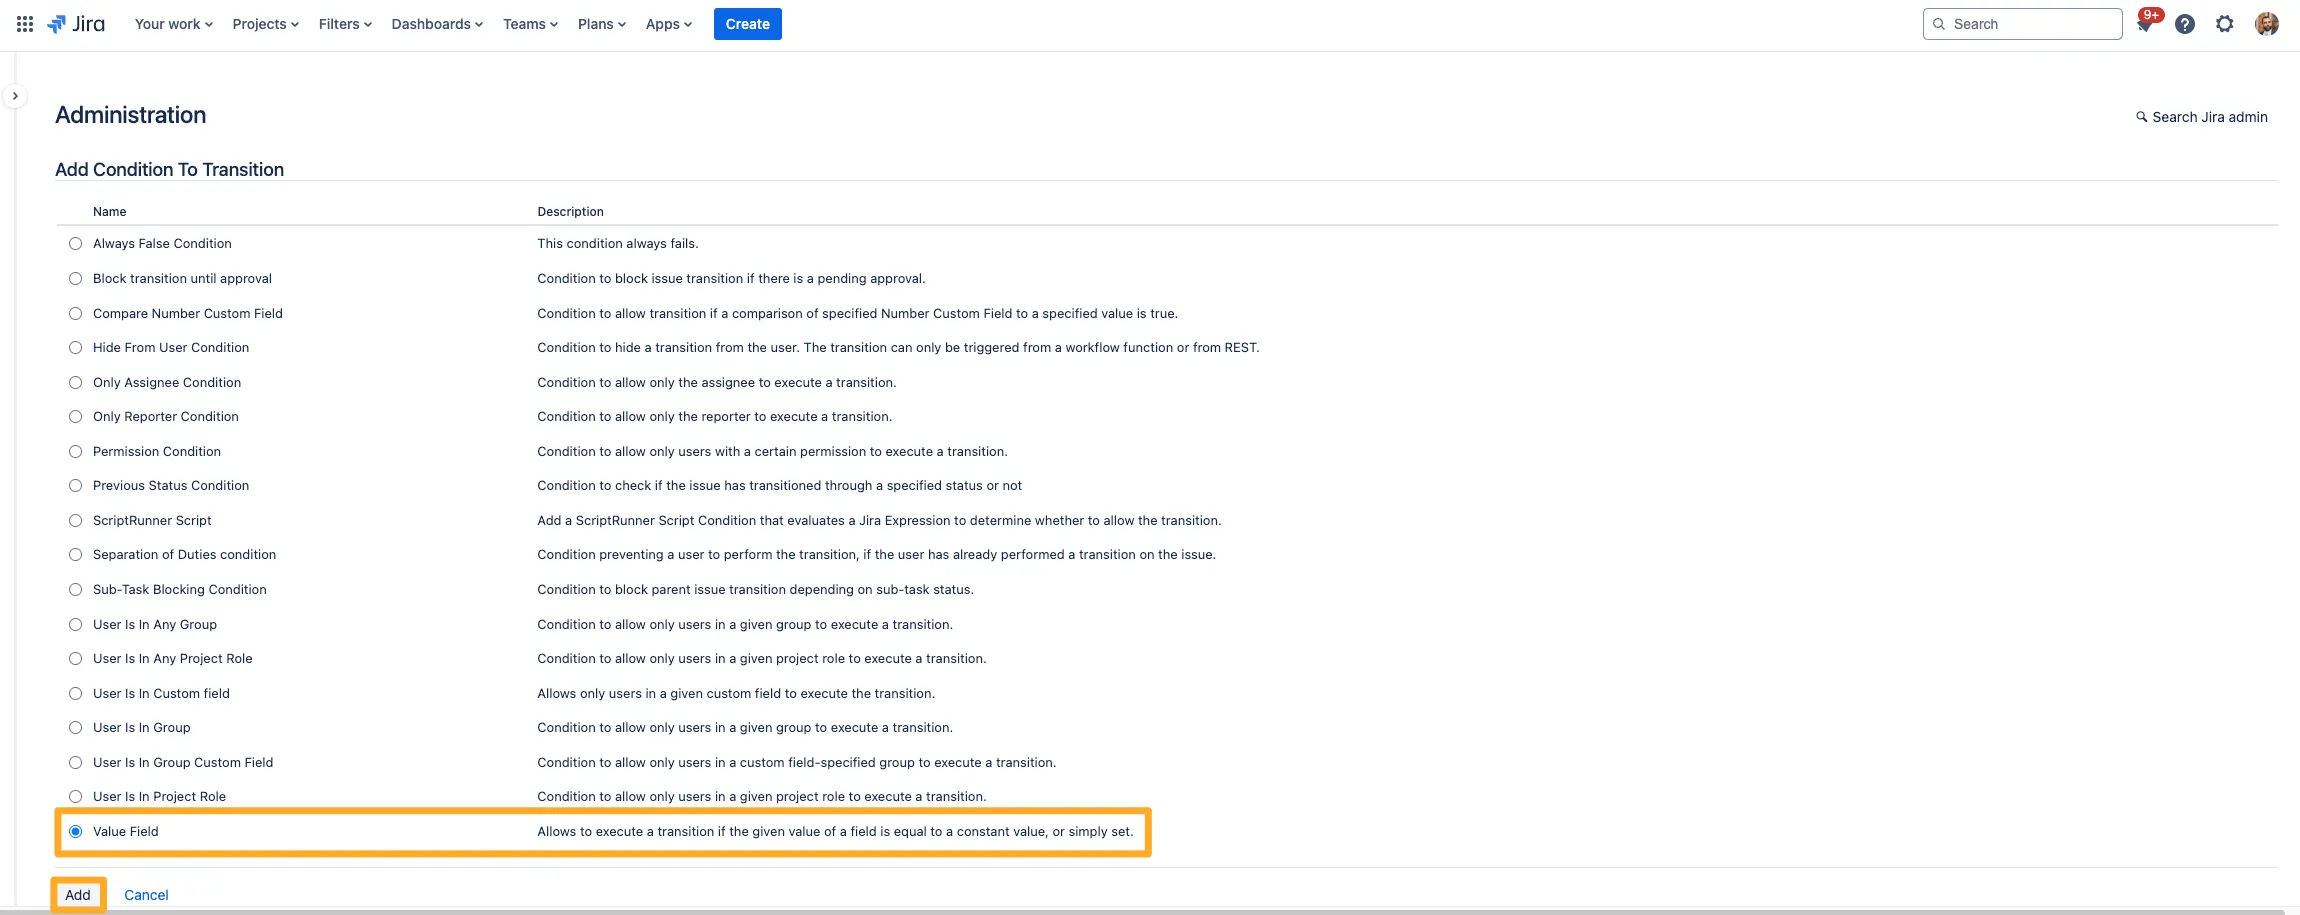
    The list of available conditions with the value field option selected.
    The list of available conditions with the value field option selected.
  7. Choose the “Didit skipped tasks” field.

    The value field dialogue with the Didit skipped tasks chosen for the field section.
    The value field dialogue with the Didit skipped tasks chosen for the field section.
  8. Choose ”<” or ”<=” as the qualifier for the condition.

    The value field dialogue with an arrow to the <= condition qualifier.
    The value field dialogue with an arrow to the <= condition qualifier.
  9. Finally, type the number of skipped tasks you would like the checklist to be under in order to show the transition. In our example we chose 2. For the comparison type, choose “number” and click “Add.”

    The value field condition dialogue with the comparison type choice and the add button highlighed.
    The value field condition dialogue with the comparison type choice and the add button highlighed.
  10. Publish the draft to apply the changes and make them effective. If you think you may want to revert the change, you can always save a backup copy.
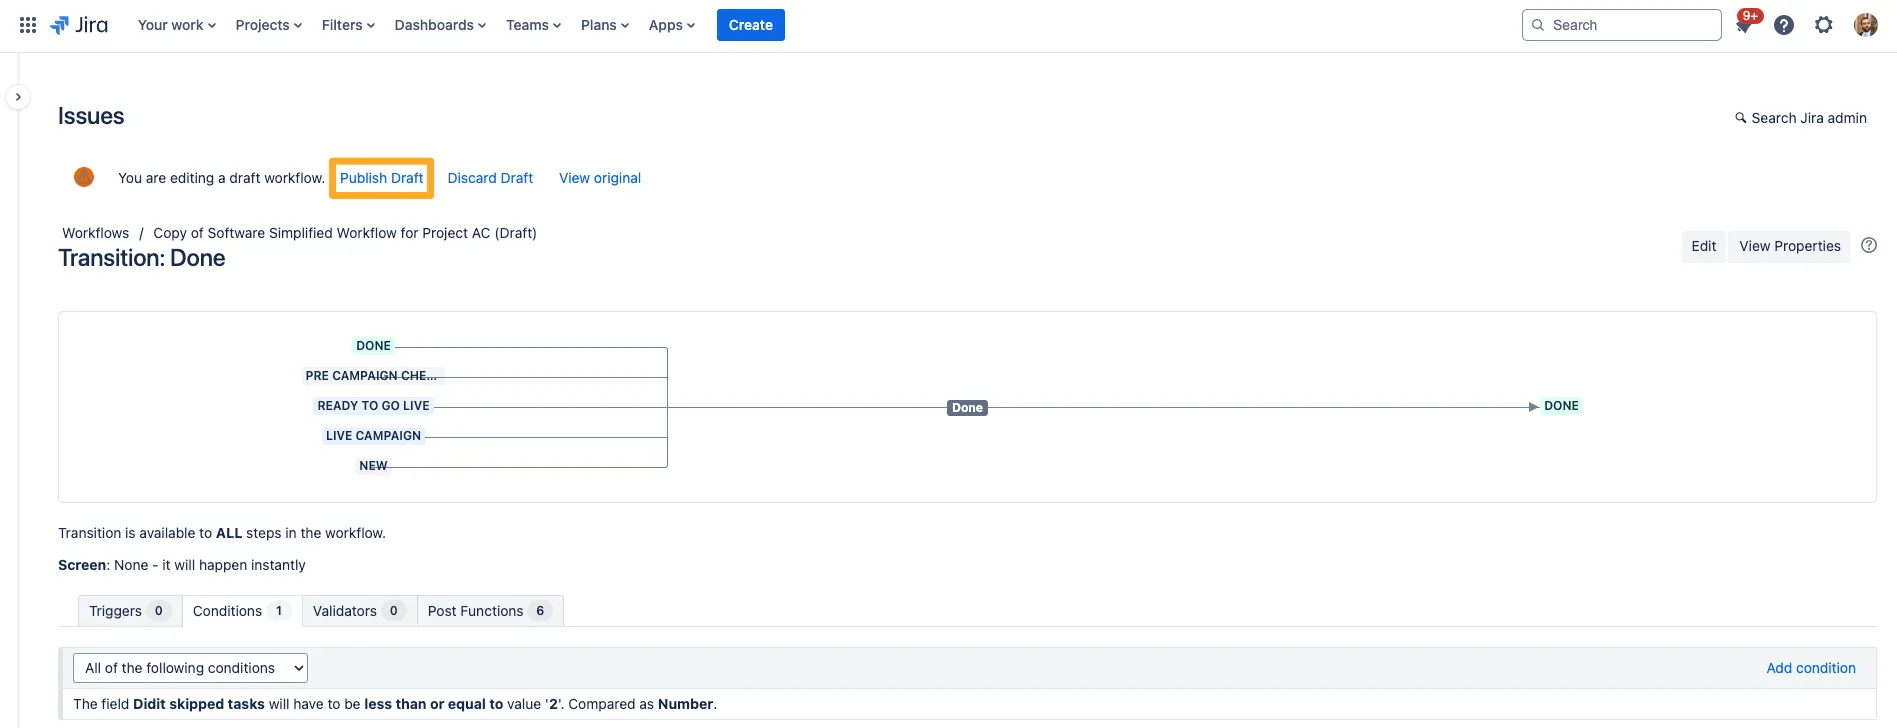
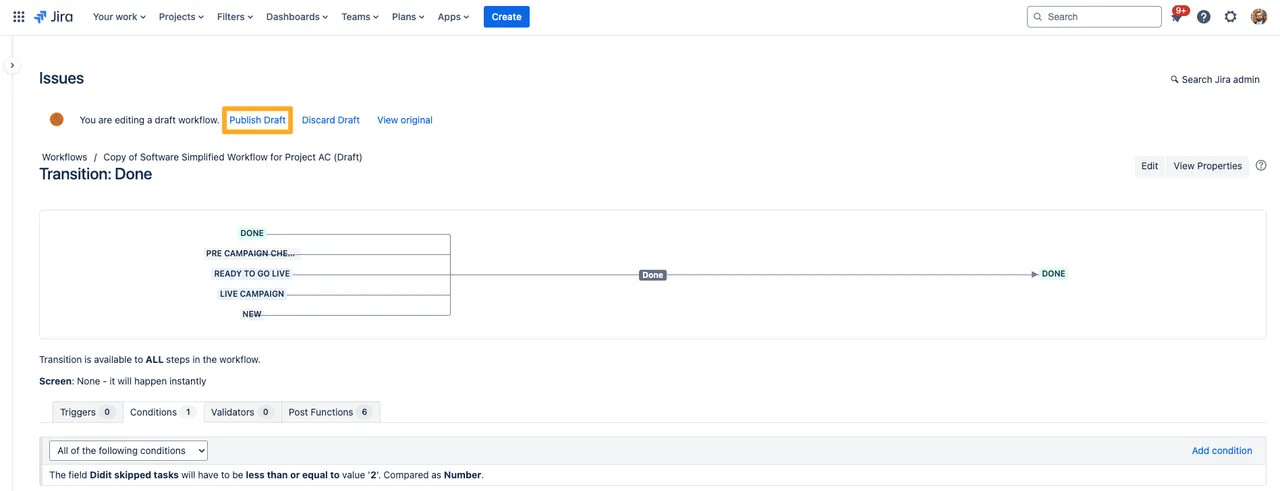
    The workflow editor with the Publish Draft button highlighted.
    The workflow editor with the Publish Draft button highlighted.
  11. Now, the transition will only show in the workflow if the number of skipped tasks is equal to or under 2.
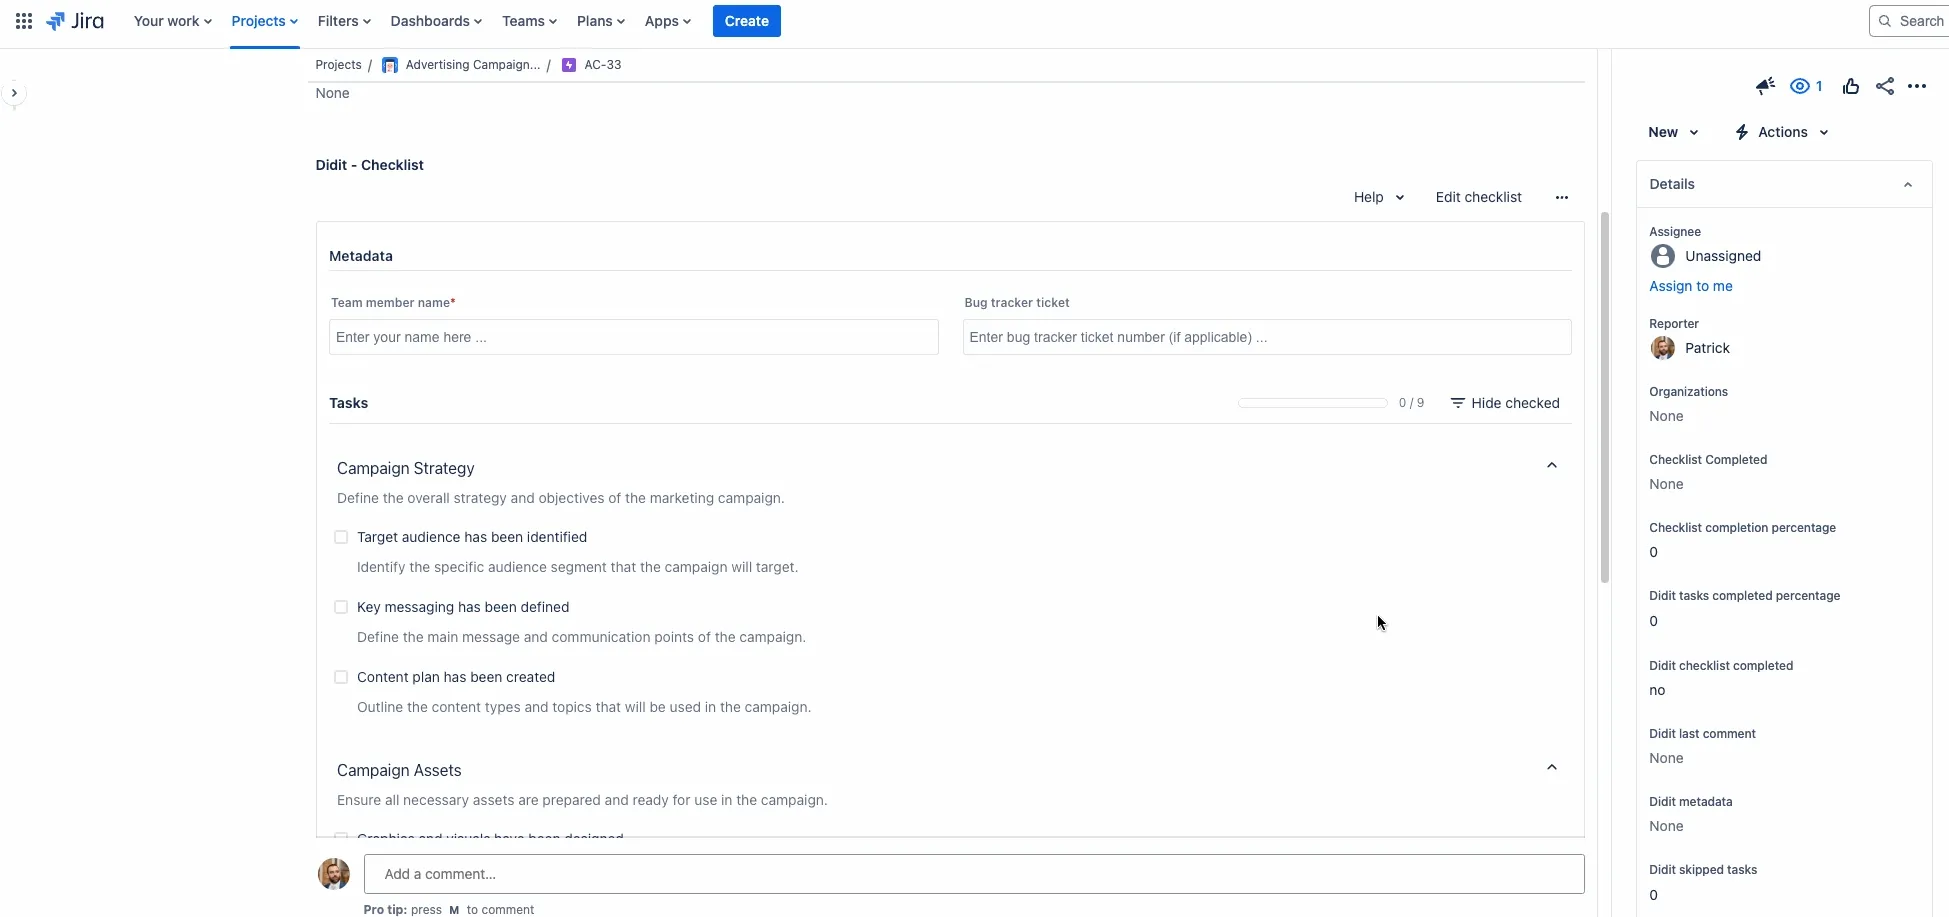
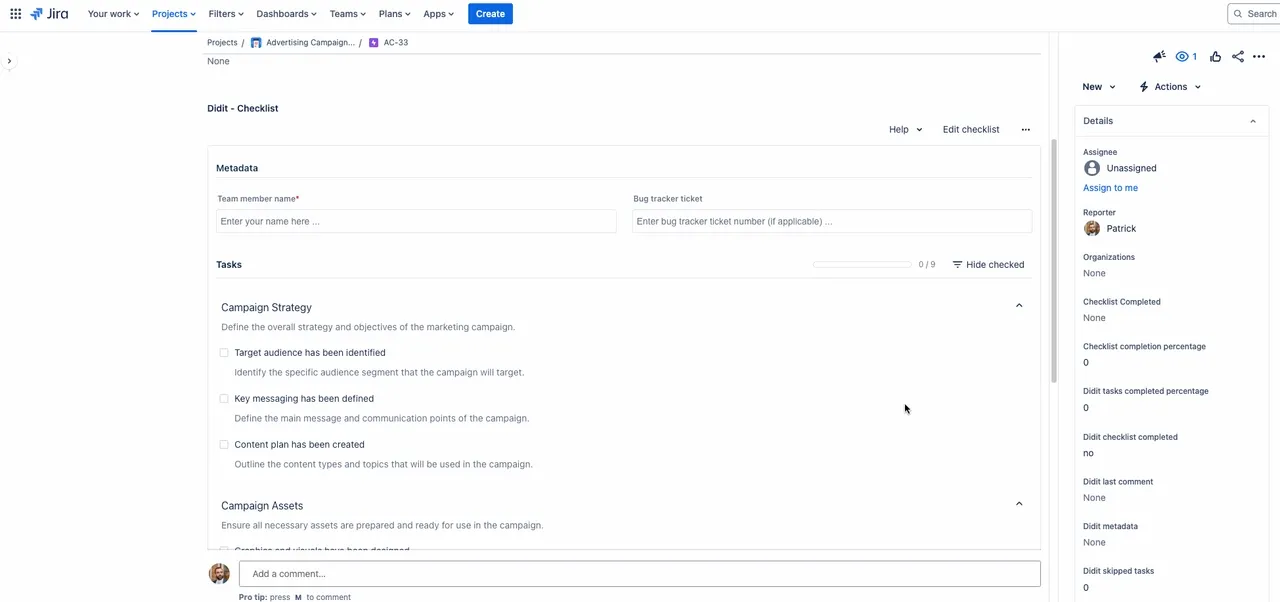
    The final result where the transition is blocked if a certain number of skipped tasks are exceeded.
    The final result where the transition is blocked if a certain number of skipped tasks are exceeded.

You can use this same method for any status and any transition in a company managed project.

Short link to this page: https://seibert.biz/diditconditionskipped