How to create a template for checklists in the Didit hub
Error after creation
If you encounter an error after creating your template, please ensure that the “atlassian-addons-admin” group is granted the “Browse users and groups” permission in your Global Permissions. If you do not have access to this Global permissions page, please contact your Jira administrator.
How to create templates from scratch in the Didit hub
-
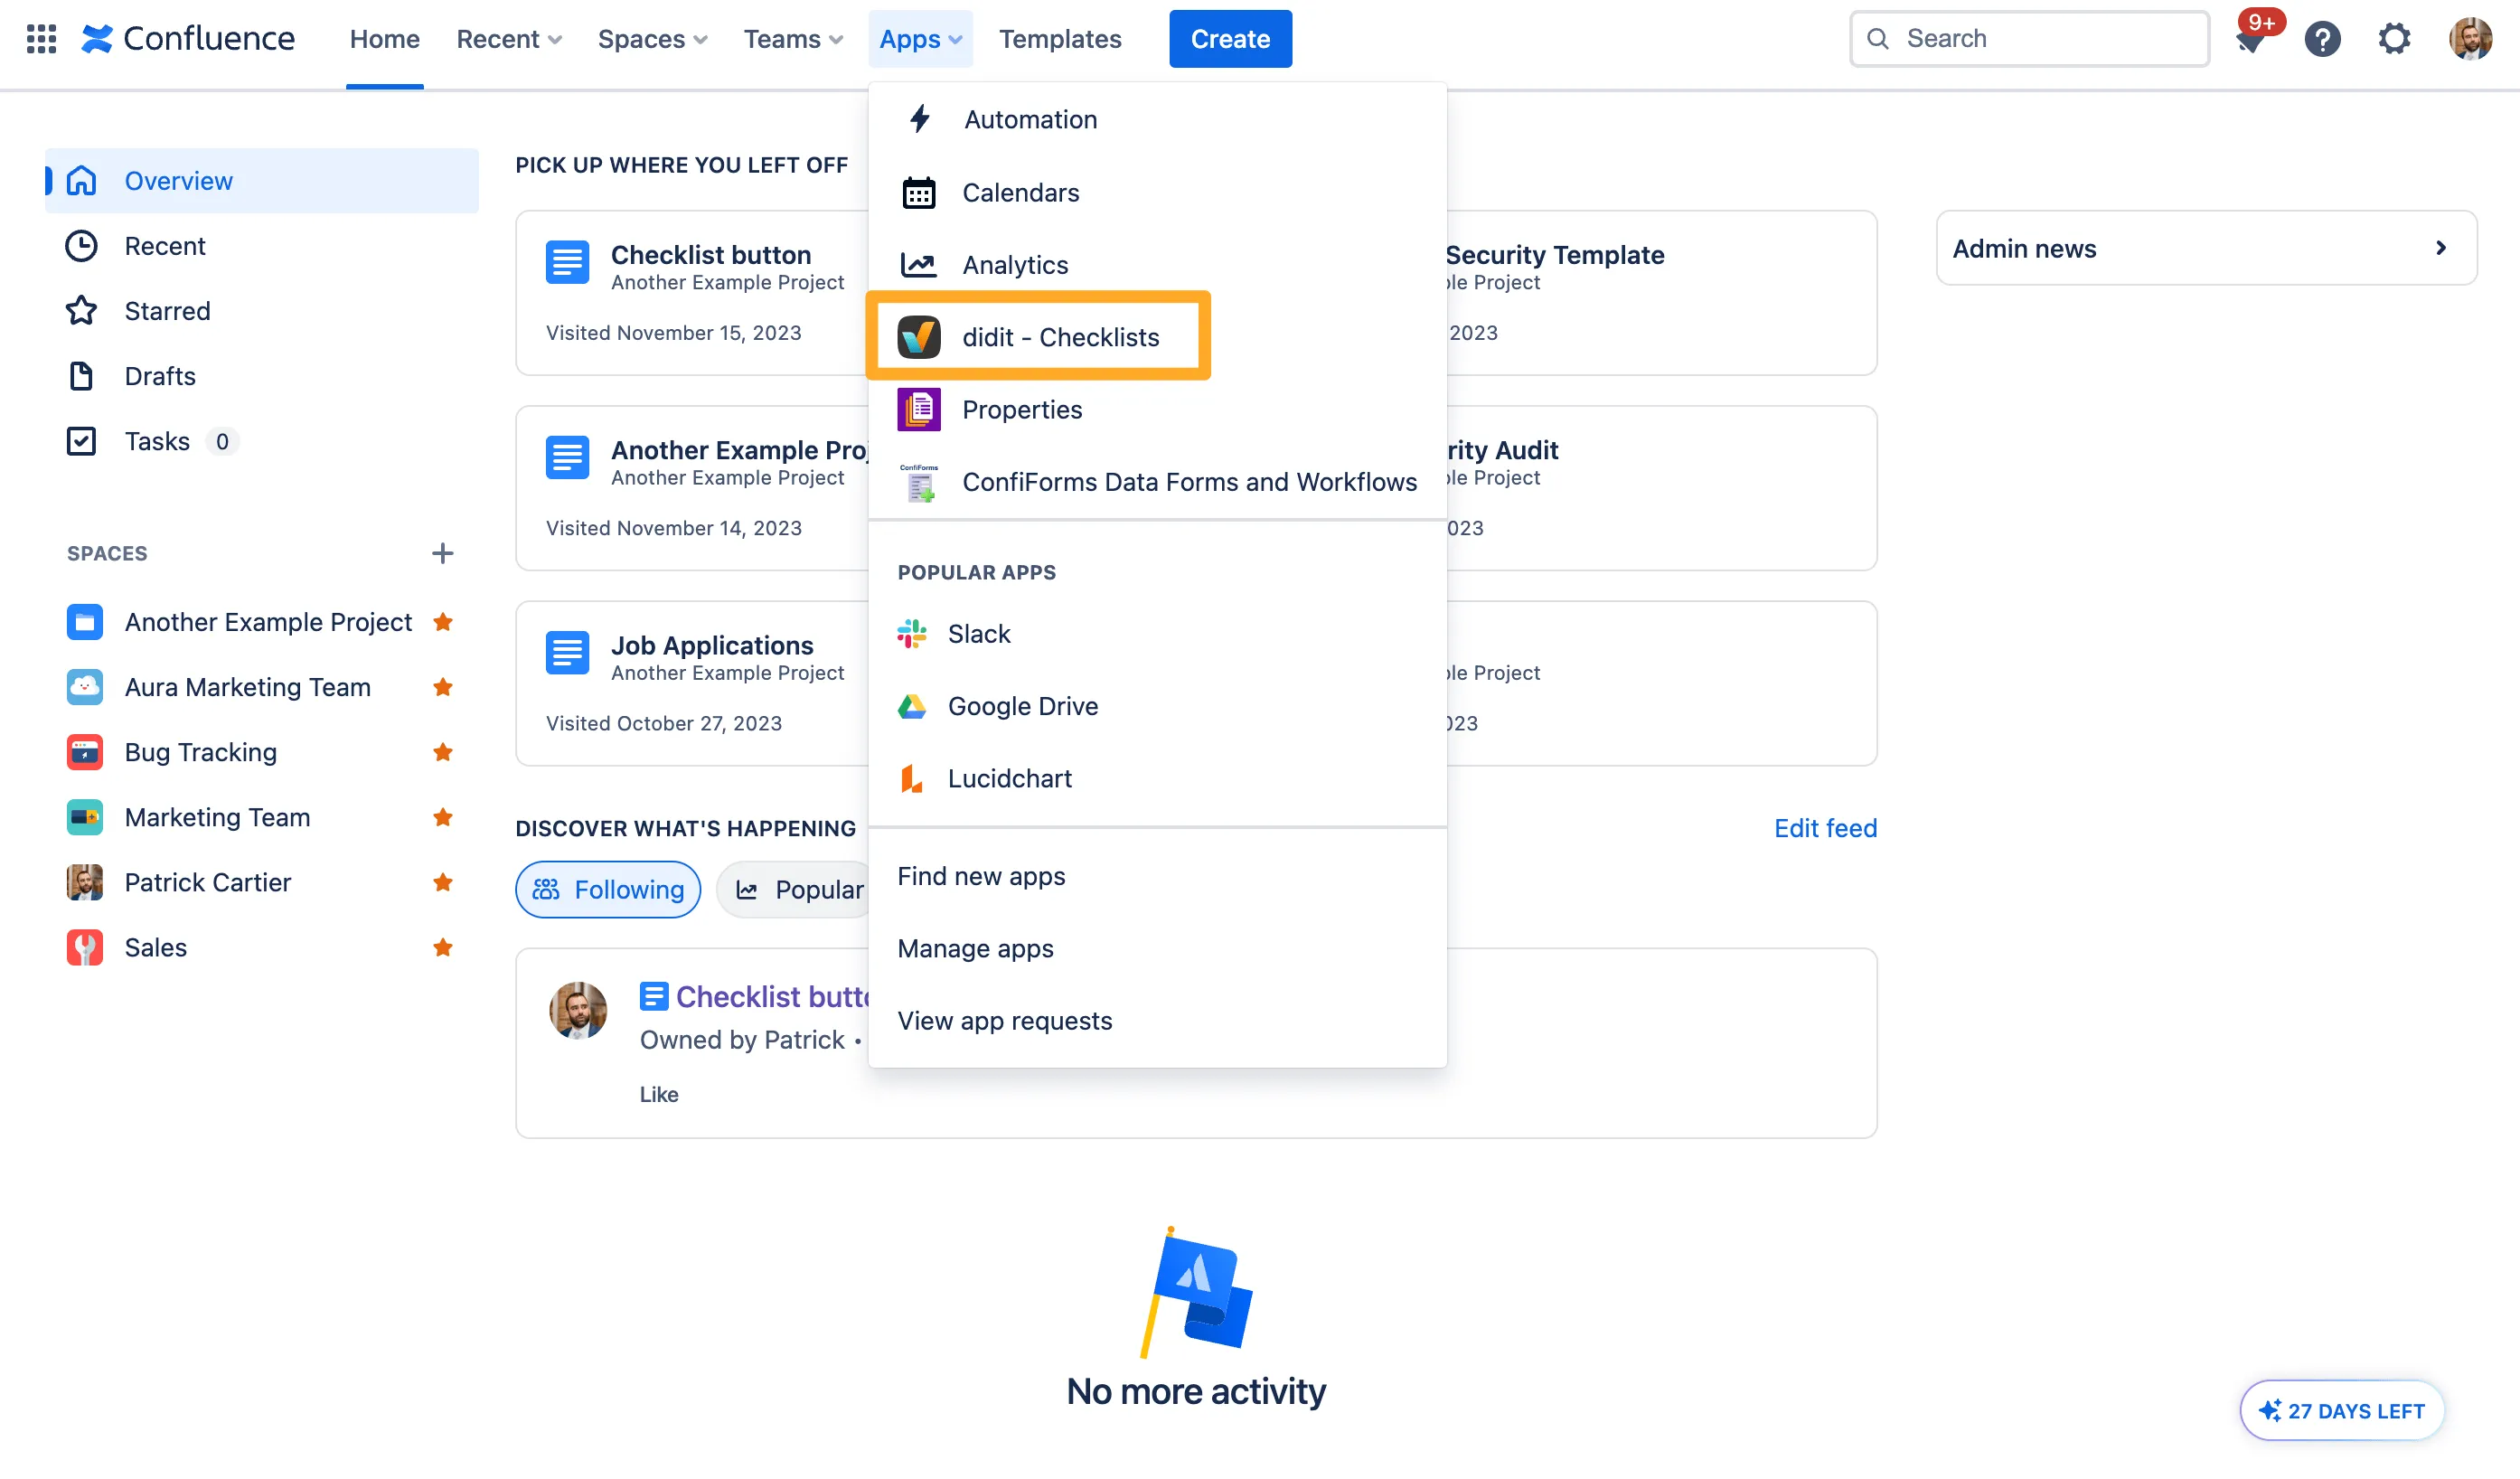
Navigate to the Didit hub in Confluence or Jira.

-
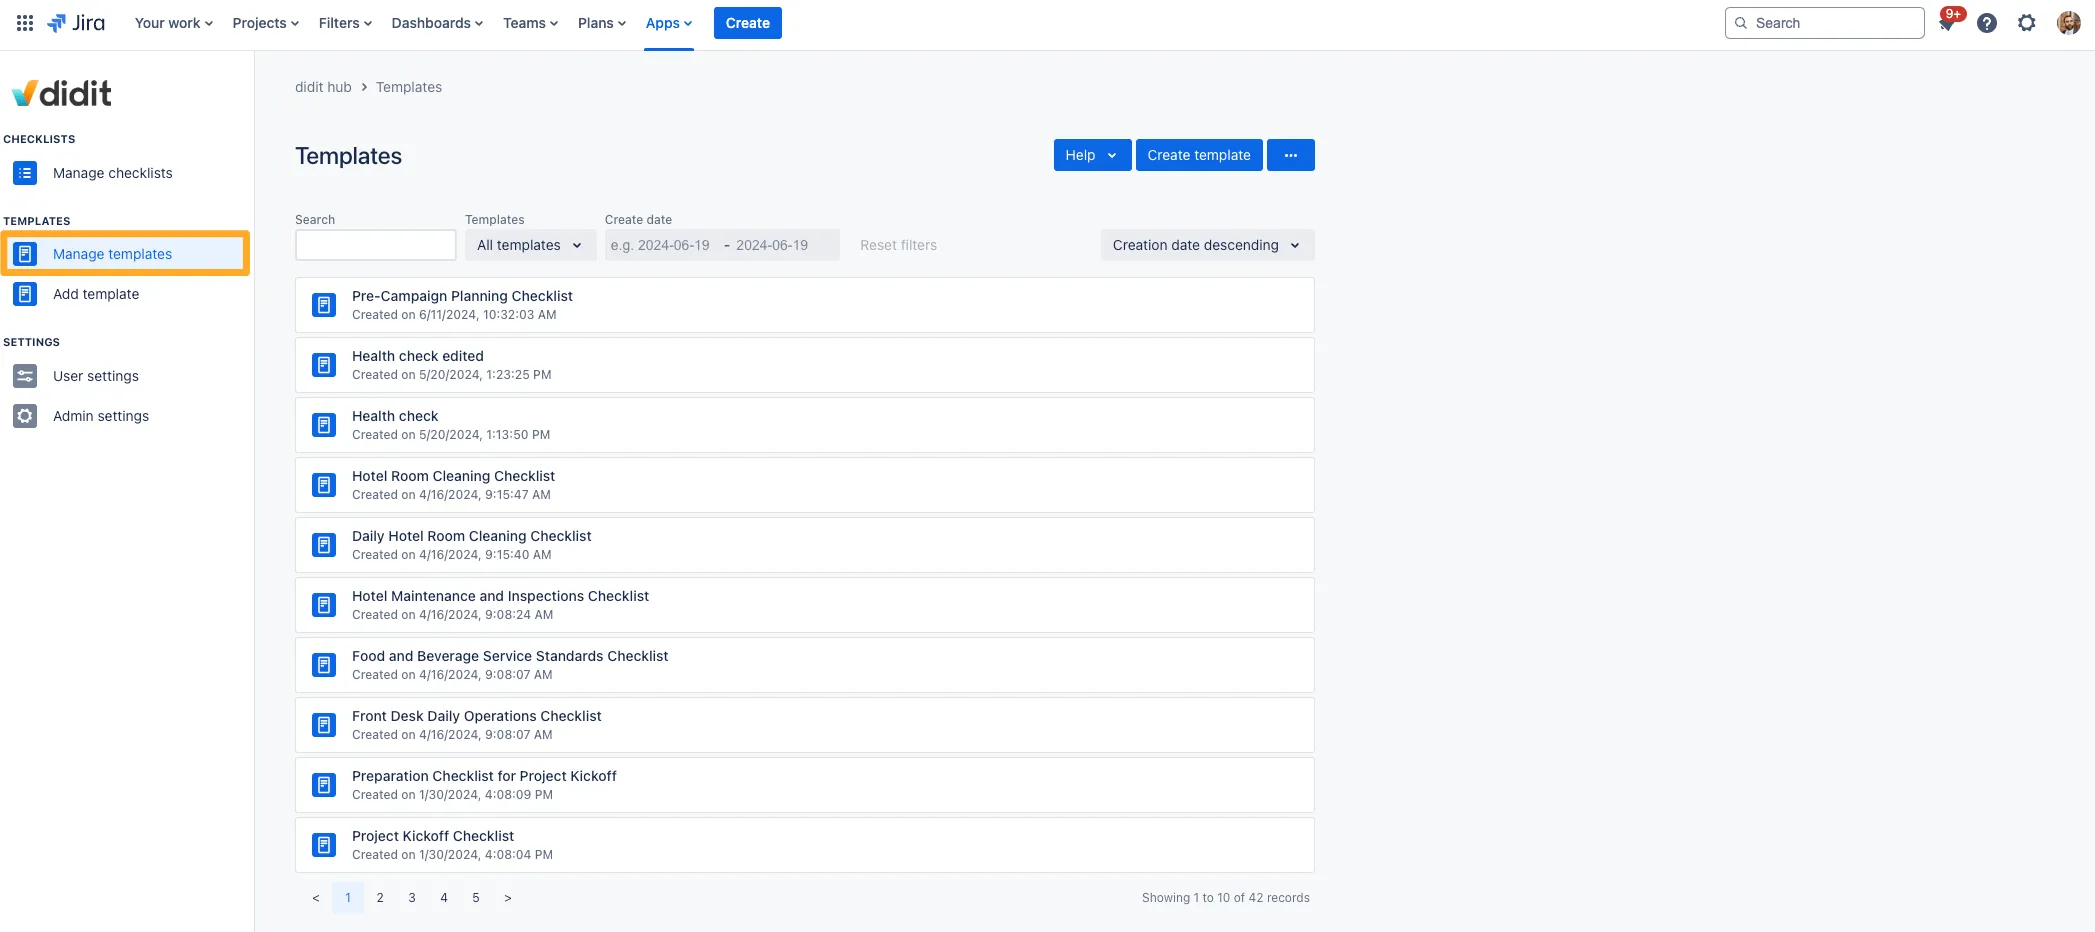
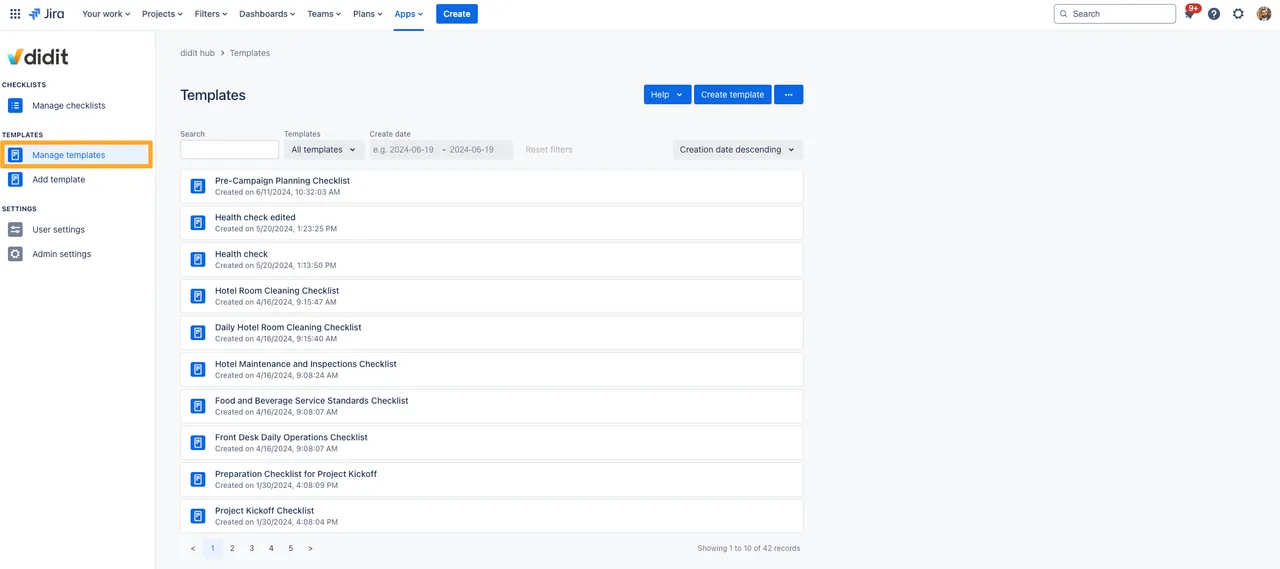
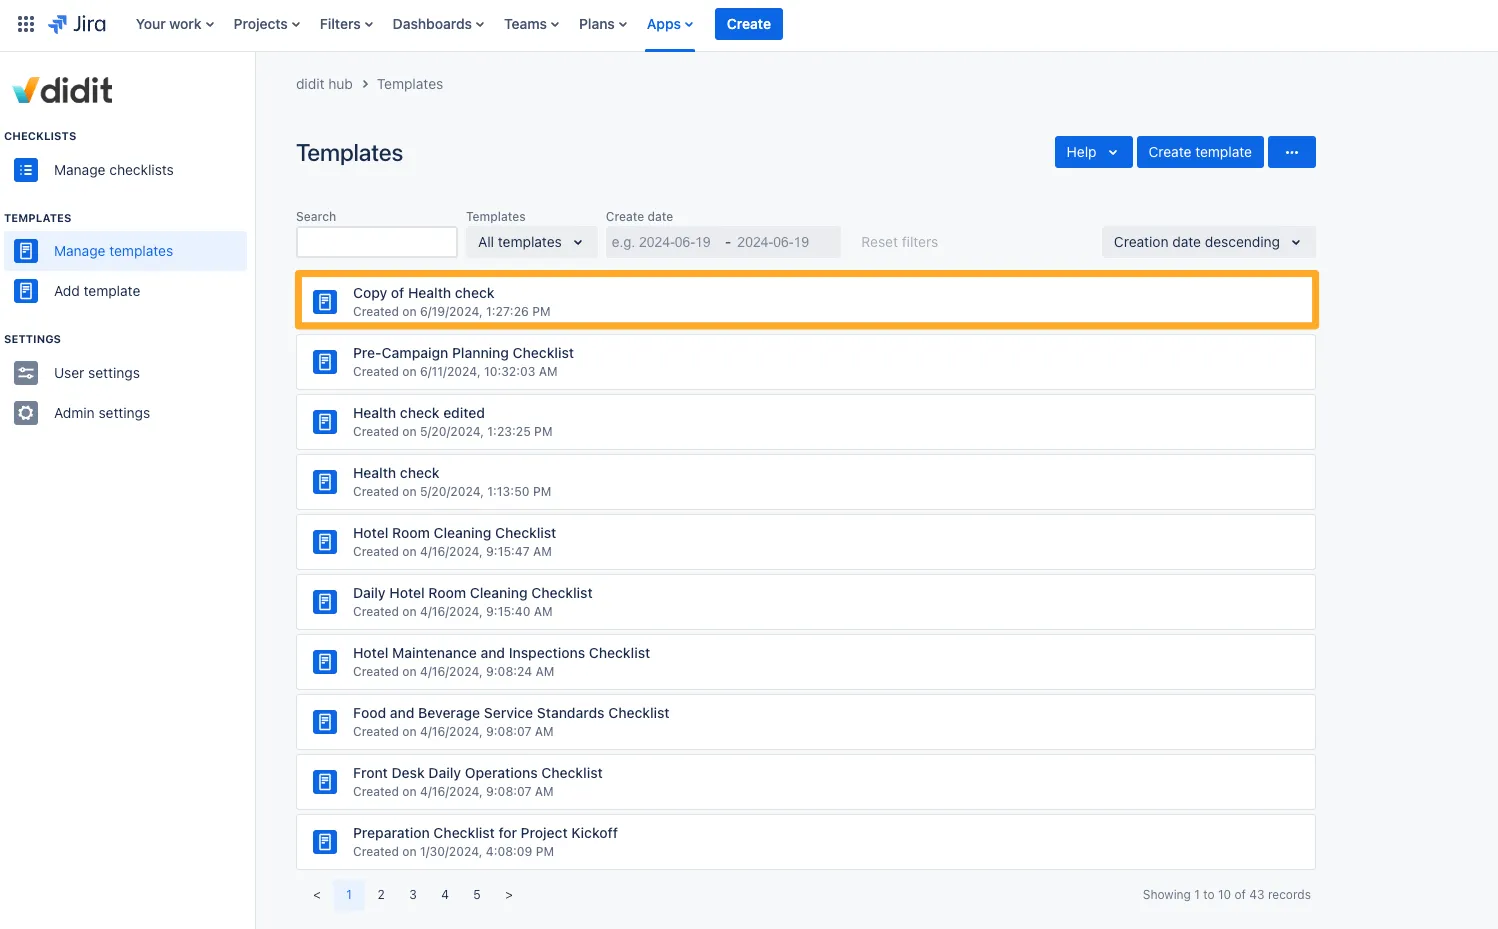
Choose ” Manage templates” on the left side.
-
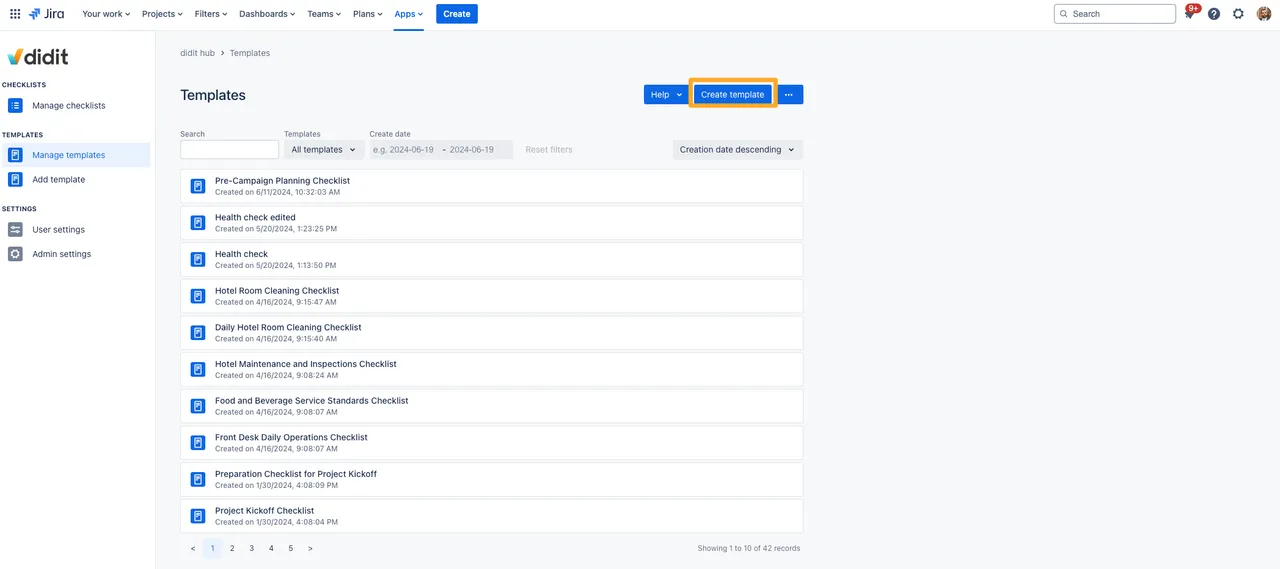
Select the “Create template” button.

-
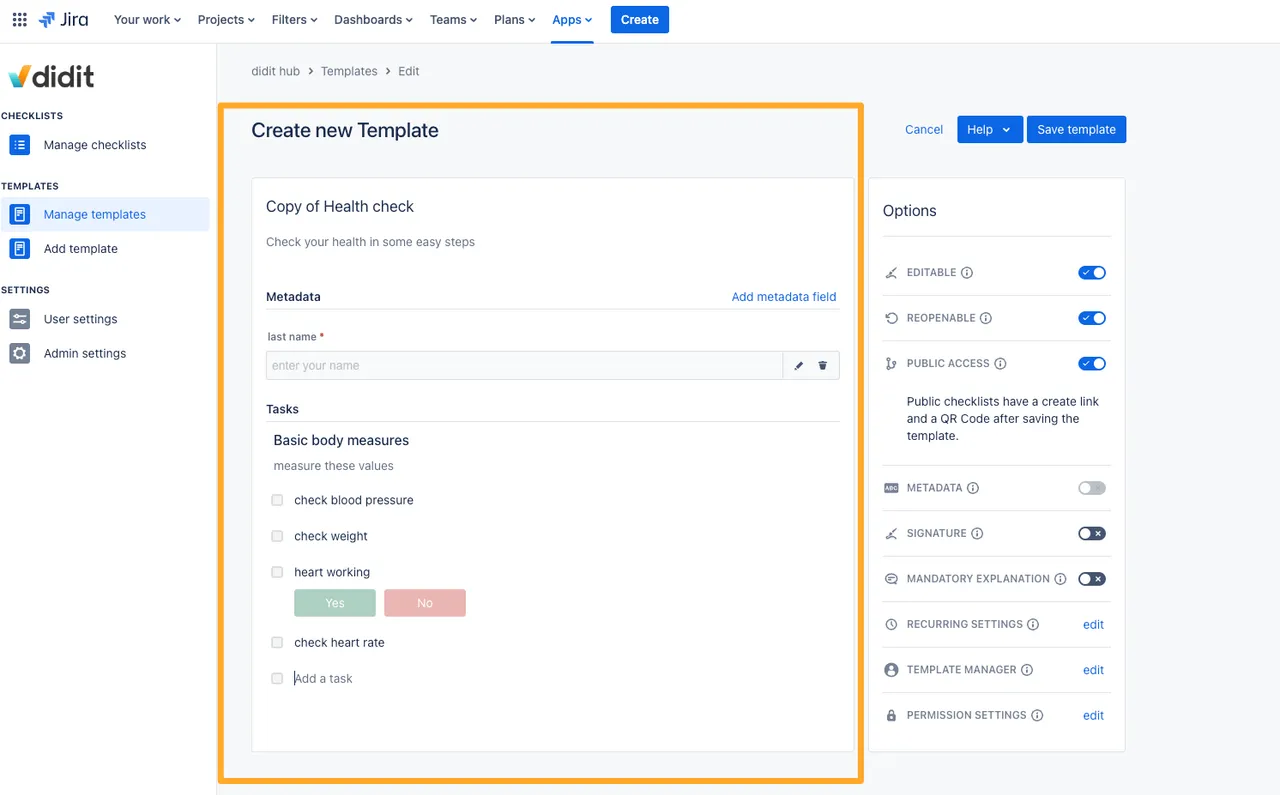
Enter the information for a checklist name and different tasks as you see fit. You can also add metadata at this step.

-
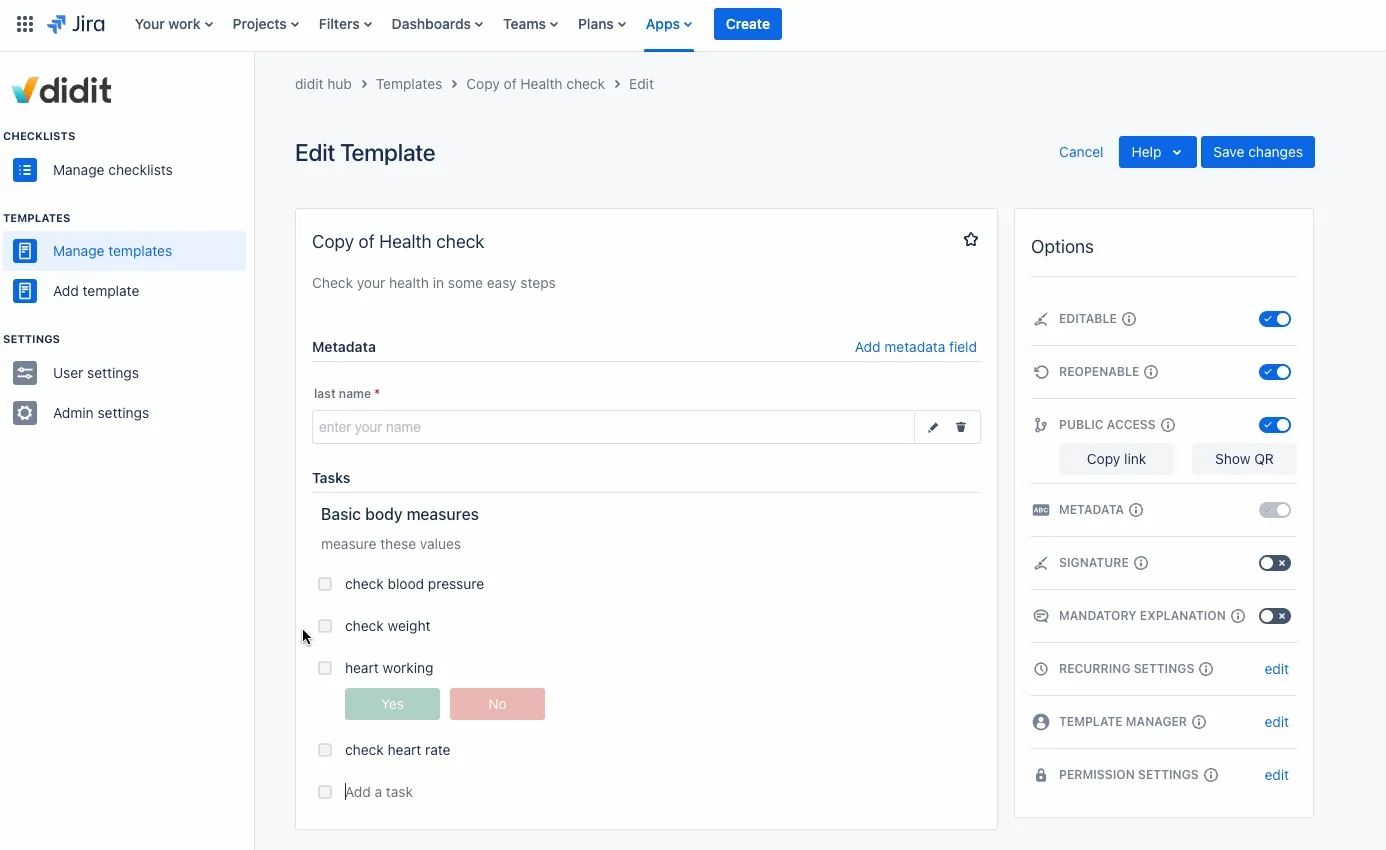
Don’t forget to hit “Save template” at the end.


-
You now have created a template!

A short gif of how the process works
This is the standard way to create a new template.

If you are not satisfied with the order of your tasks, don’t worry! You can simply drag and drop each task to reorder it as you see fit!

You can also create templates directly in Confluence pages.
Here is an explanation in our changelog.Link to this page: https://seibert.biz/createtemplatefromscratch