On this page:

How to create an issue and a checklist on a schedule
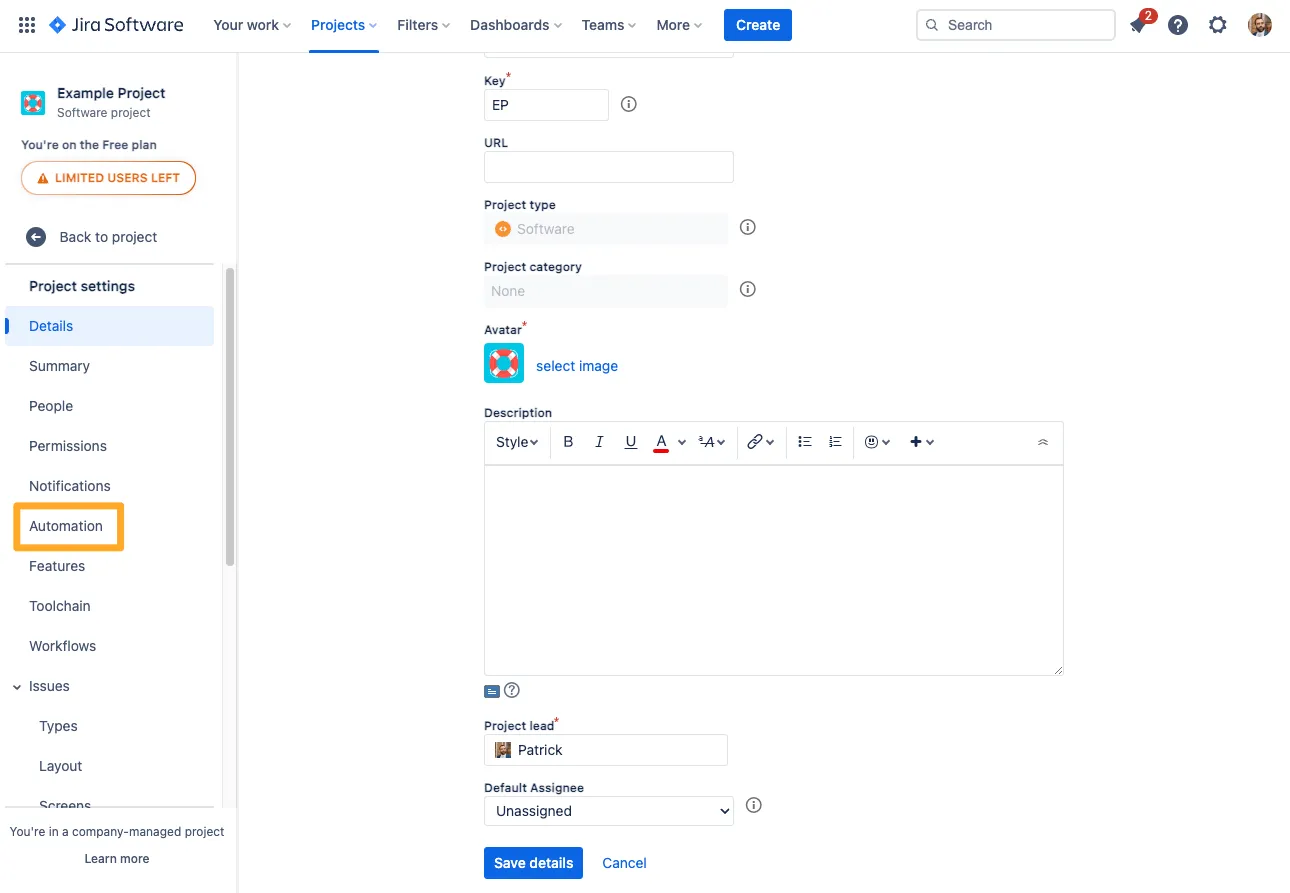
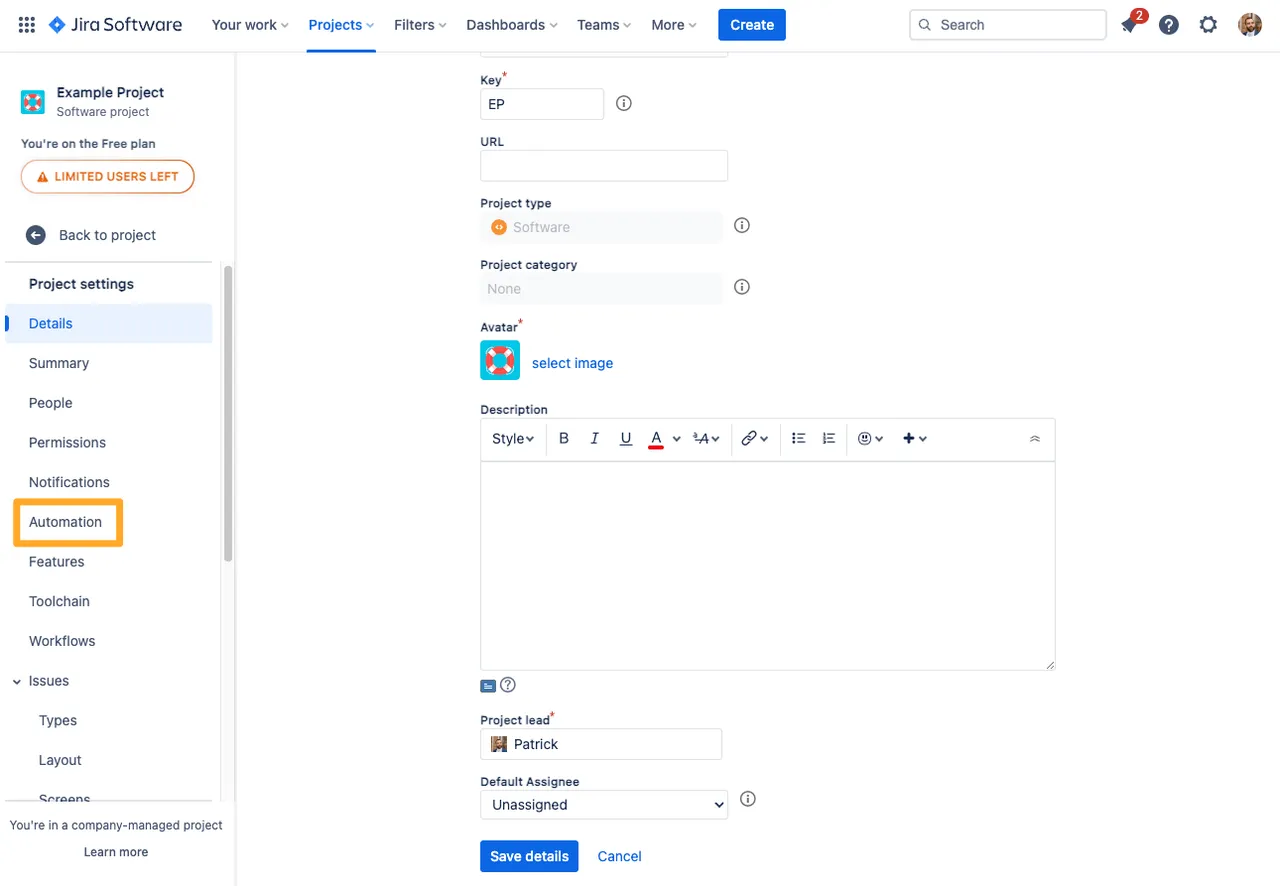
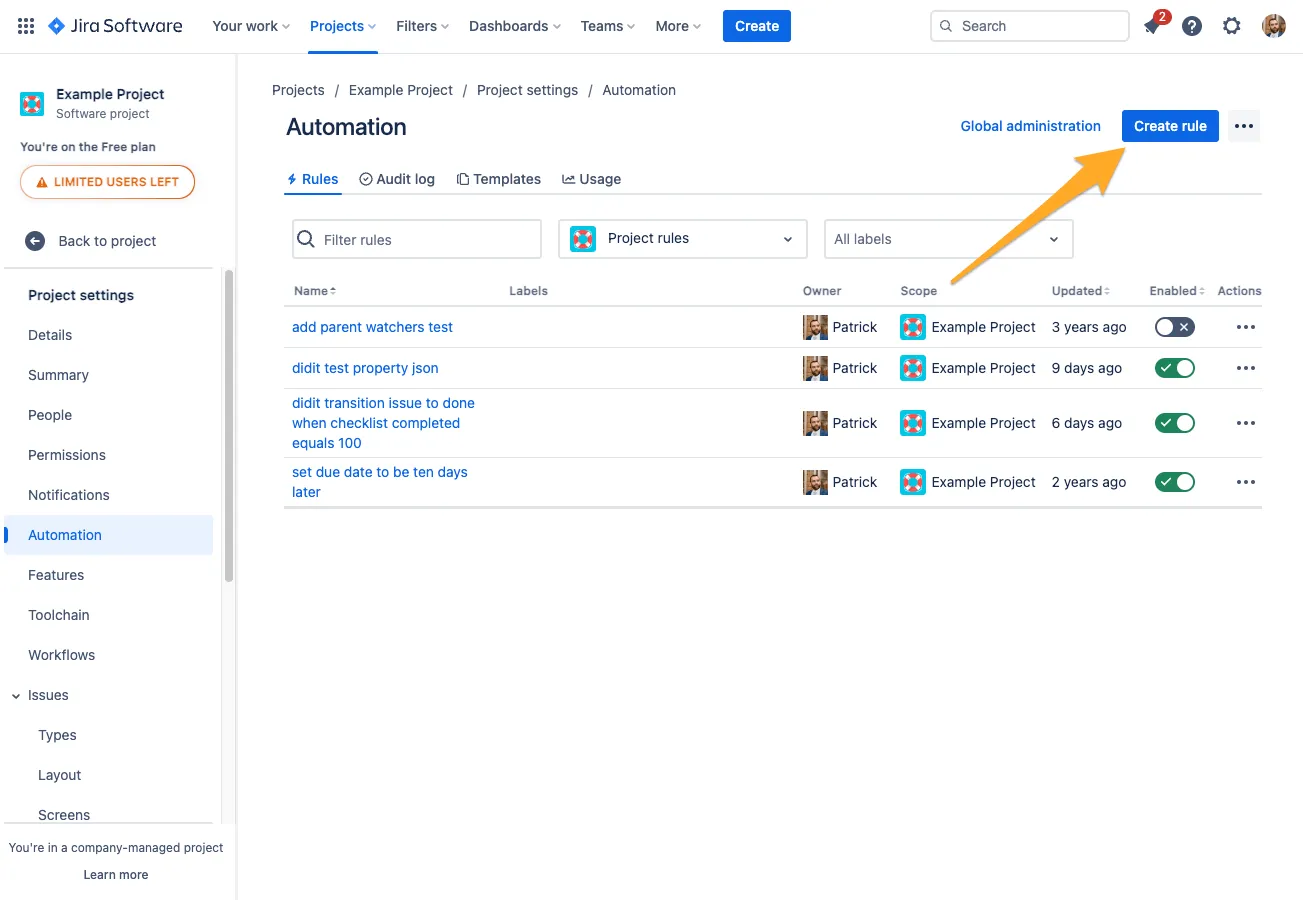
  1. Project settings in Jira with the automation section highlighted.
    Project settings in Jira with the automation section highlighted.
  2. Click “Create rule.”

    The automation admin section with an arrow to the create rule button.
    The automation admin section with an arrow to the create rule button.
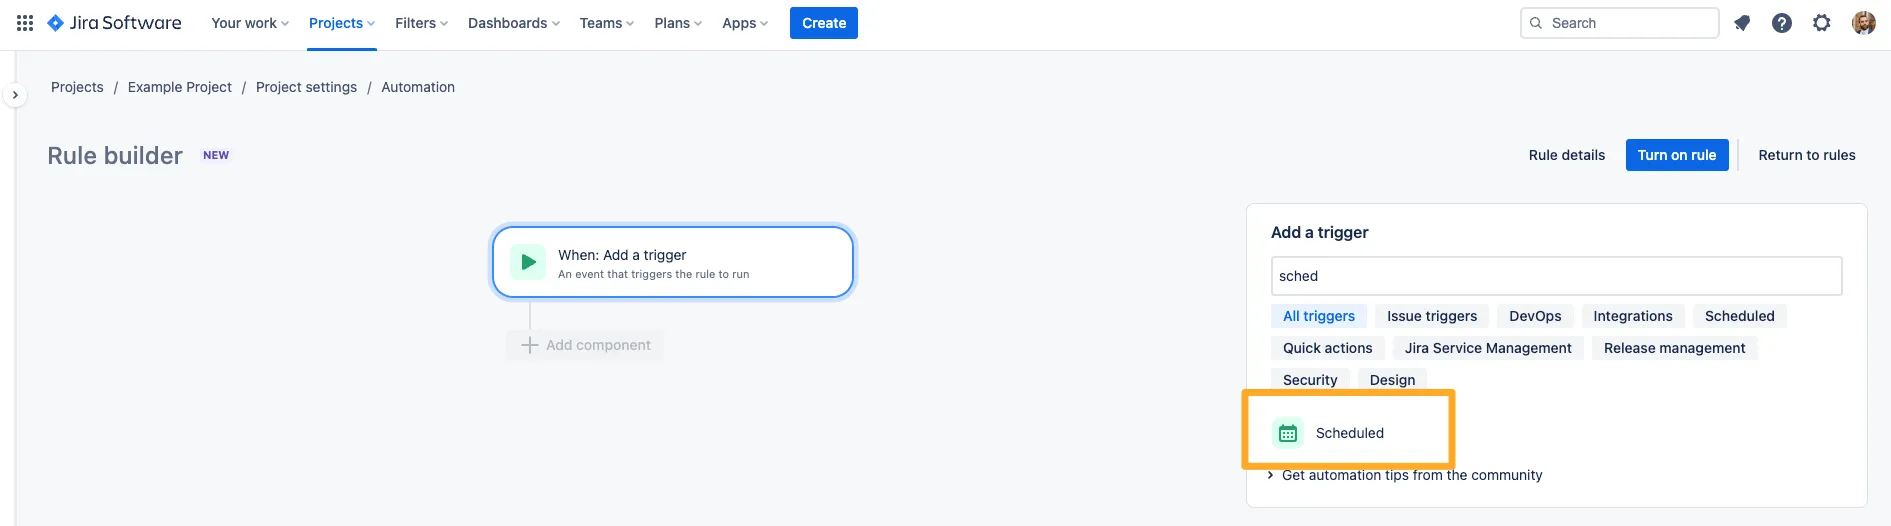
  3. Add the “Scheduled” trigger.

    The scheduled trigger for an automation rule.
    The scheduled trigger for an automation rule.
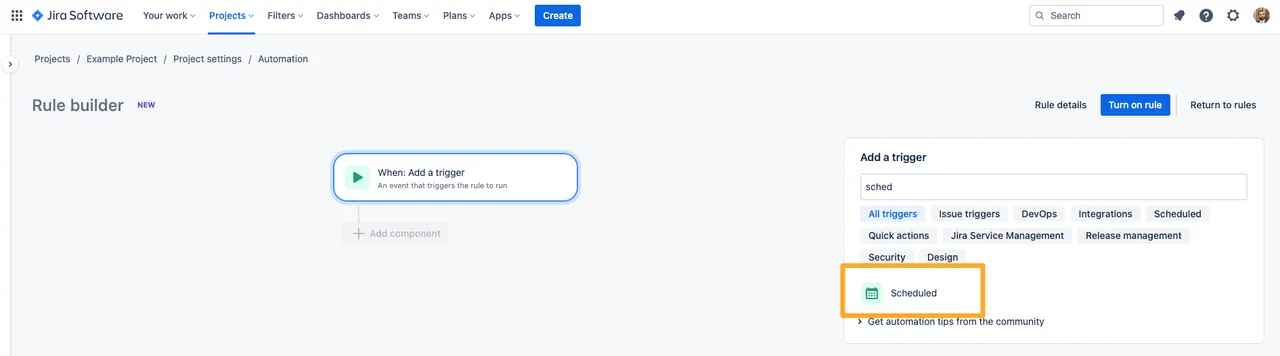
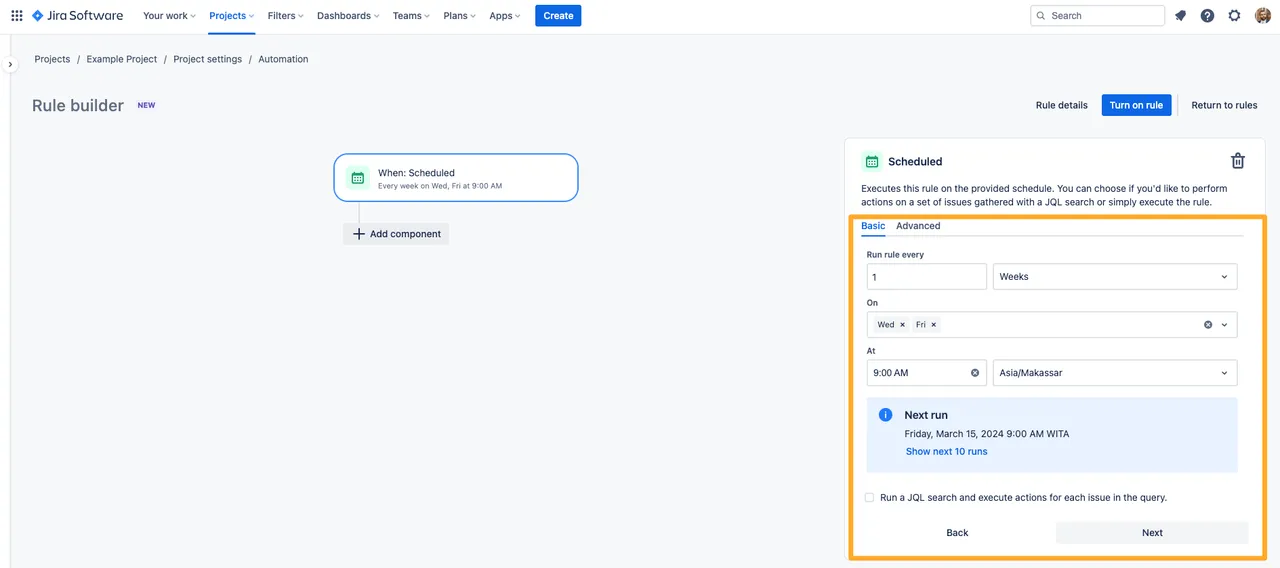
  4. Set the schedule you would like.

    The settings for the scheduled trigger.
    The settings for the scheduled trigger.
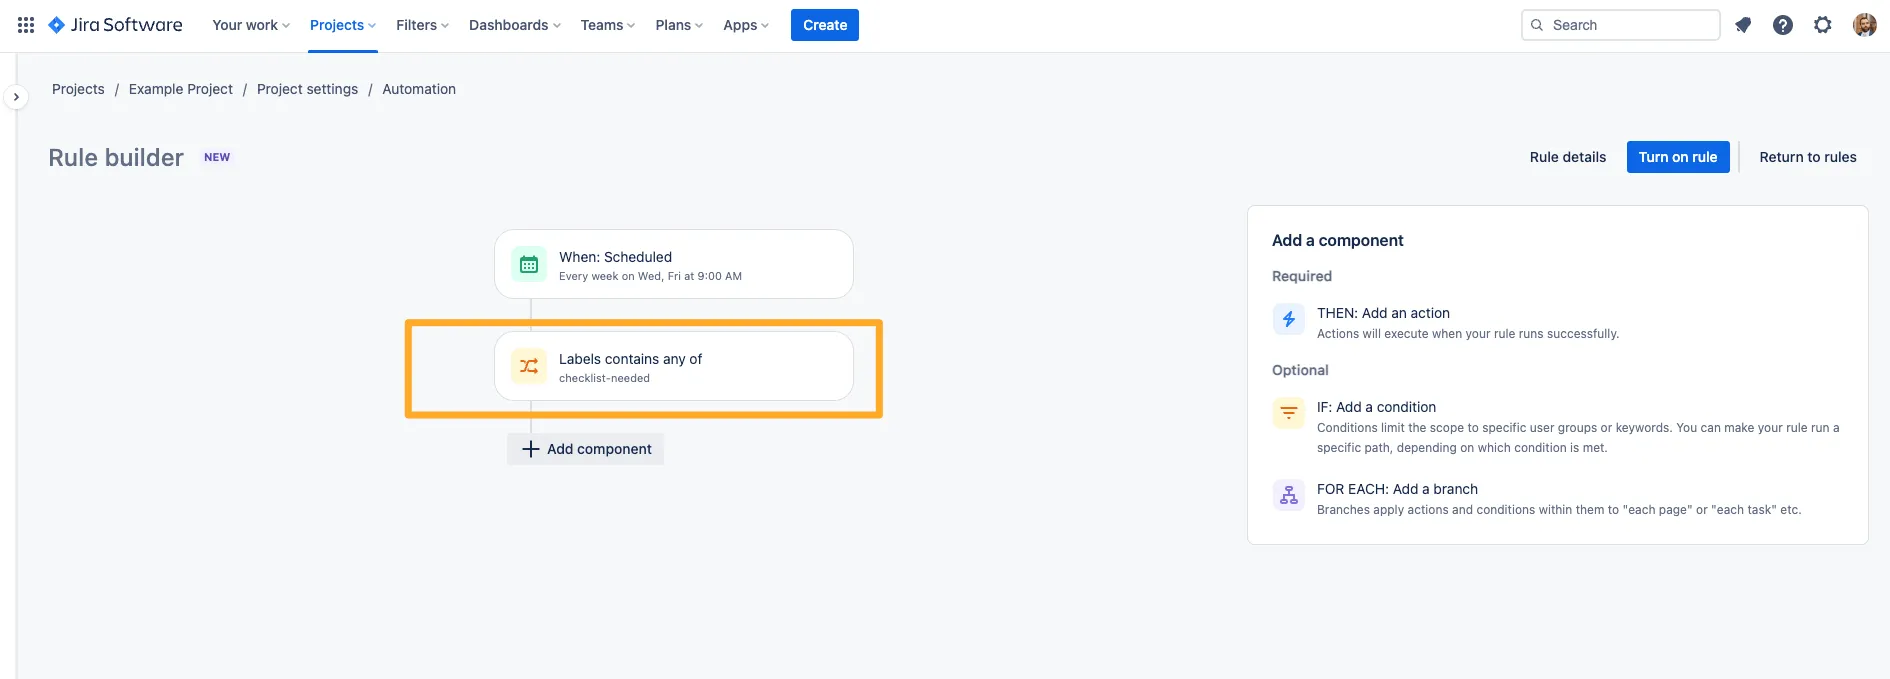
  5. If you would like to add a condition, you can do so here.

    A condition for labels added to the rule.
    A condition for labels added to the rule.
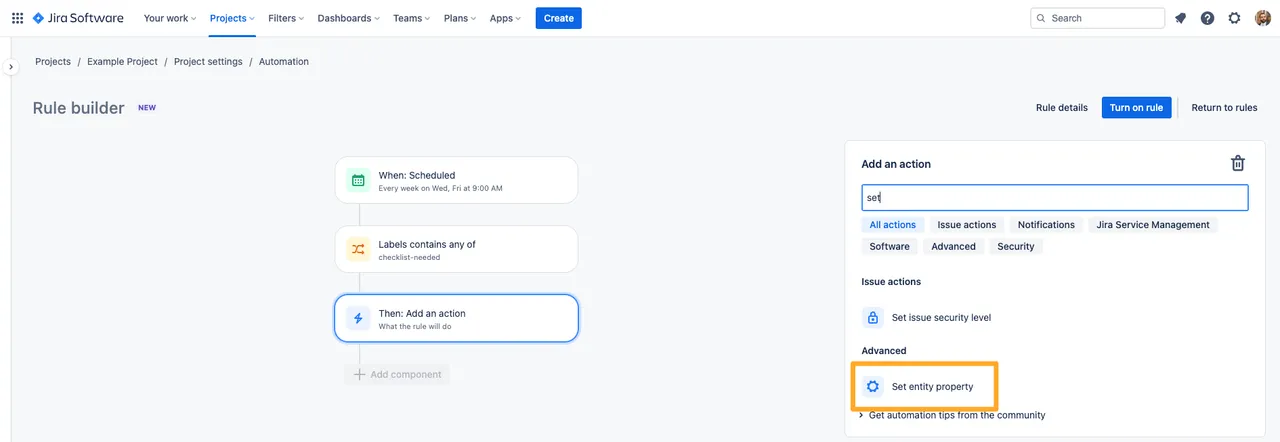
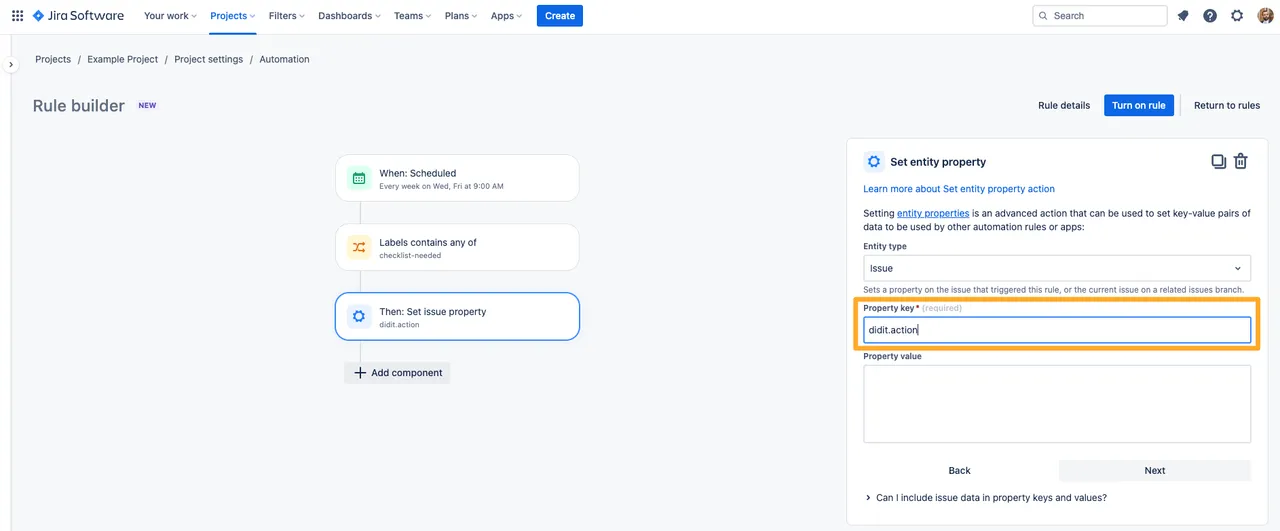
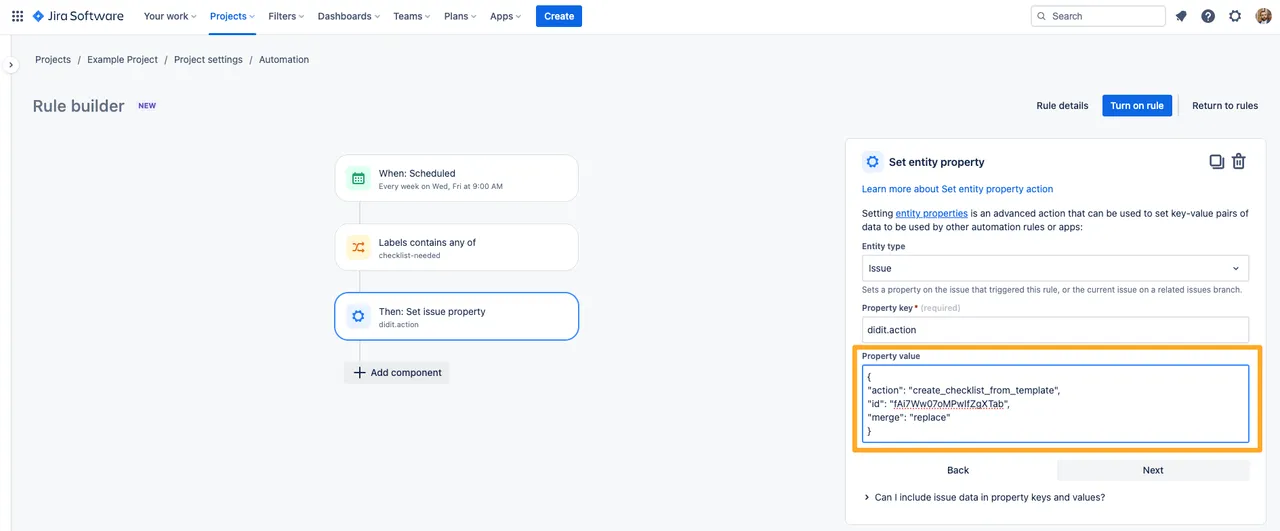
  6. For the automation action, choose the “Set entity property” action.

    The automation action to set entity property.
    The automation action to set entity property.
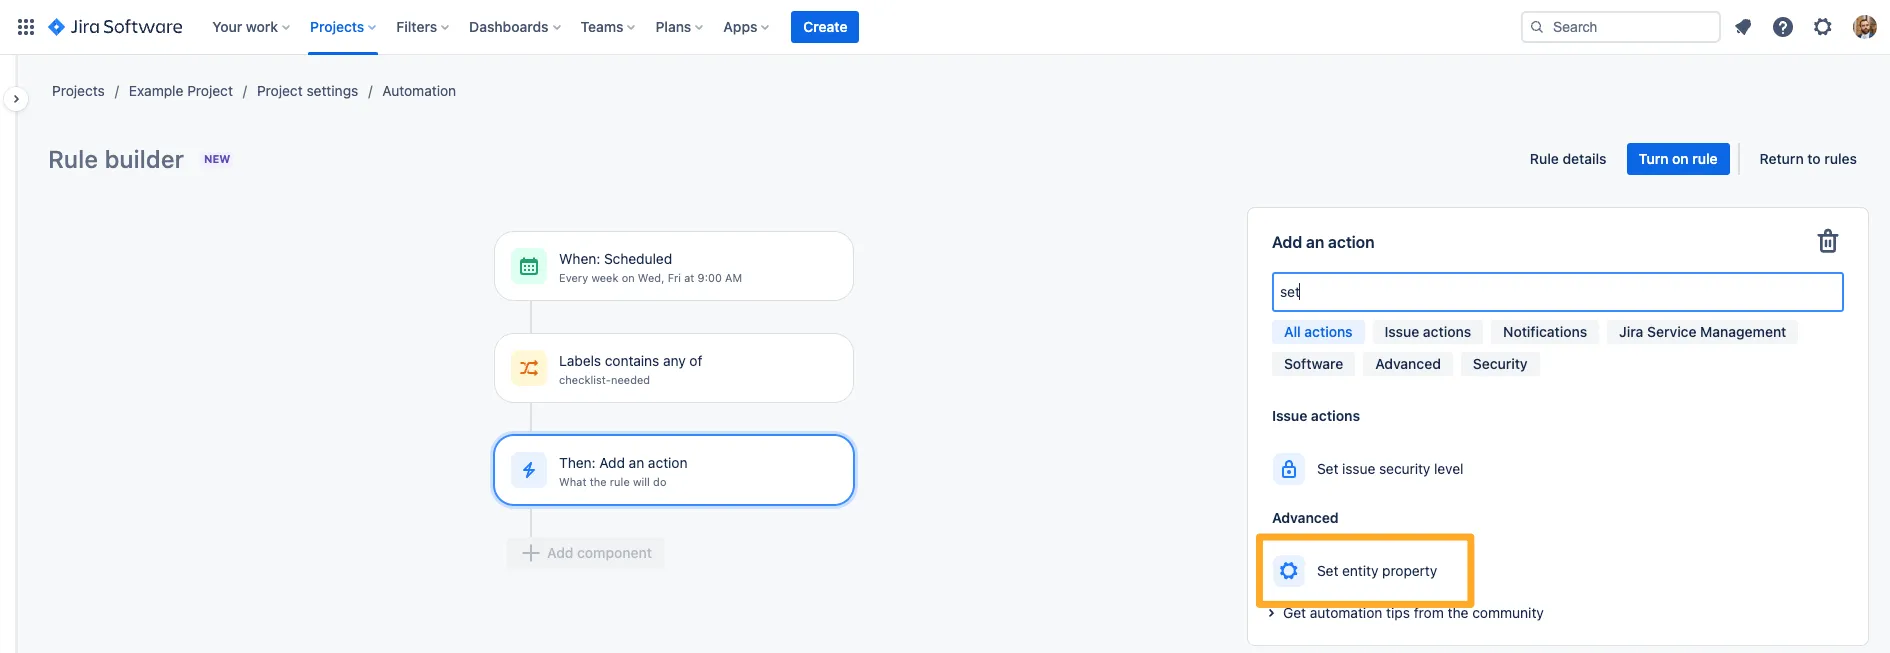
  7. In the “Property key” field, add the text “didit.action.” Please note that the “didit.action” property is case sensitive.

    The property key in the set entity property set to didit.action.
    The property key in the set entity property set to didit.action.
  8. For the “Property value,” you can either use Markdown to set an ad-hoc checklist or JSON to add a checklist from a template.

    For examples on Markdown and JSON, please visit our Jira automation examples page.

    The JSON to replace the checklist in the property value.
    The JSON to replace the checklist in the property value.
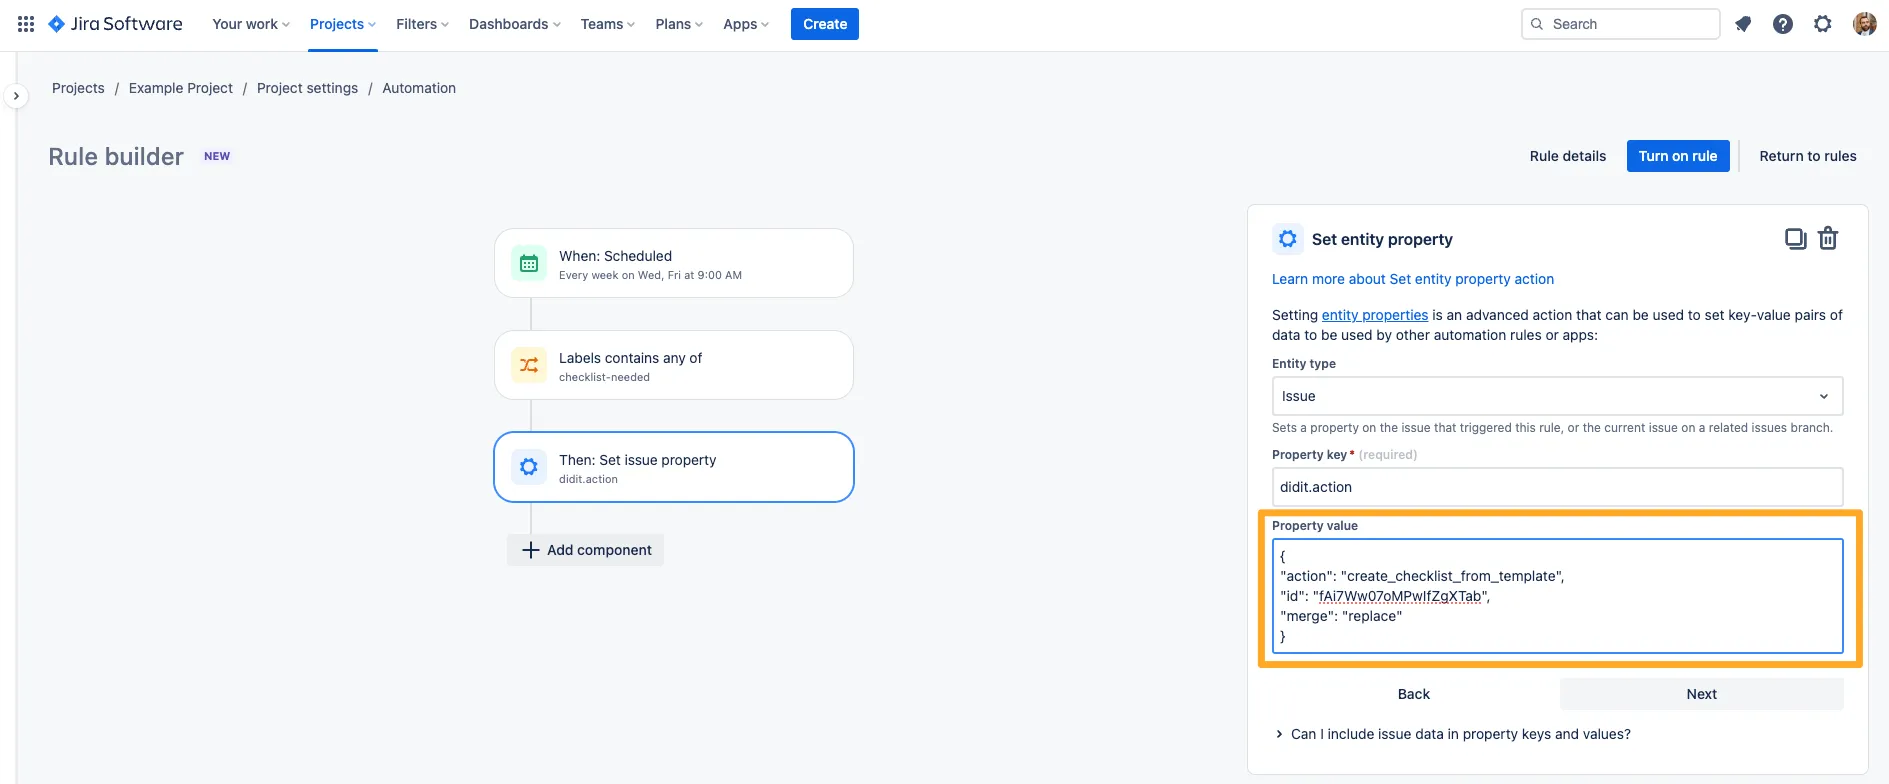
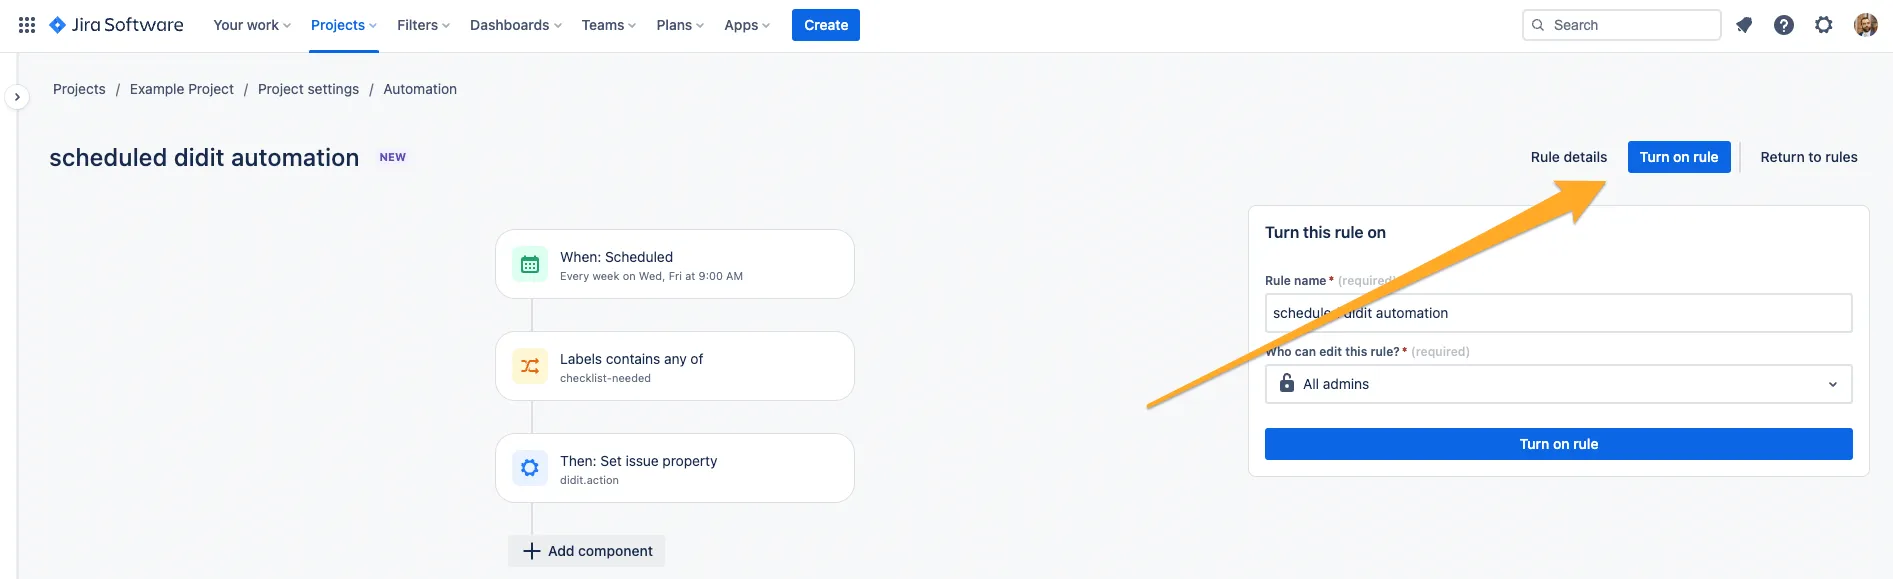
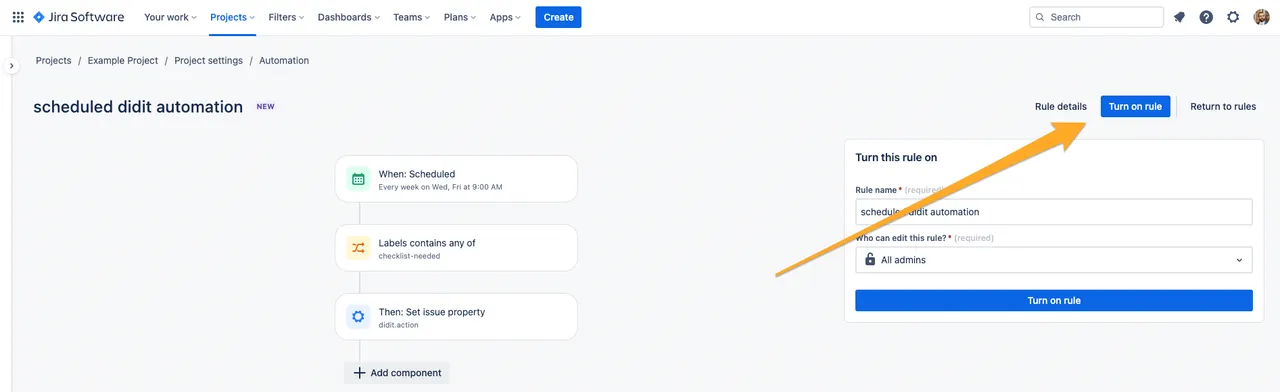
  9. When you are finished, turn on the rule and you can see it in action.

    The automation rule with an arrow to the turn on rule button.
    The automation rule with an arrow to the turn on rule button.

Link to this page: https://seibert.biz/diditautomationschedule