How to migrate all checklists from Checklist for Jira
Initial preparation
If you haven’t already, be sure to check out our initial preparation steps before starting the global migration process.
We assume in this documentation that you’re using one of the three versions of Checklists for Jira and are willing to update all your existing checklists in your Jira instance. This can be Checklists for Jira (Free), Checklists for Jira (Pro), or Checklists for Jira (Enterprise). If you do not want to migrate all your data, check out our individual migration feature.
If you find yourself here, you are probably ready to bulk migrate all of you Checklists for Jira checklists to Didit checklists. This page is meant for teams in enterprise secnarios looking for bulk processing and migration benefits. The benefits of the global migration are obvious, all of your checklists will get migrated. The downside is you cannot choose which checklists you would like to migrate since this tool is all encompassing.
Jira administrator permission required.
For bulk migration we require Jira administrator permission or higher. If you do not have this permission, please reach out to your Jira admin for help.
-
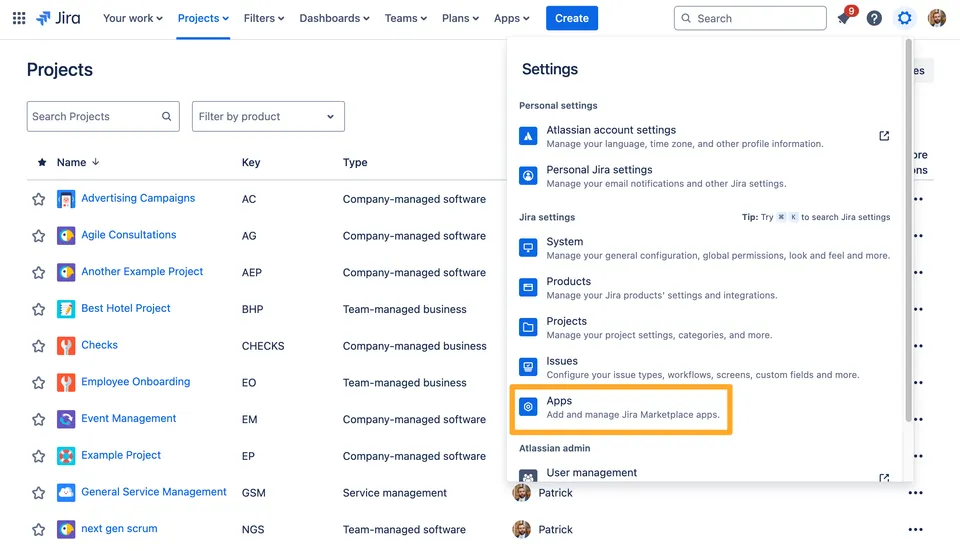
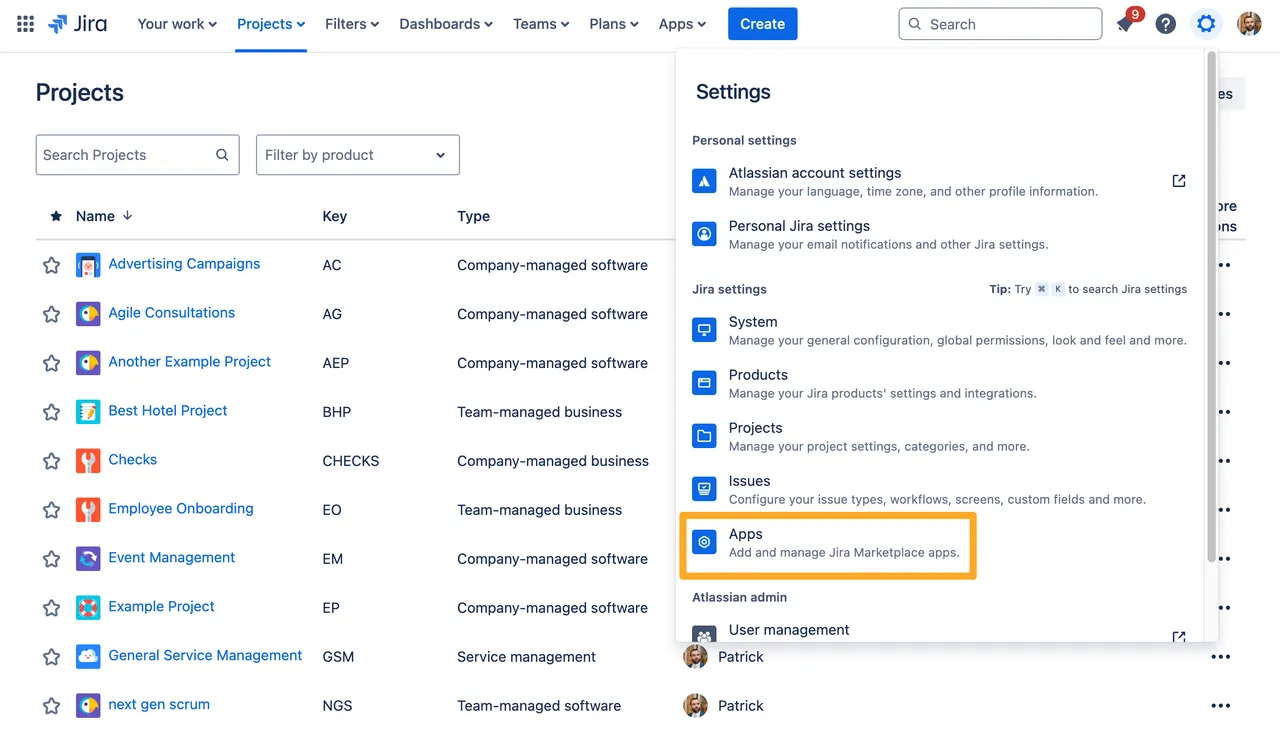
Navigate to the apps admin section at the top of Jira.
-
Find the Didit section on the left side and look for the “Import” button.
-
Your “Migration sources” will default to whichever Checklists for Jira app version you currently have installed.
Multiple versions installed
If you have multiple versions installed, be sure to choose the one which you wish to migrate the data from. In the end, you may see checklists from both versions migrated, even if you do not select a version because Checklists for Jira stores the data in the same way for each version.
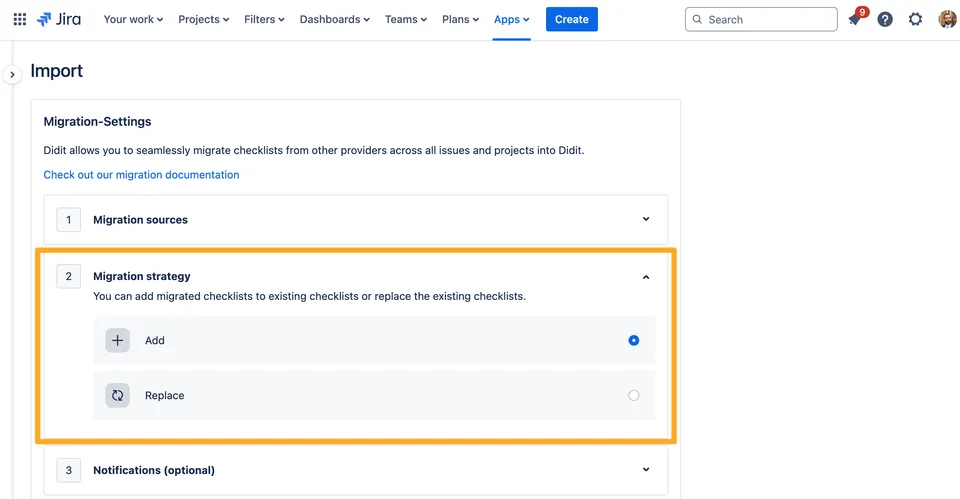
Choose to “Add” or “Replace” the existing Didit checklists in Jira issues.

-
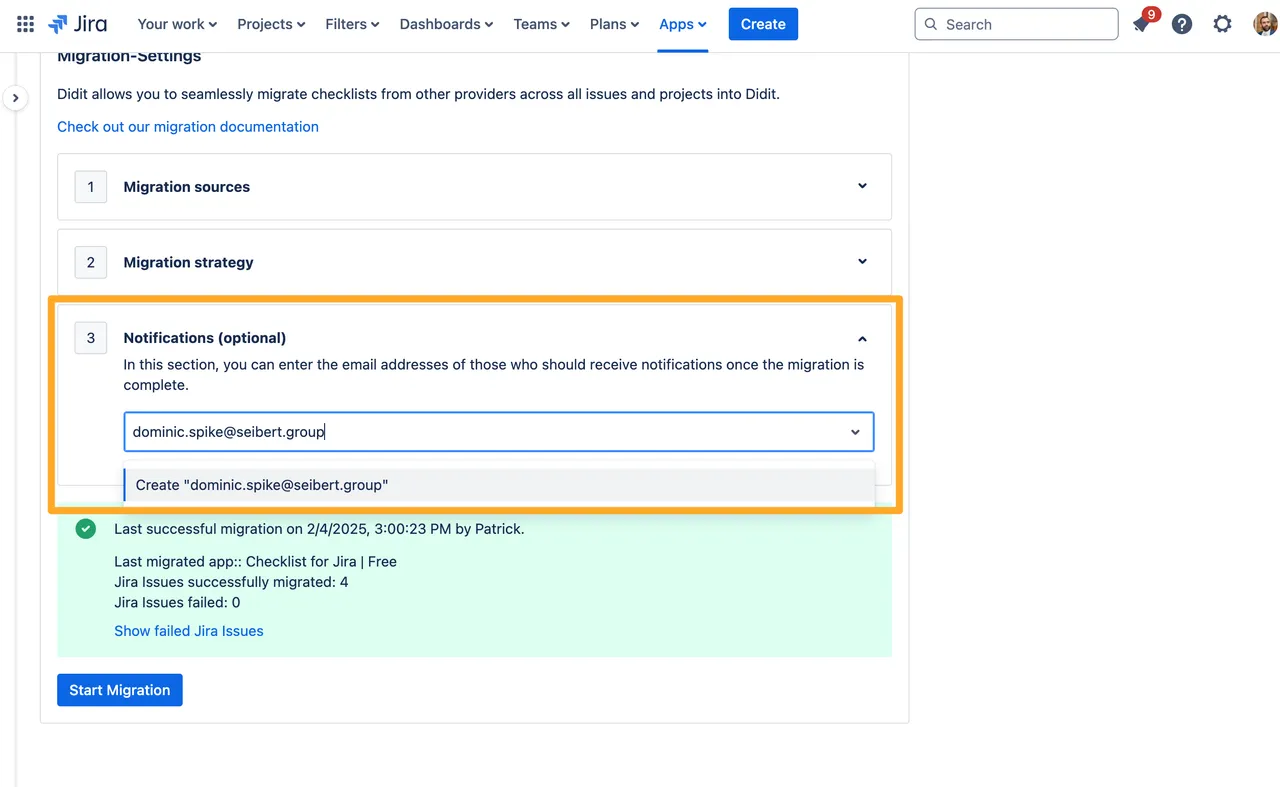
Determine who to send notifications to, if anyone. You can notify anyone you’d like, but the link will only work for Jira users.

-
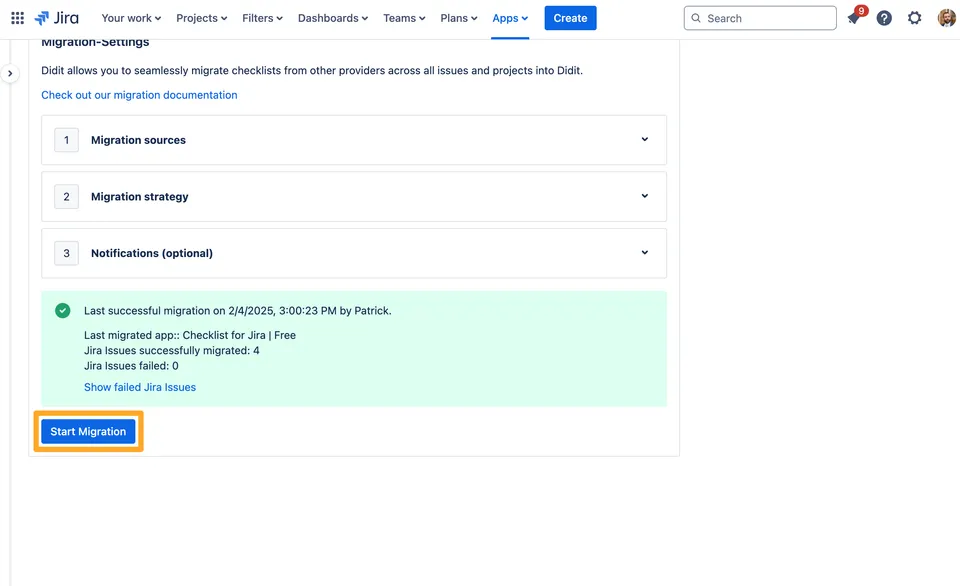
Click the “Start migration” button.

-
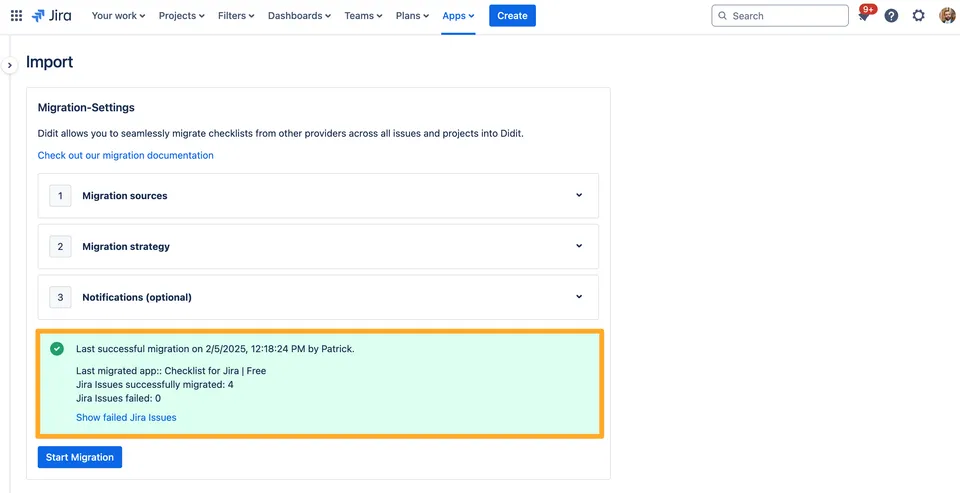
After the migration progress screen, you will see a confirmation screen which will also show any errors.

Checklist task status mapping
| Checklists for Jira Status | Didit task status |
|---|---|
| Open | To do |
| In progress | To do |
| Skipped | Skipped |
| Done | Completed |
Link to this page: https://seibert.biz/migratechecklistsforjiraglobal