On this page:

Add images to checklist templates

Info title

You can add multiple images to tasks. Either upload them one at a time or all at once.
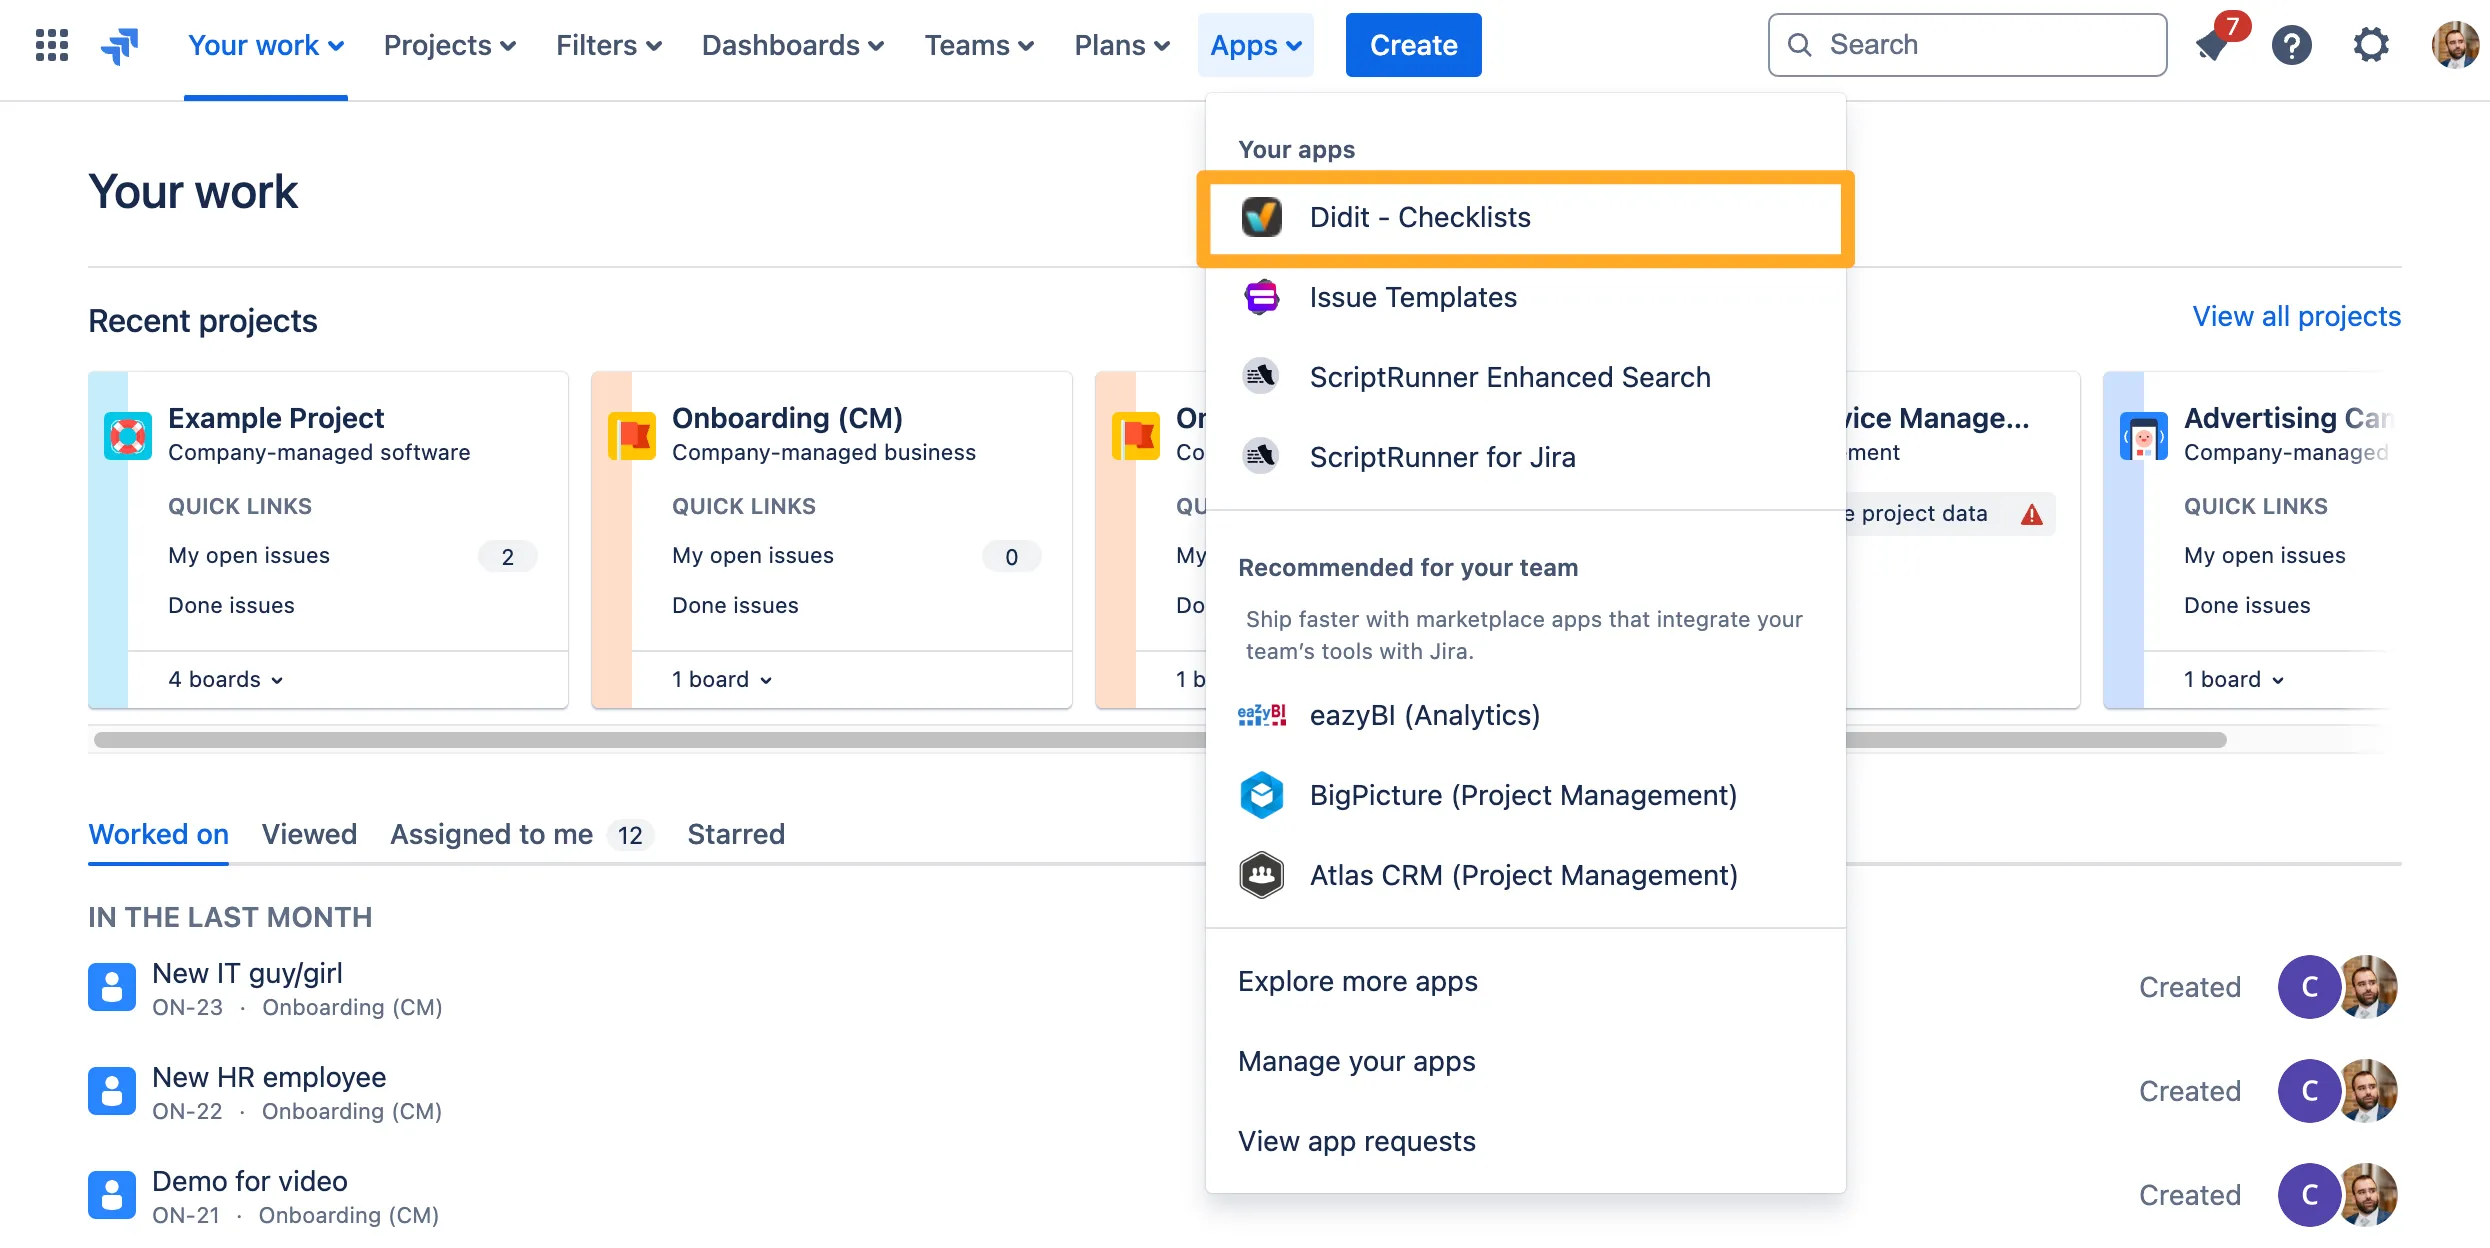
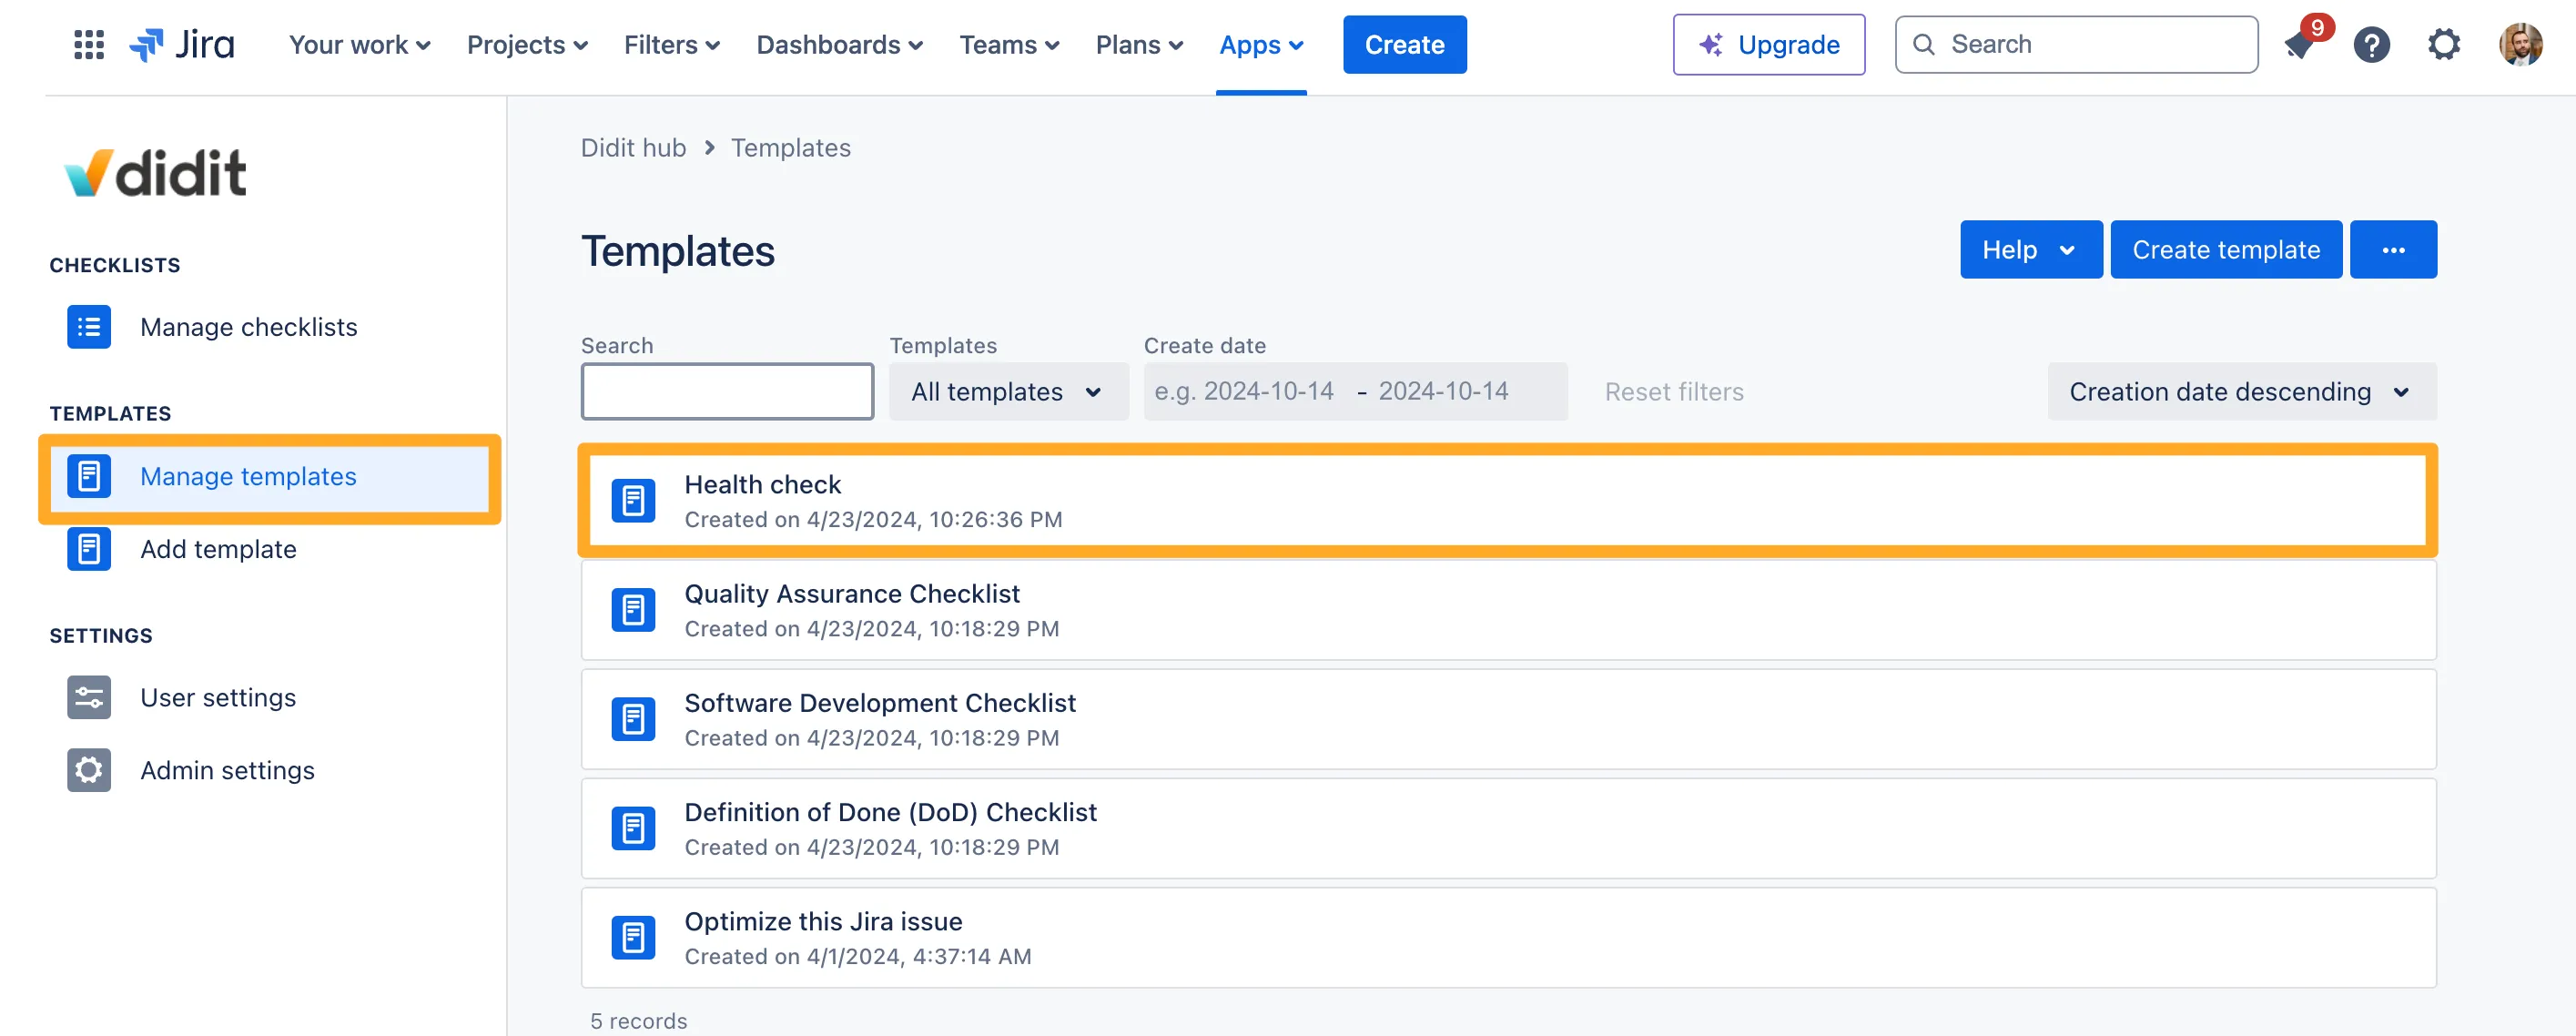
A checklist template with multiple images added to a task description.
  1. Jira with the apps menu open and the Didit - Checklists option highlighted.
    Jira with the apps menu open and the Didit - Checklists option highlighted.
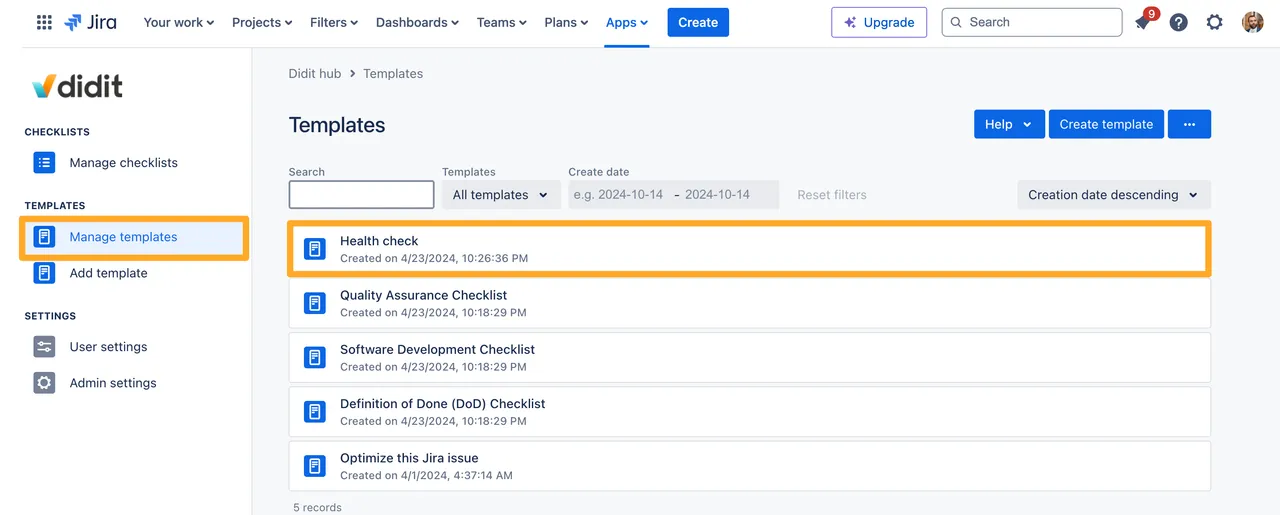
  2. Make sure you are in the “Manage templates” section and select the template where you would like to add the image(s).

    The Didit hub with the Manage templates section and a template highlighted.
    The Didit hub with the Manage templates section and a template highlighted.
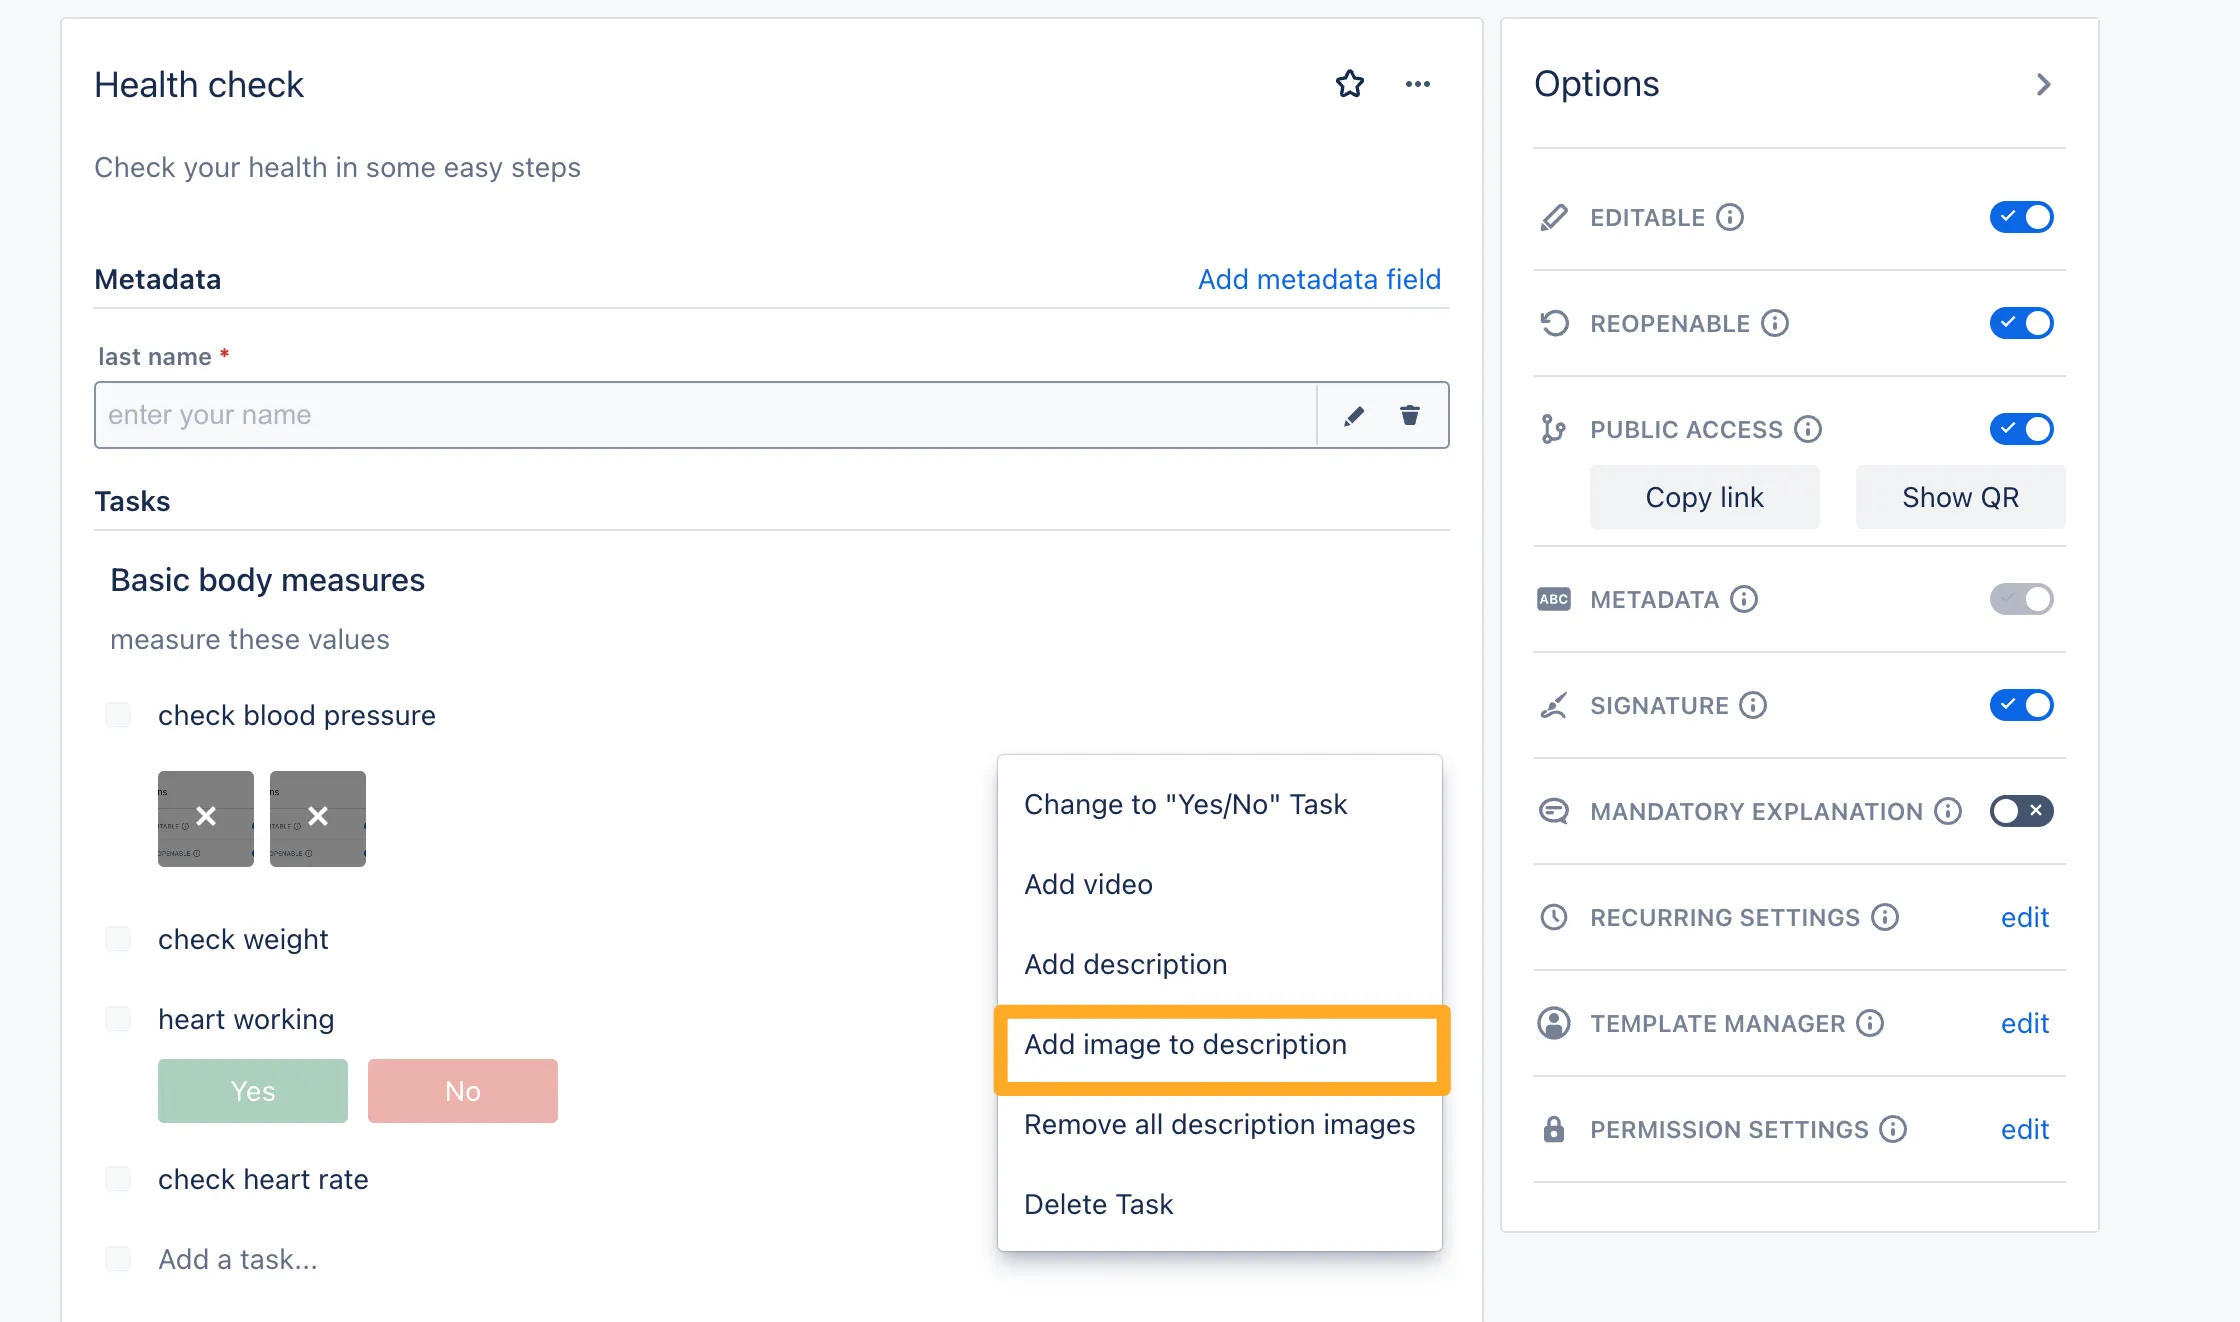
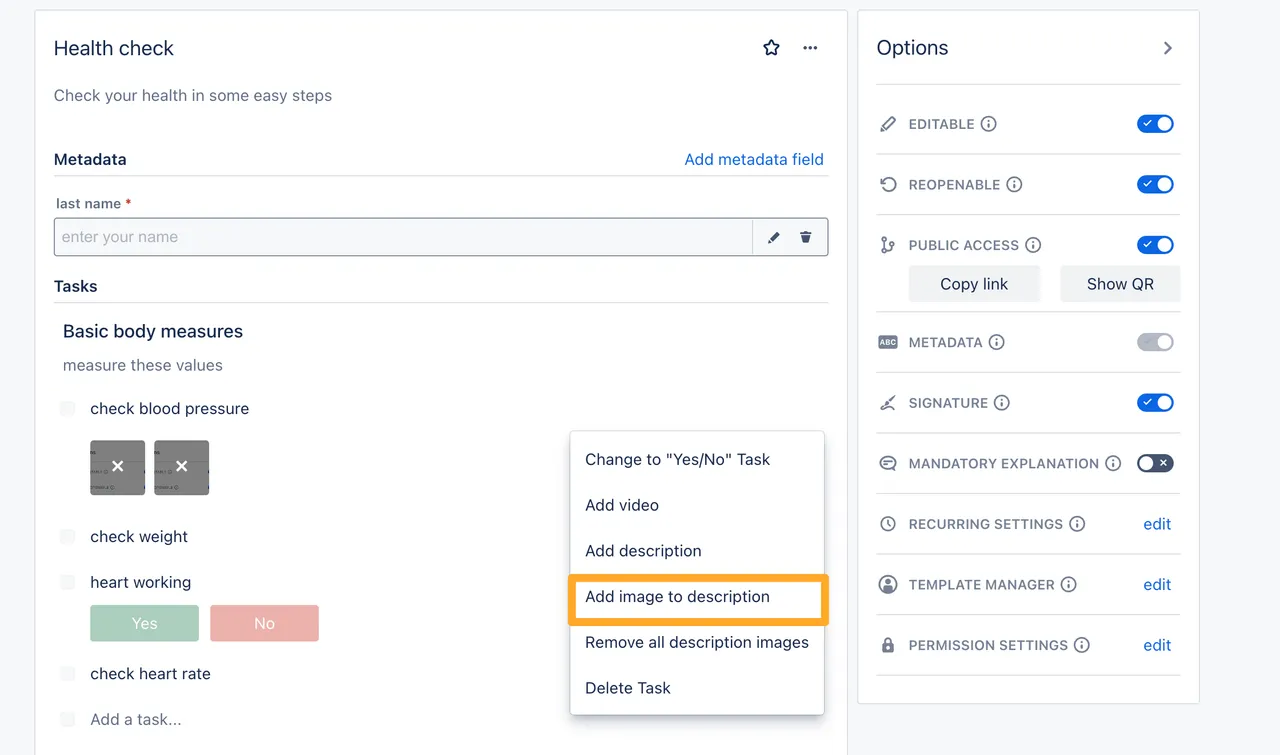
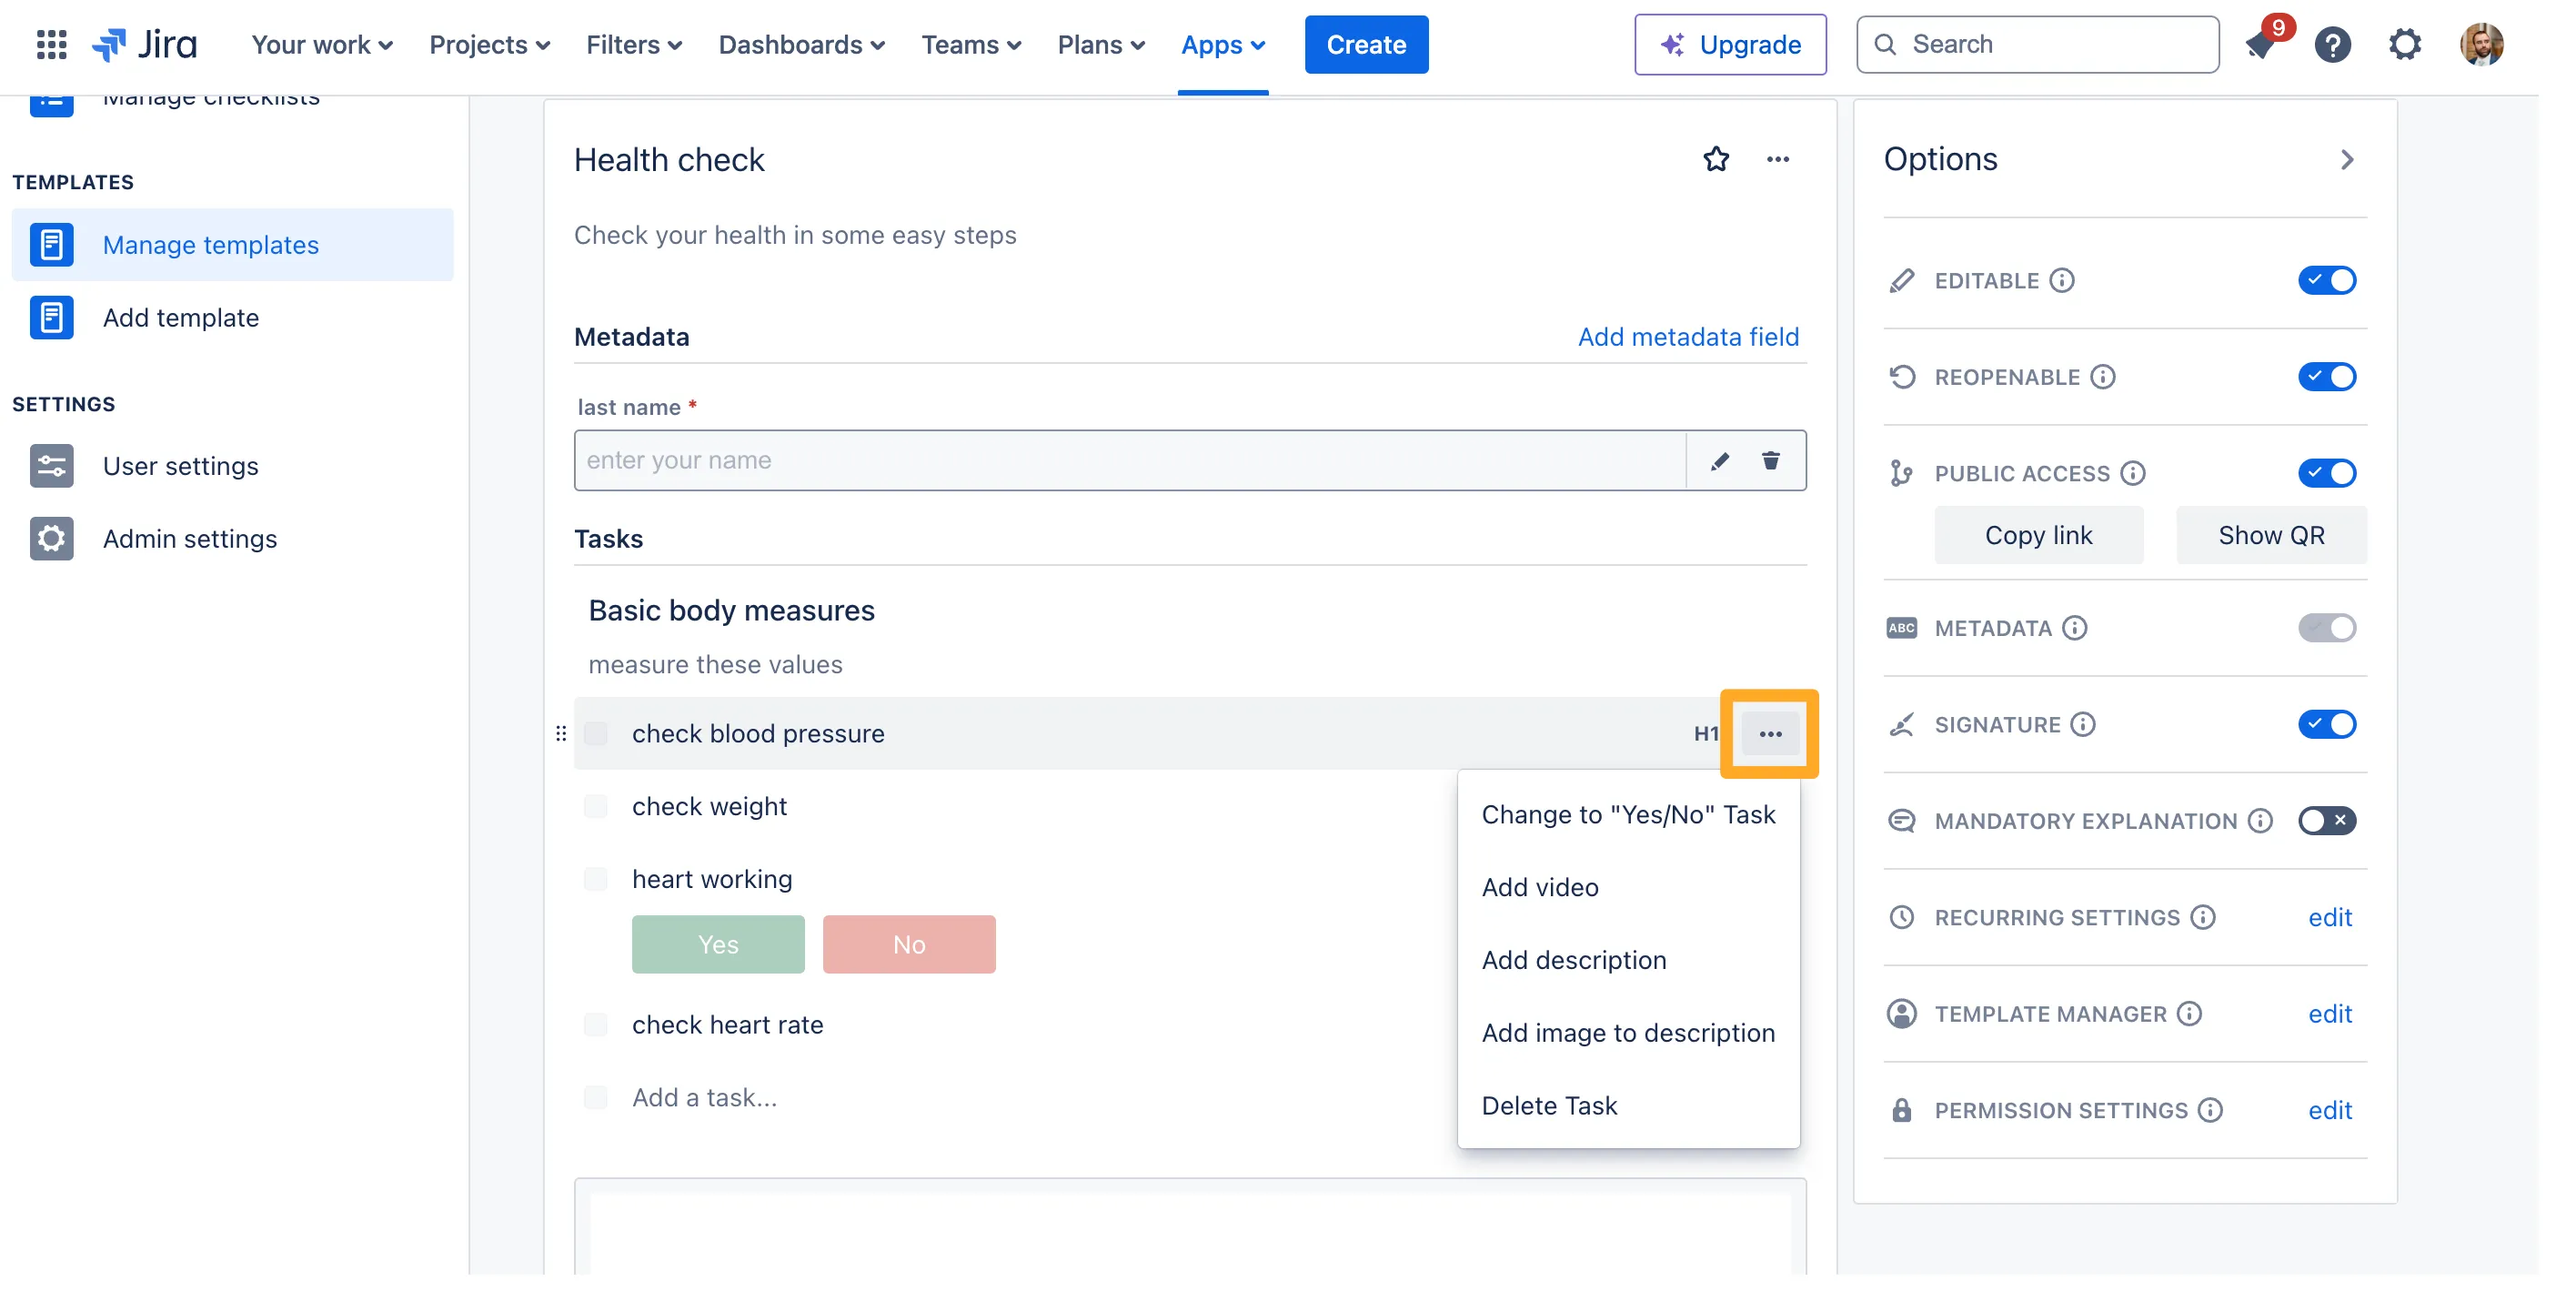
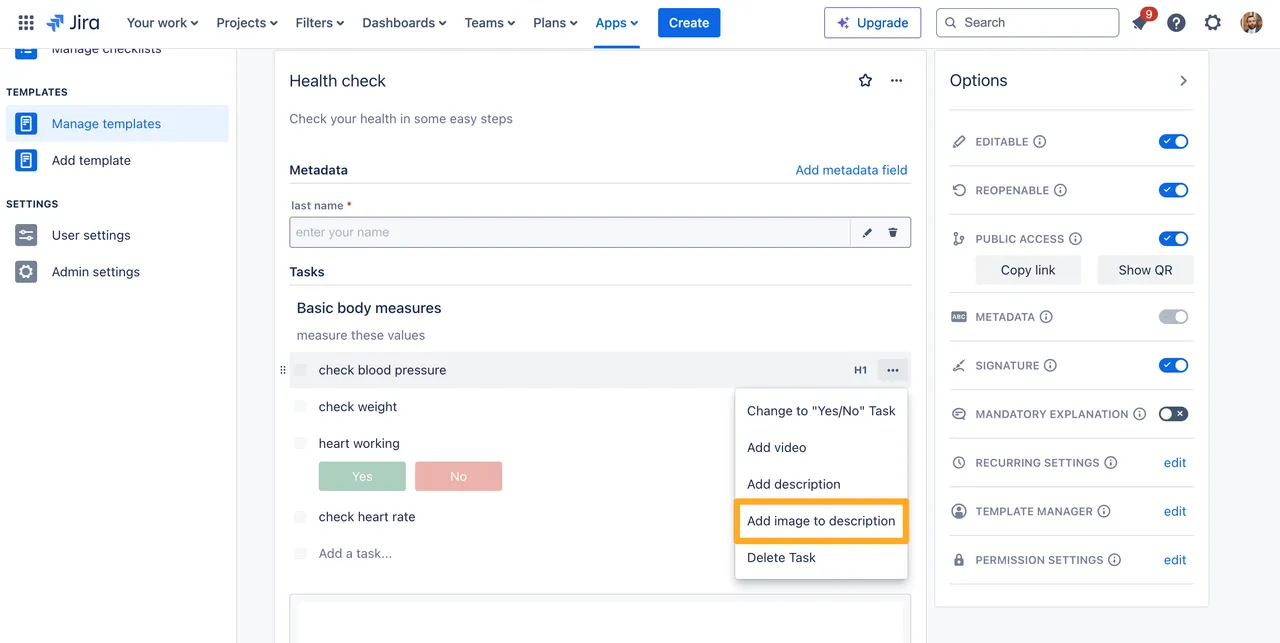
  3. Find the task where you would like to add the image and click the ellipses (”…”) menu.

    A checklist template detail view with the ... button highlighted next to a checklist task.
    A checklist template detail view with the ... button highlighted next to a checklist task.
  4. Choose “Add image to description” and upload the image you would like to add.

    A checklist template detail view with the Add image to description option highlighted for a checklist task.
    A checklist template detail view with the Add image to description option highlighted for a checklist task.
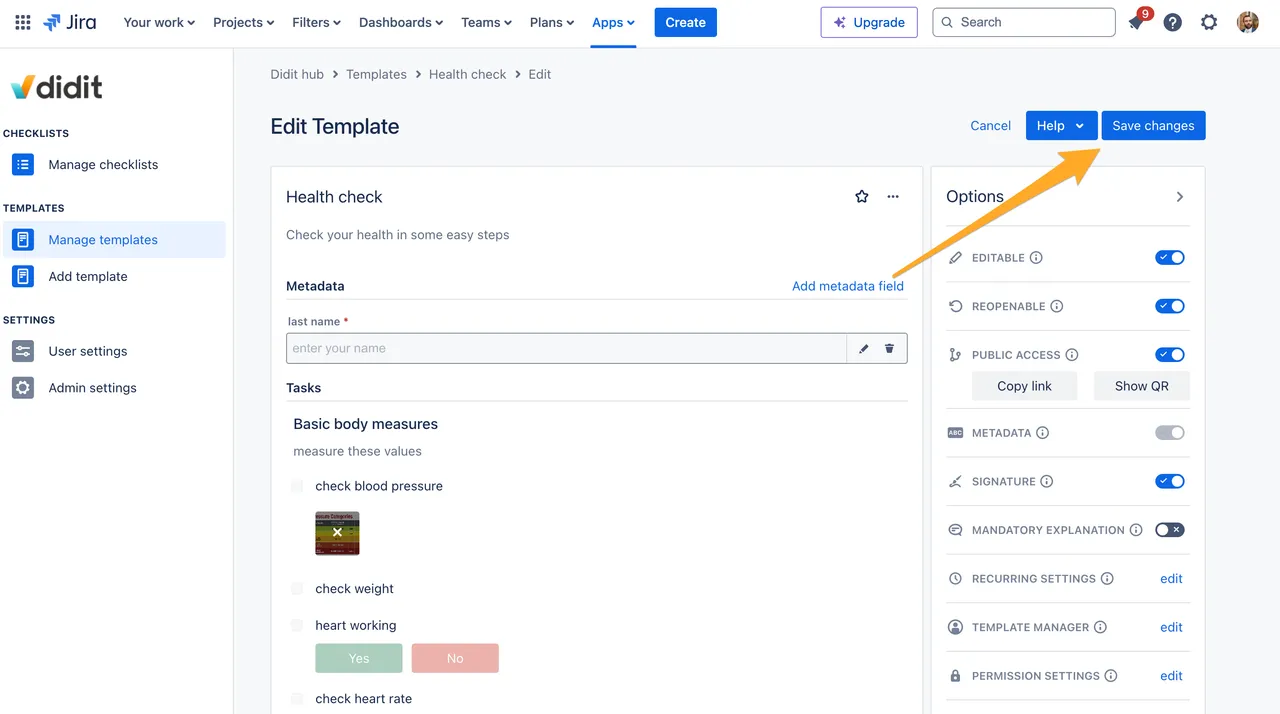
  5. When you are done, don’t forget to click “Save changes” at the top right.

    A checklist template detail view with the Save changes button highlighted.
    A checklist template detail view with the Save changes button highlighted.
  6. Your image will now show in all checklists created from that template from this point onward. The image will not be added to existing checklists.

    You can also view the images when you view a checklist on iOS or Android
    The result of the added image in the checklist template.
    The result of the added image in the checklist template.

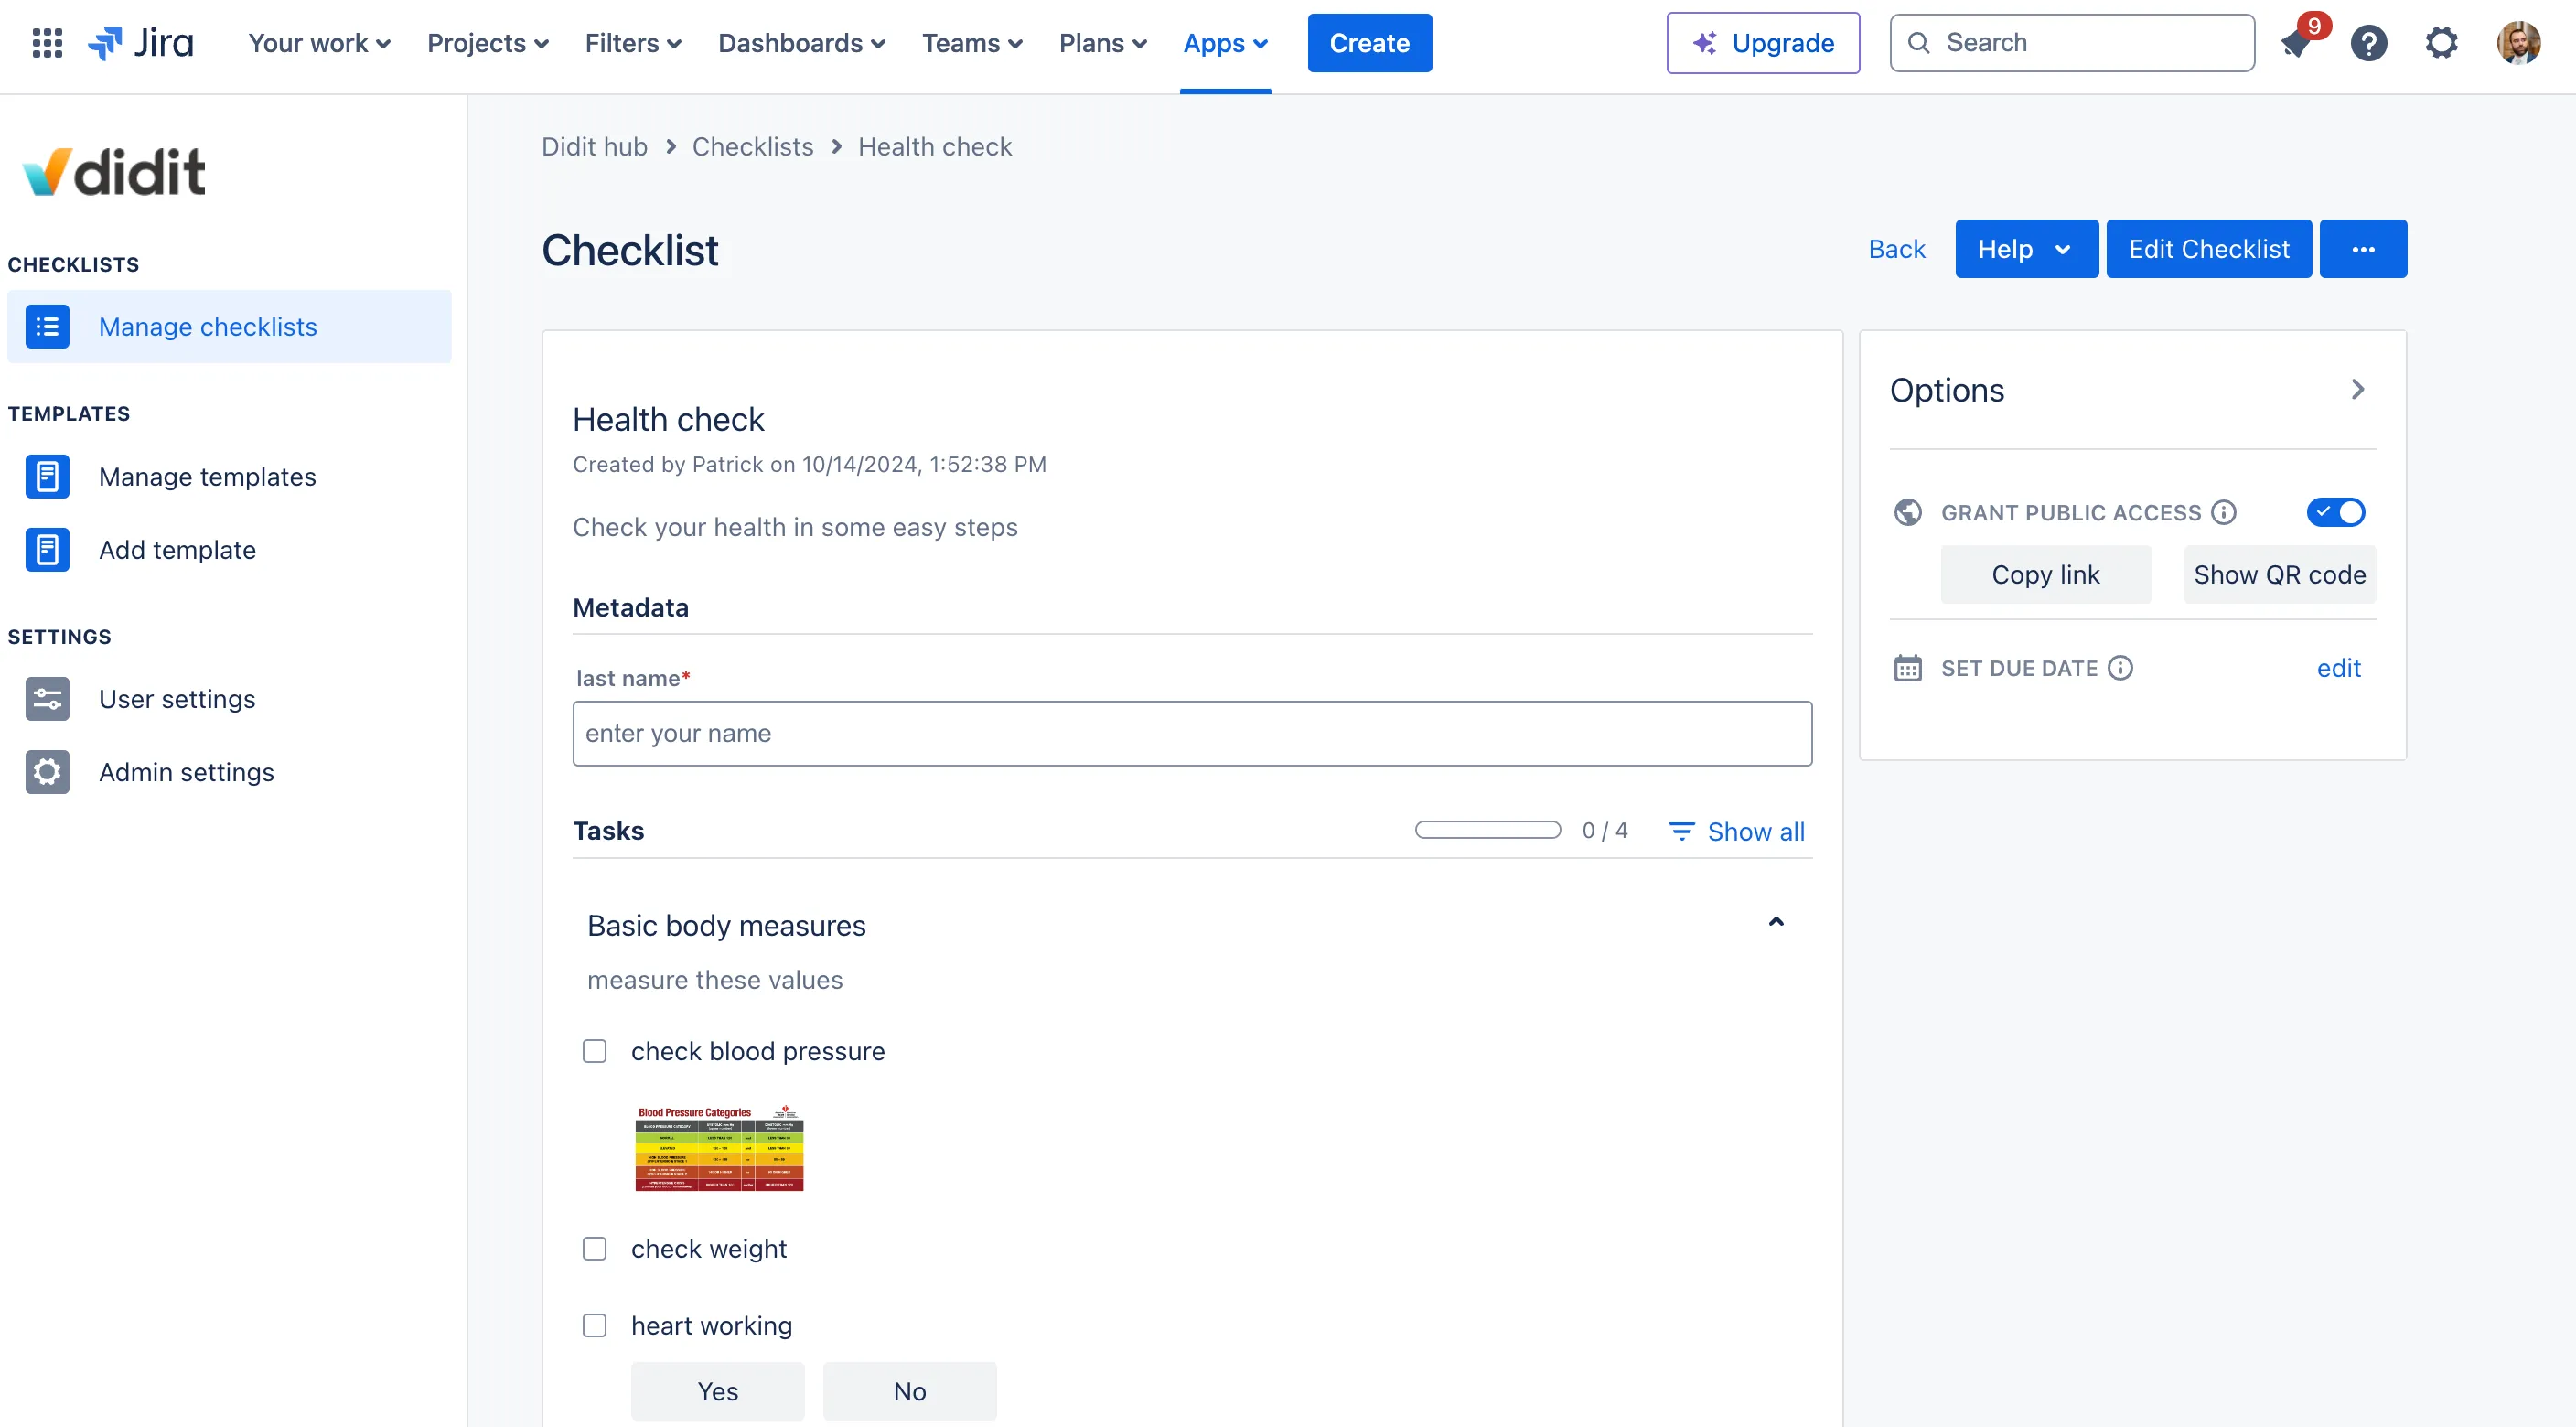
Link to this page: https://seibert.biz/addimagestemplates