Define a template manager
The template manager will be able to manage templates, whether they have a Confluence/Jira license or not. Once added, they will be able to manage the template from our customer portal.
In addition to allowing users to access and edit checklist template settings, the template manager will also receive email updates when checklists are completed. Included in this email notification is a PDF copy of the completed checklist. See the below steps for how to define a template manager.
Before following this how to article, be sure you are aware of all the privileges a template manager will have.
-
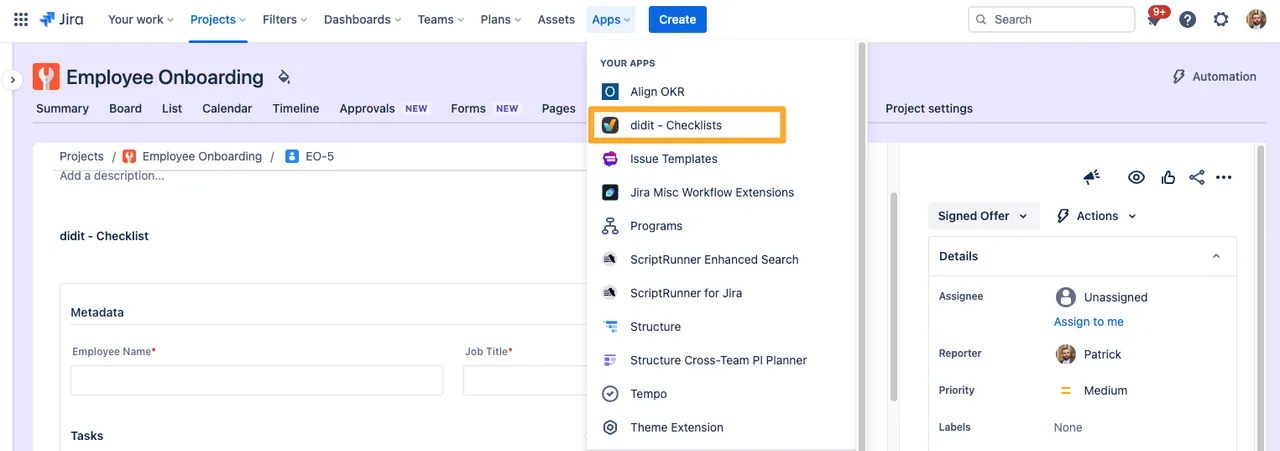
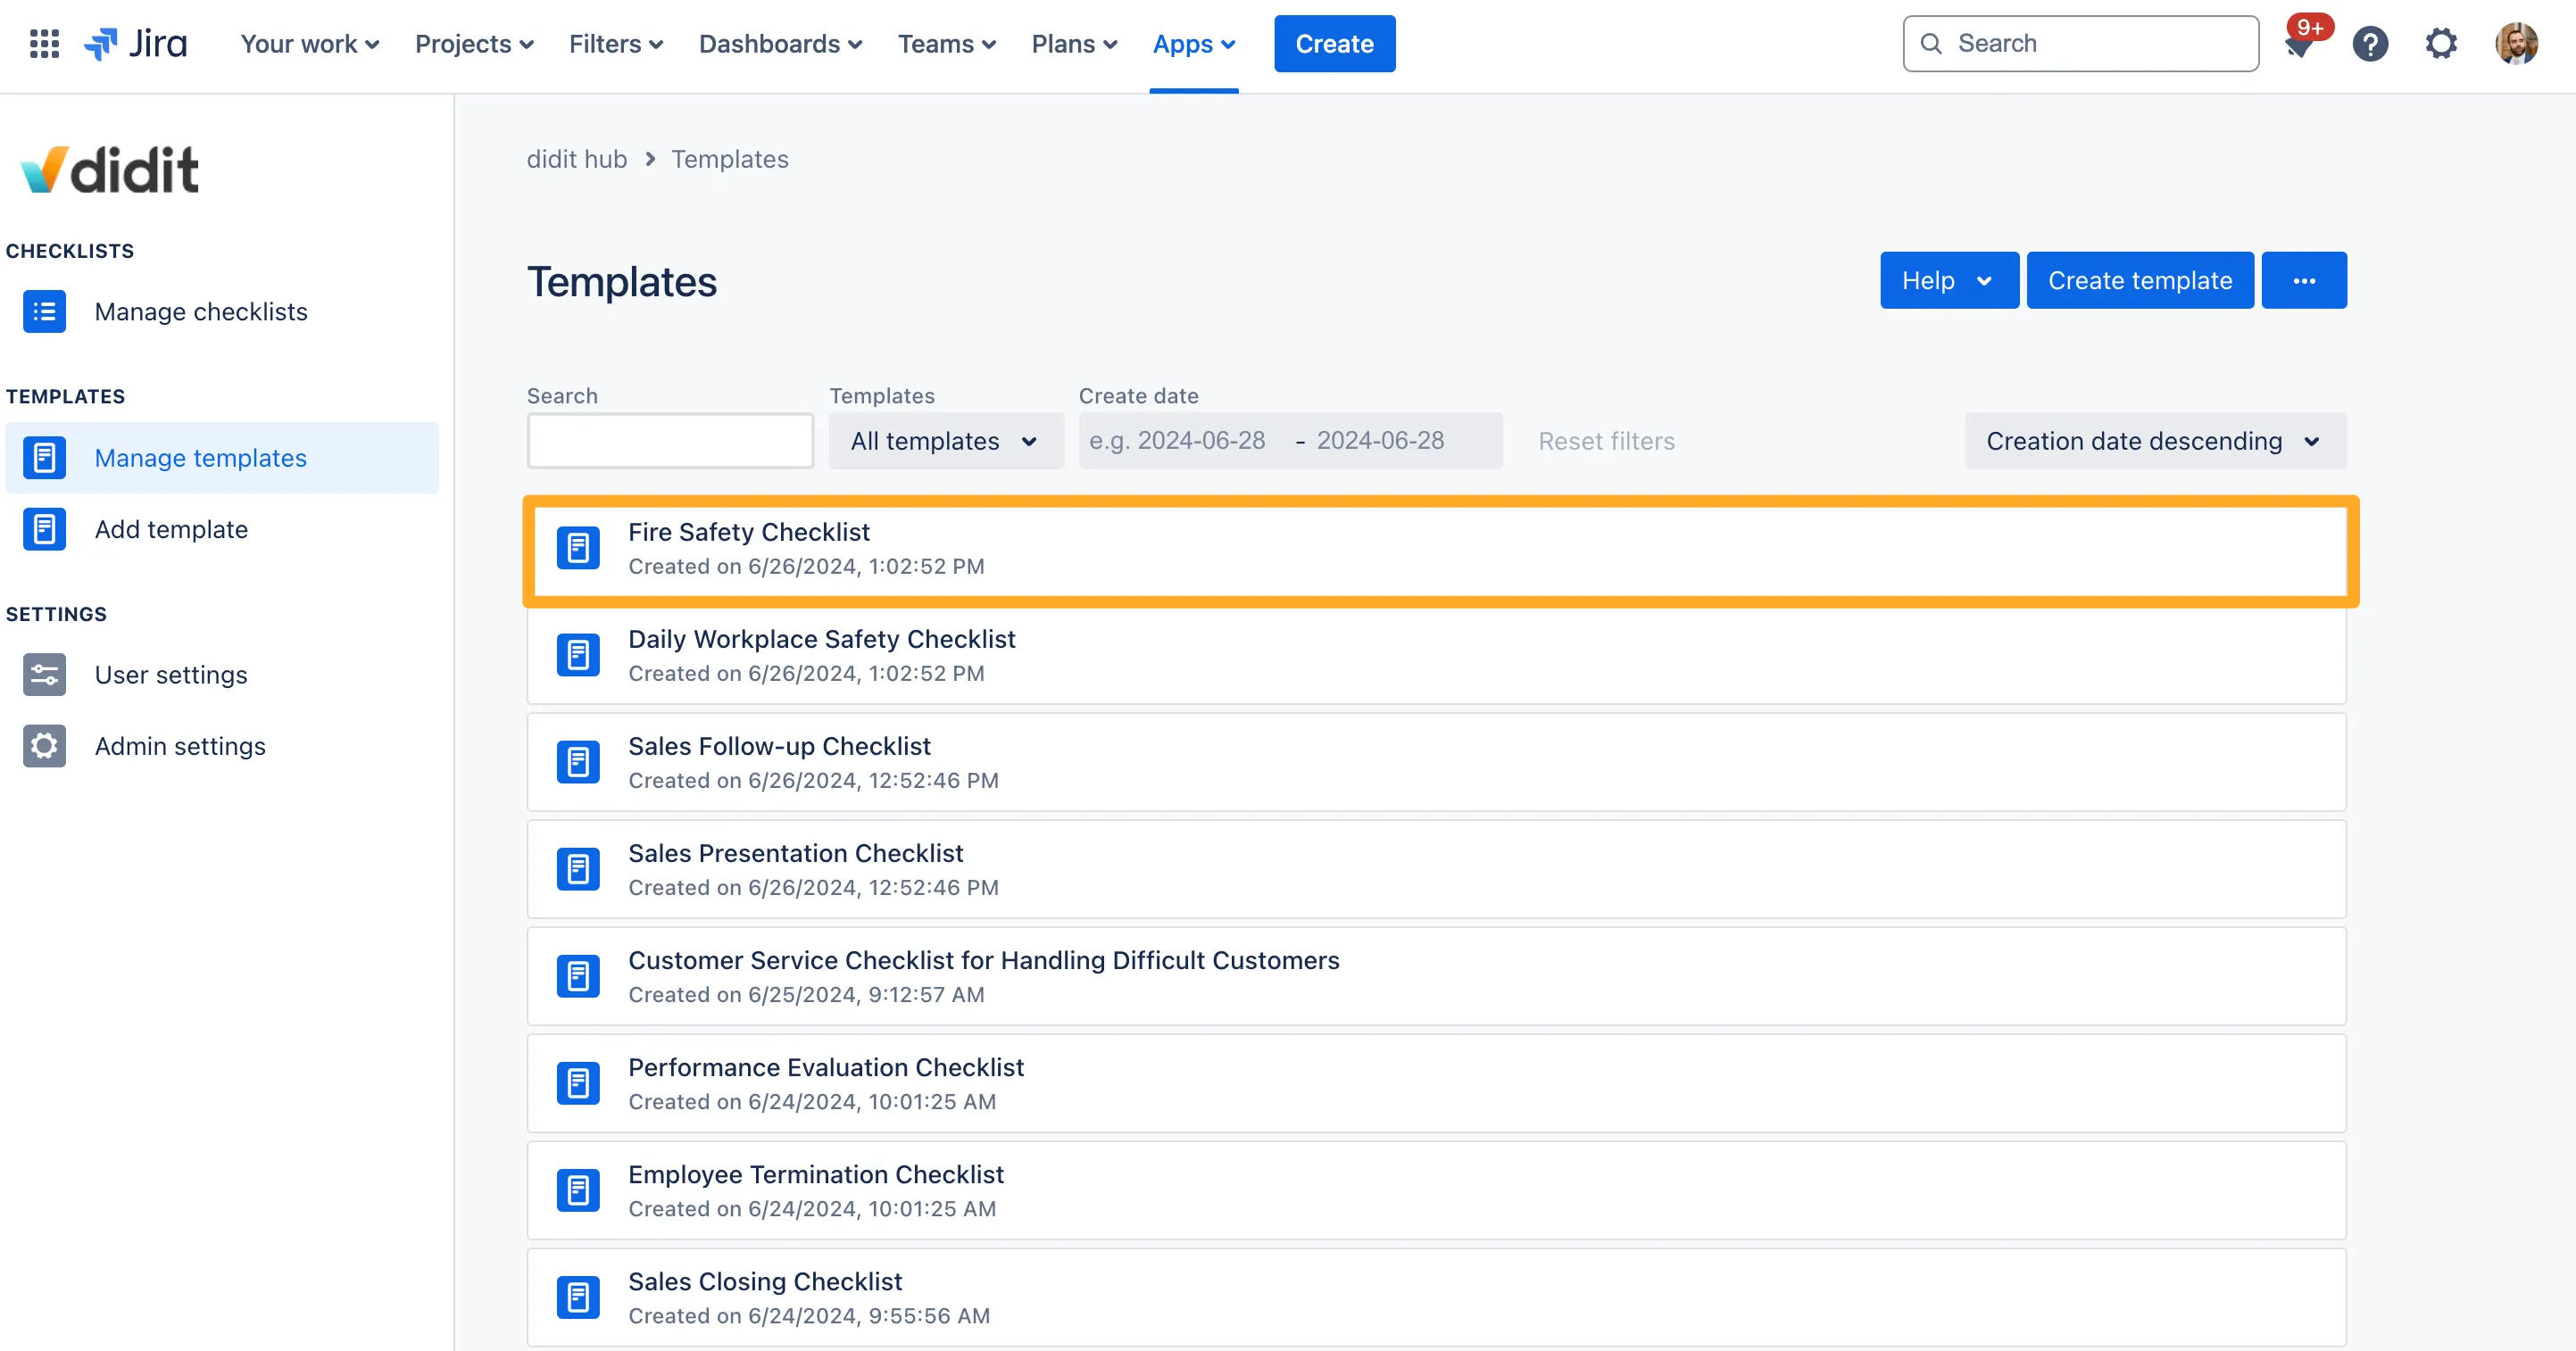
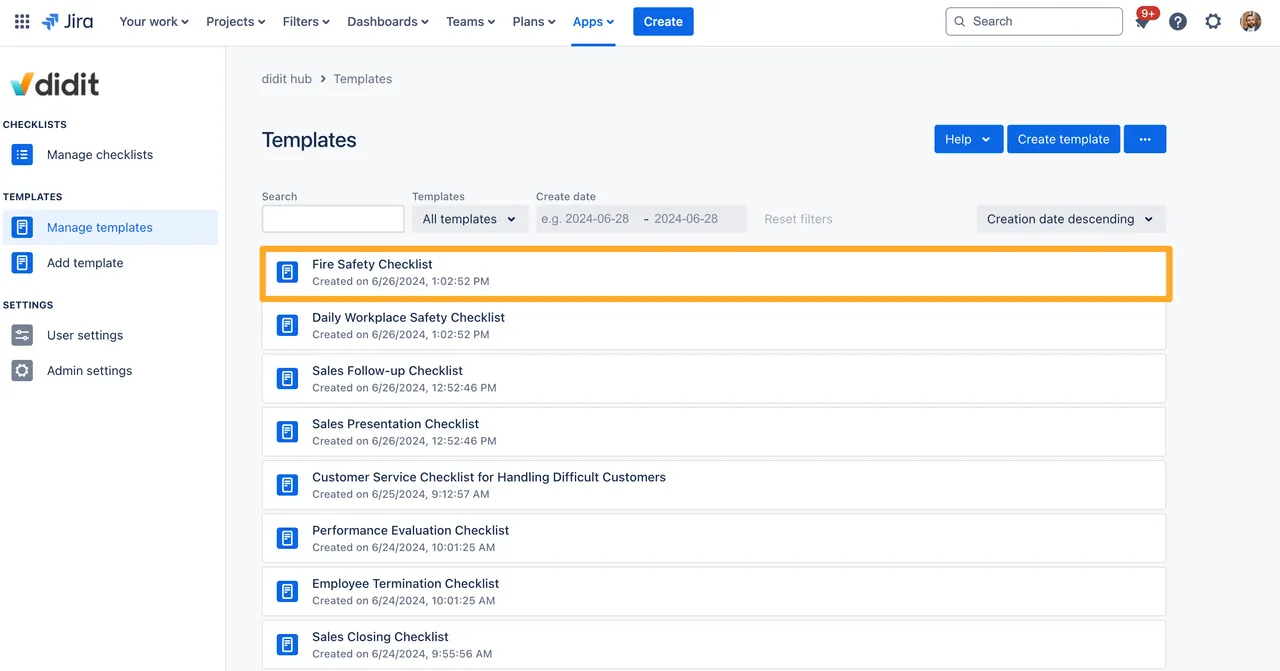
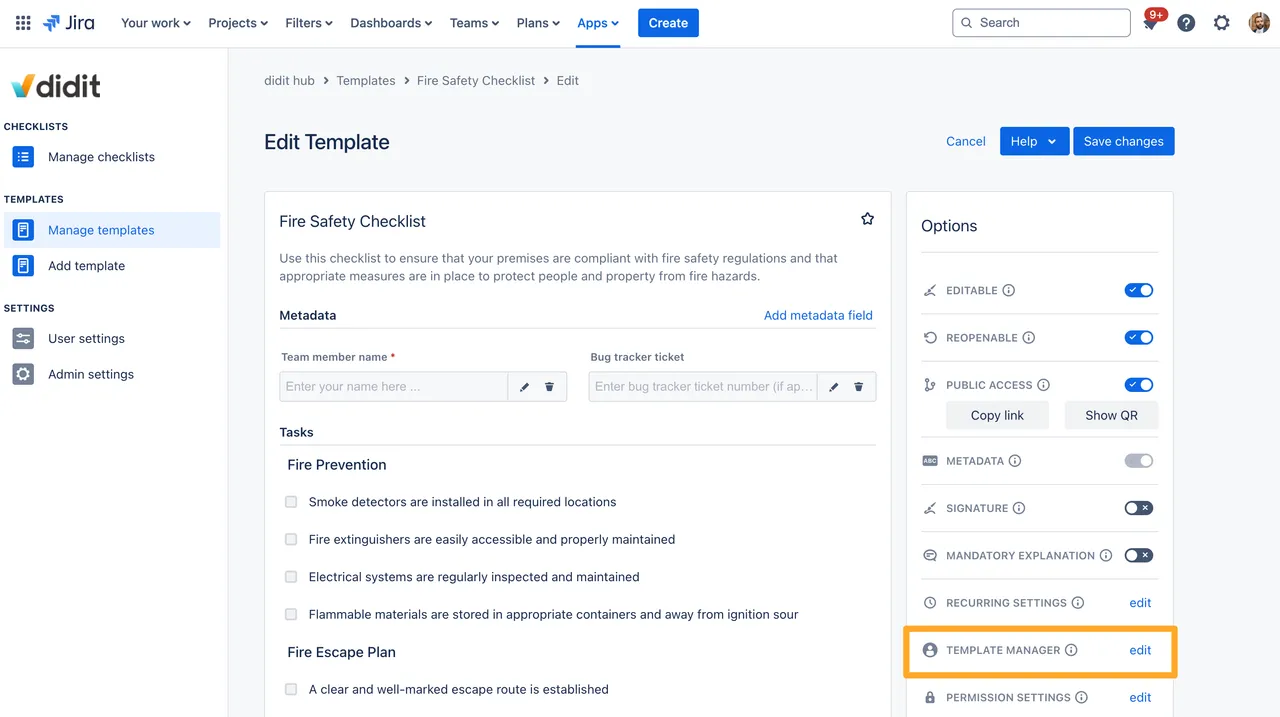
Access the template of your choice via the Didit - hub or via the app.checklist.info portal.

-
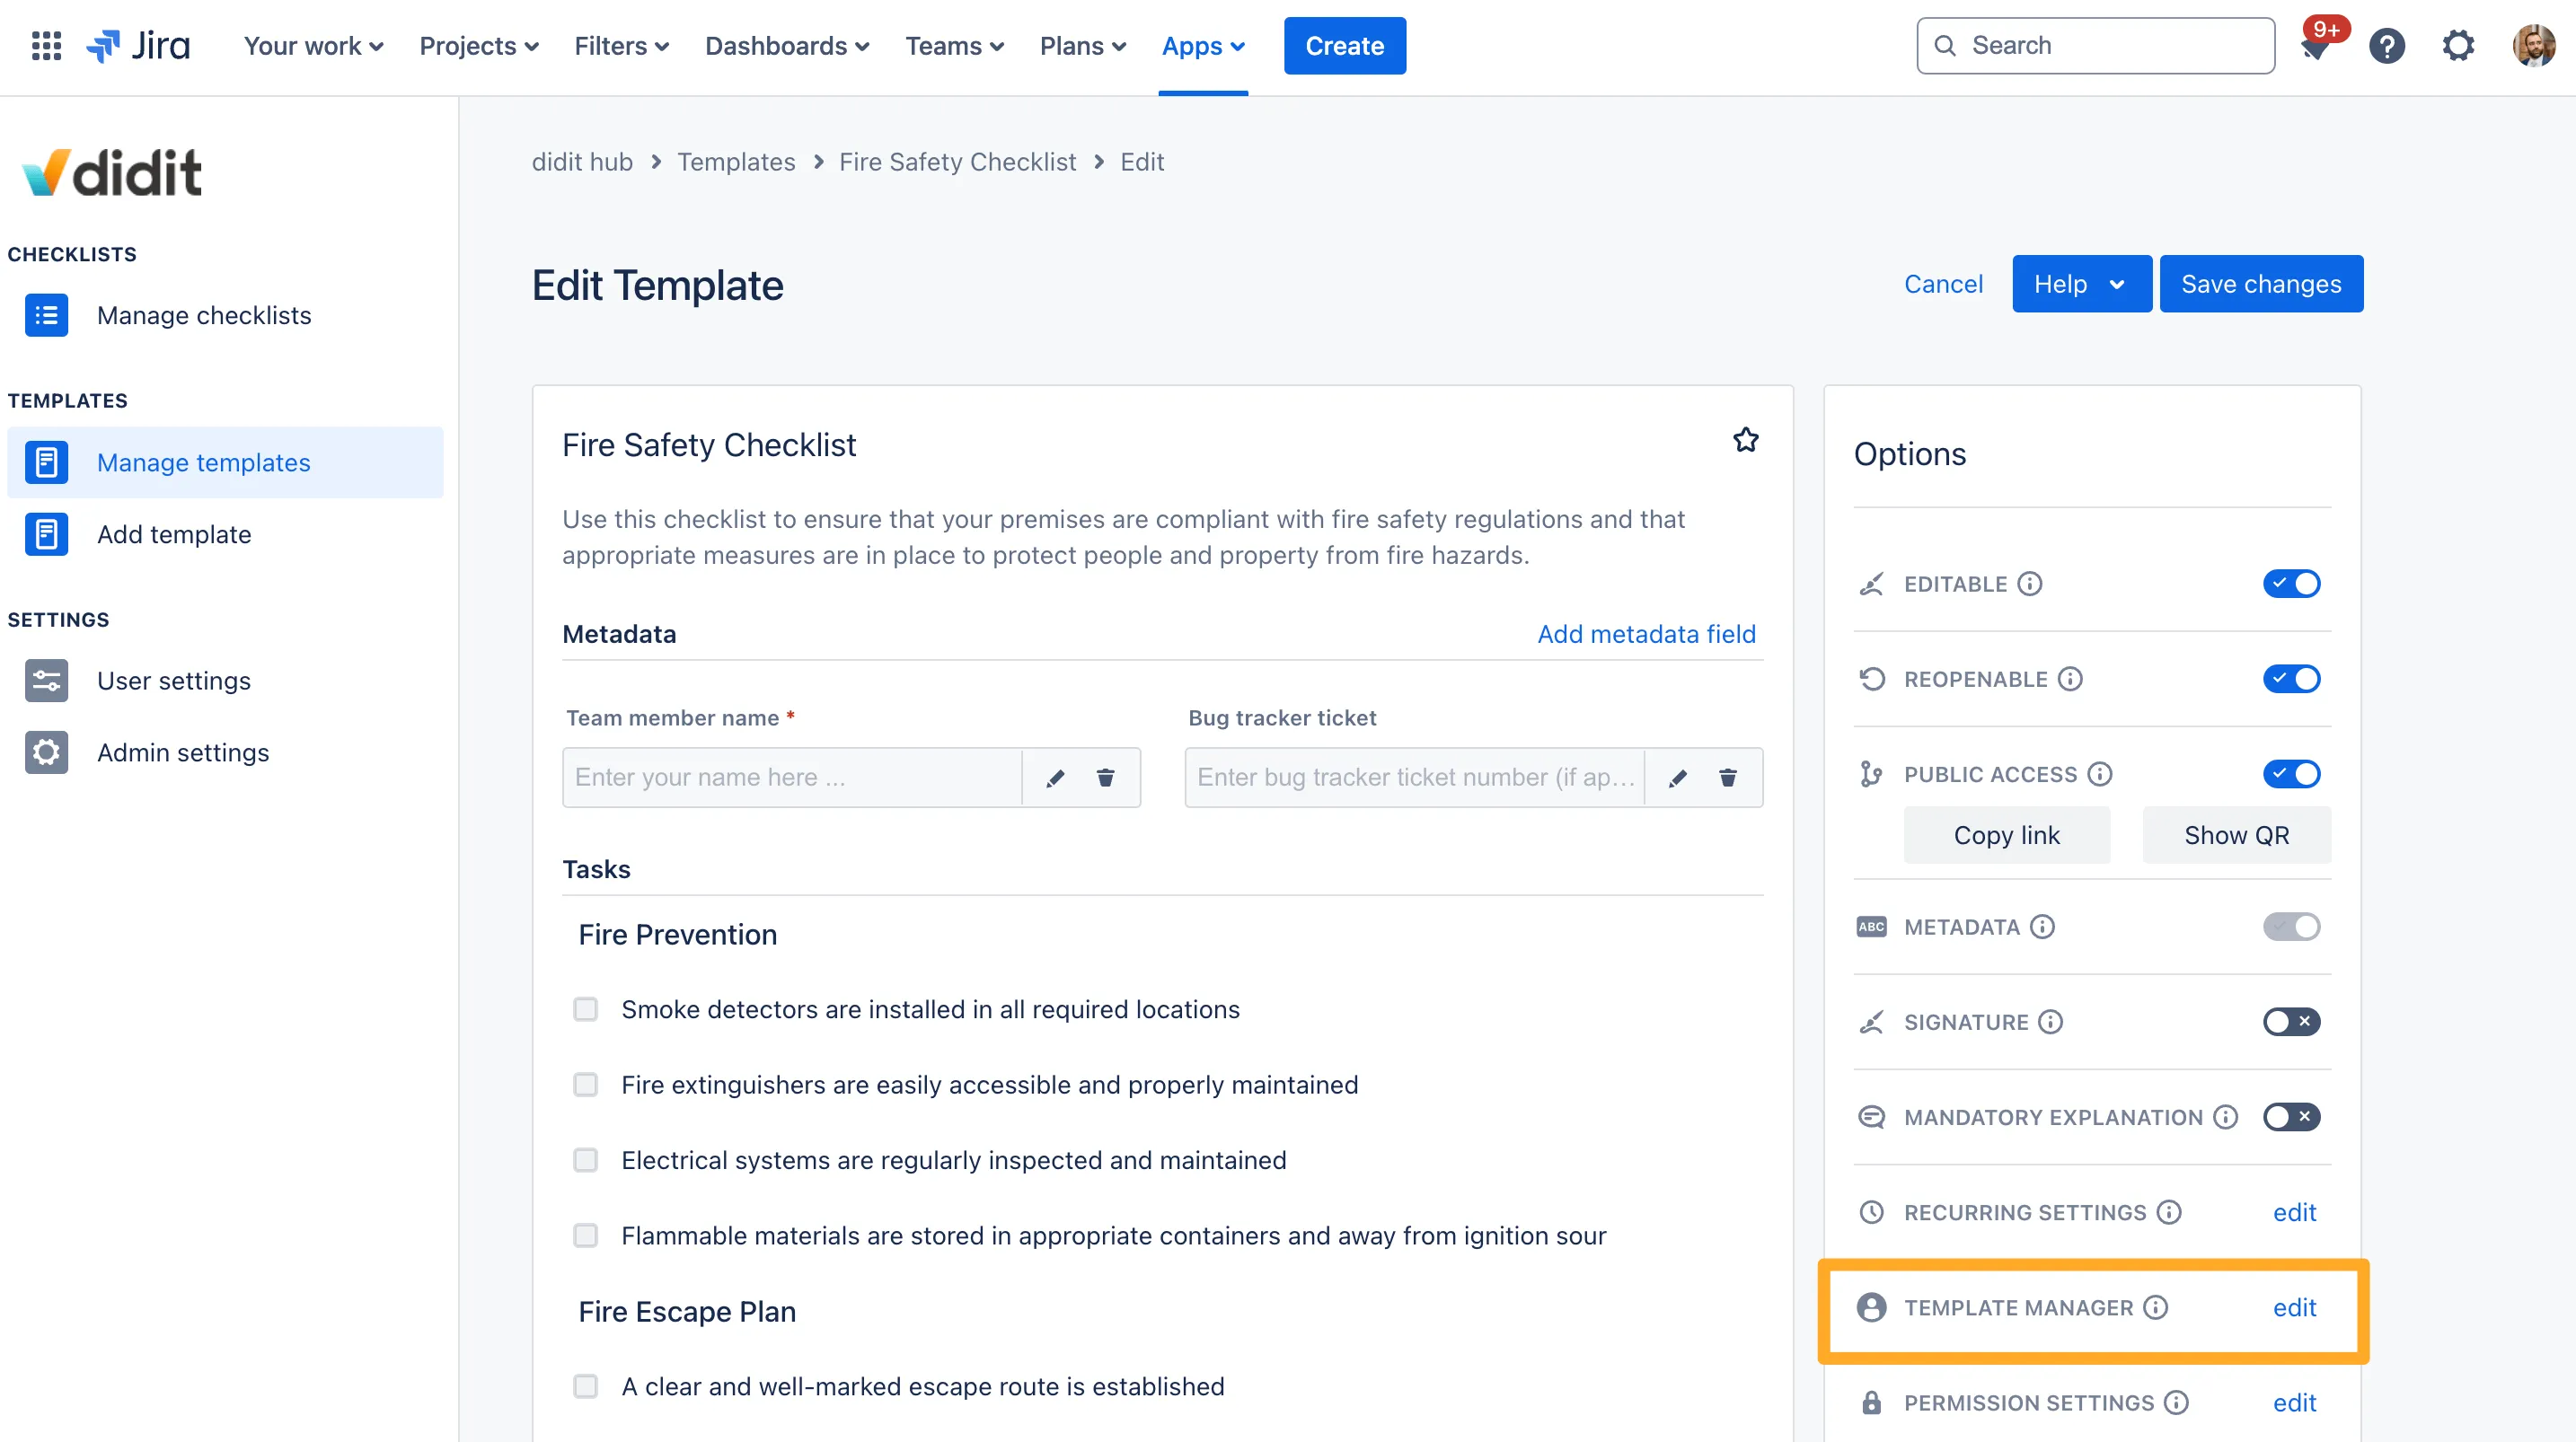
Add the user’s email address on the right side in the “Templatemanager” section by clicking “edit.”
-
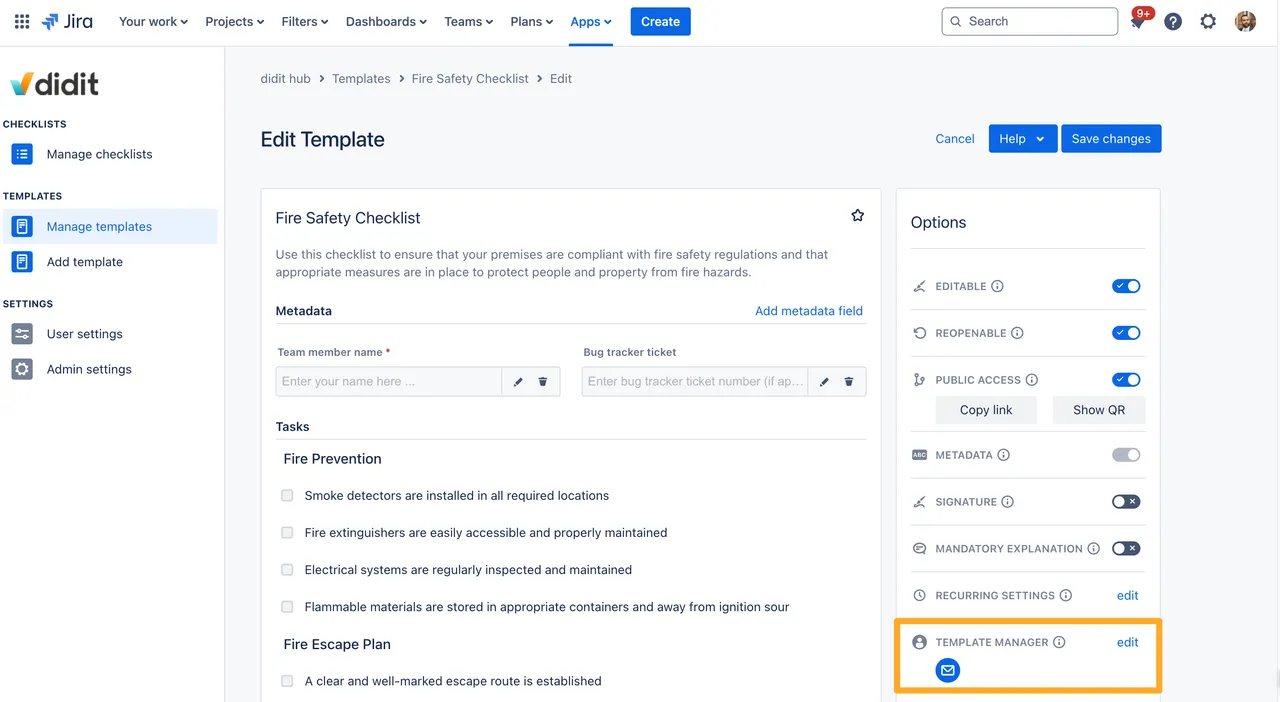
You will now be able to see a template manager in that section. You can add more than one if you’d like.

-
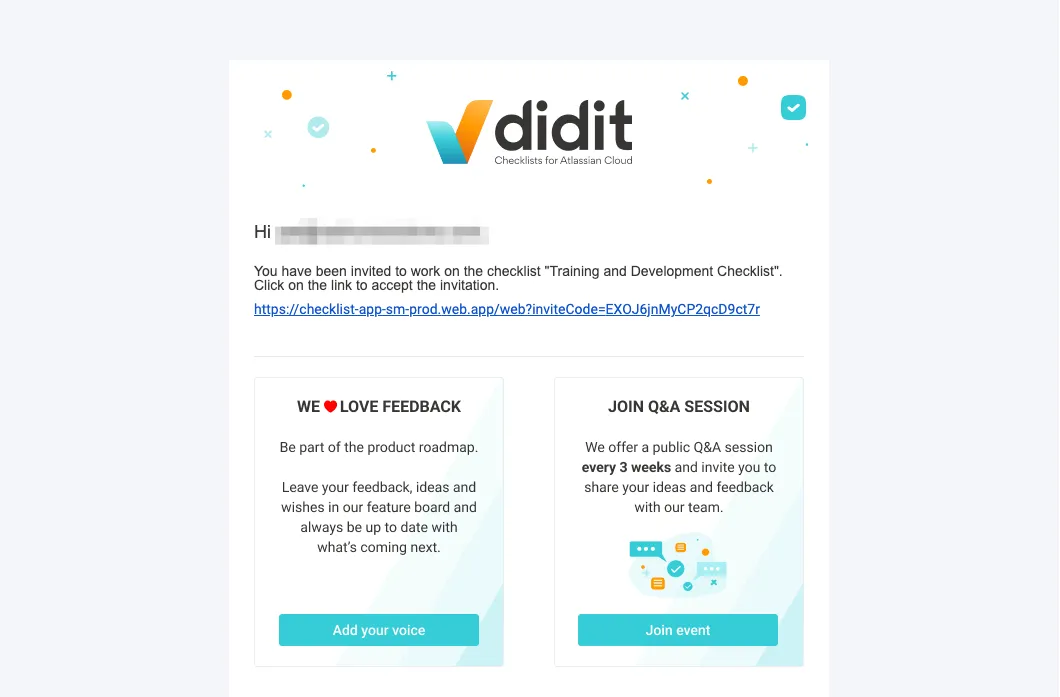
The template manager will receive an email to confirm.

-
The template manager can now manage the template in Jira, Confluence, or through our web portal.
Link to this page: https://seibert.biz/checkliststemplatemanager