How to add multiple checklists to one Jira issue with Automation
When developing a new feature, oftentimes multiple teams are involved in the complete release of that feature. You have the product team initially scoping and validating the feature with customers. Then you have the development team building that feature. Next you might have the QA team testing the feature to see that it matches all the acceptance criteria. Finally, there could be a marketing or ops team which helps announce the feature to customers and prepares marketing materials. Due to the nature of multiple teams working on one feature (one ticket in Jira), you may need to add multiple checklists to an issue. You can integrate Didit with Jira’s native automation to accomplish this. This article covers how to do that.
-
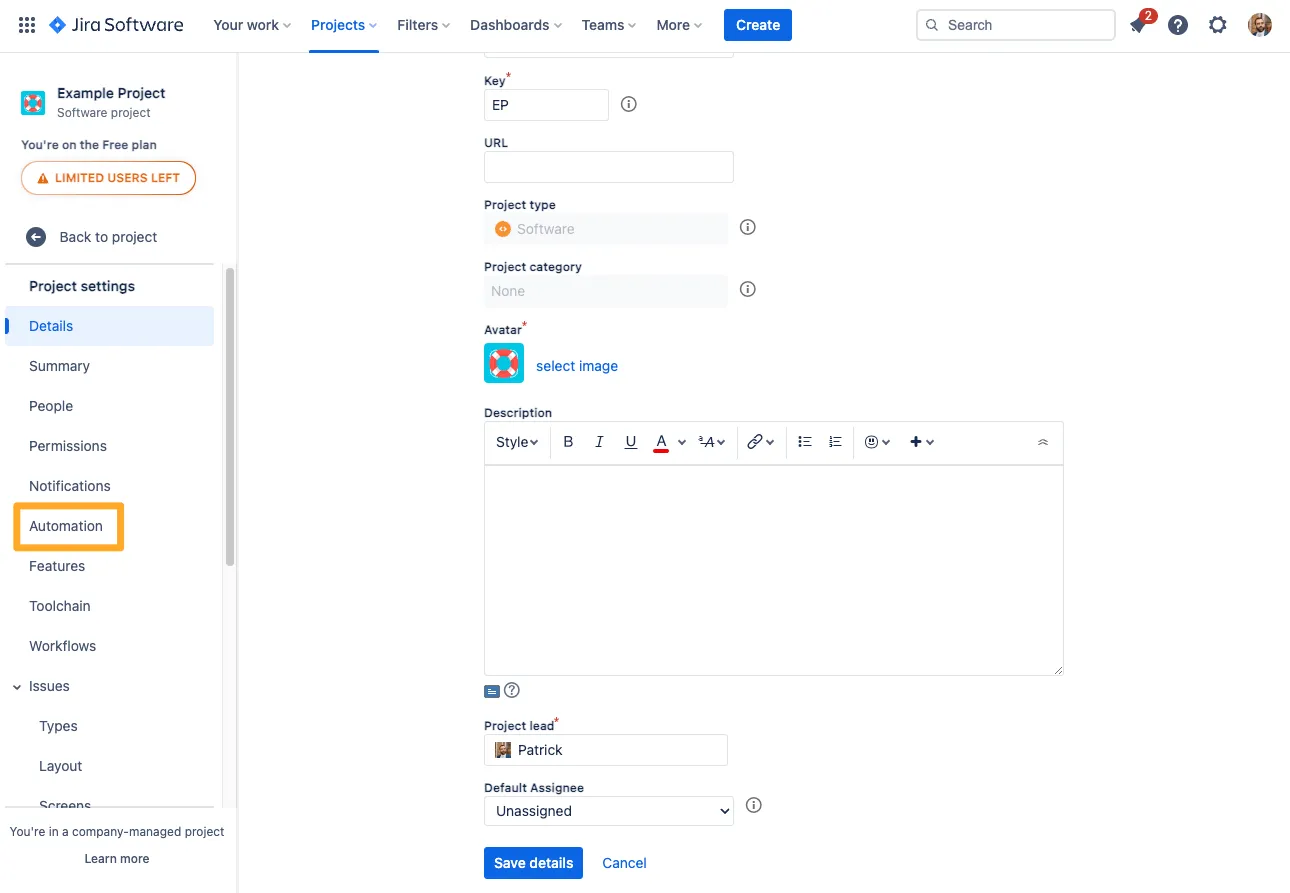
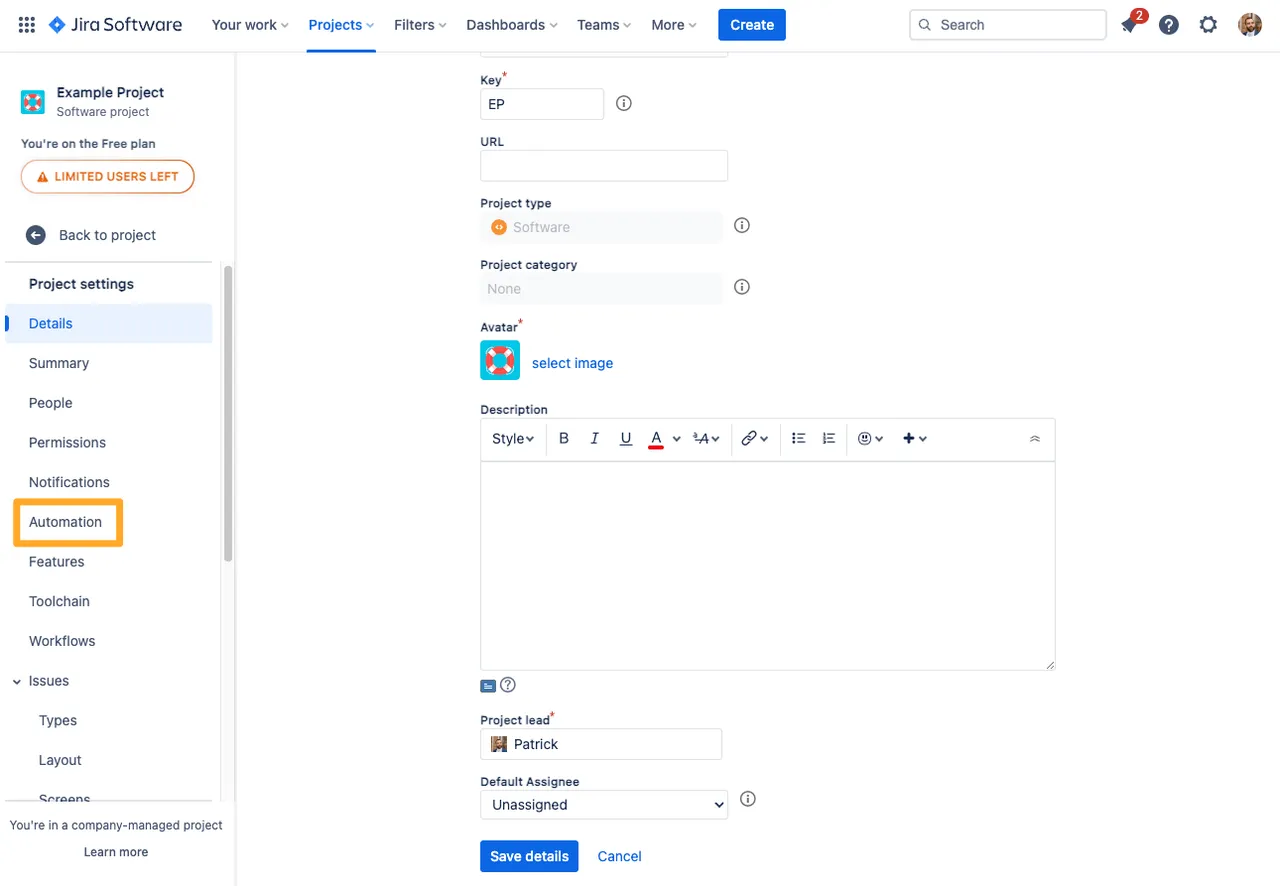
Navigate to the project automation section of your Jira project. If you are a Jira admin, you can do this from the global automation administration page.
-
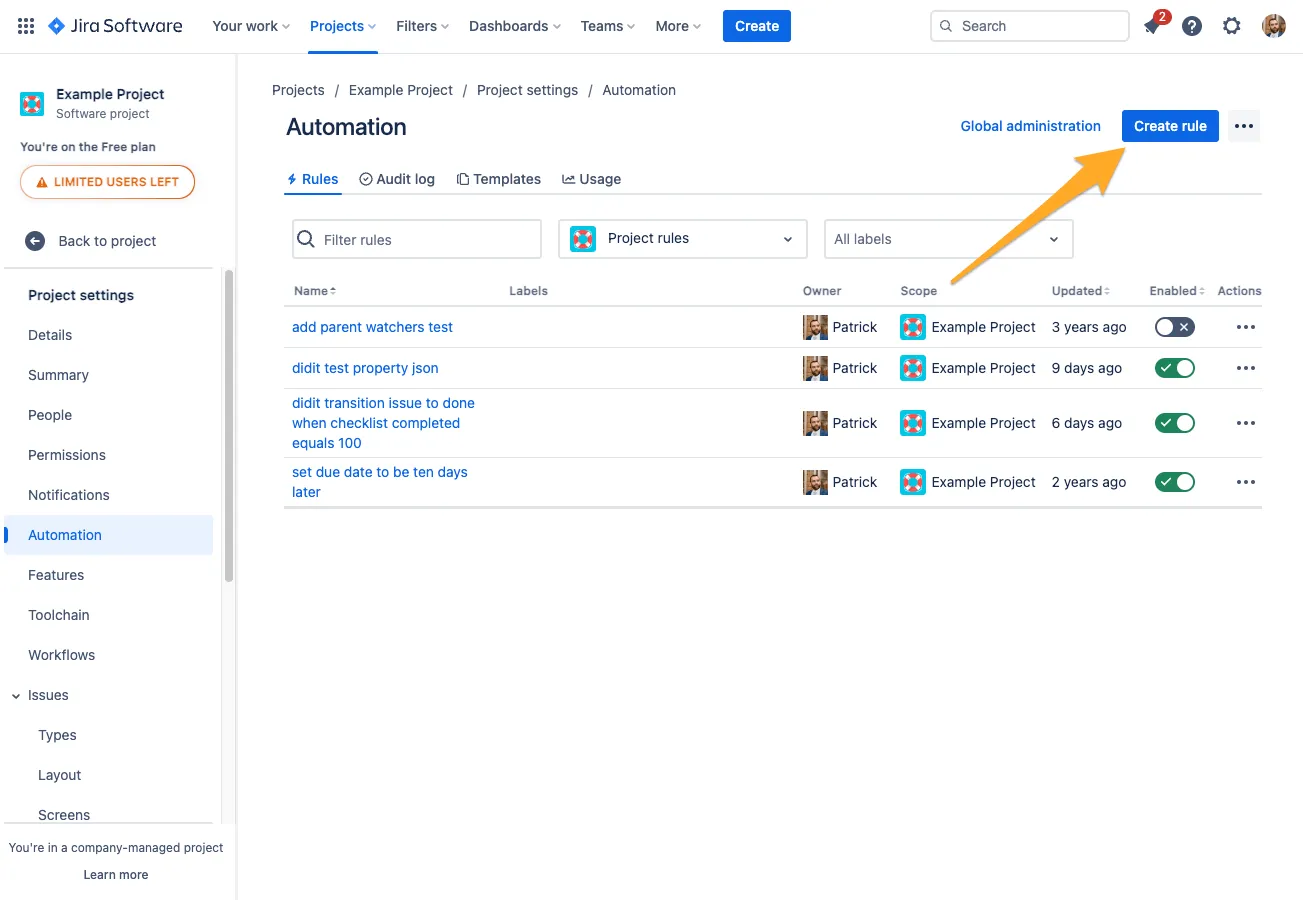
Click “Create rule.”

-
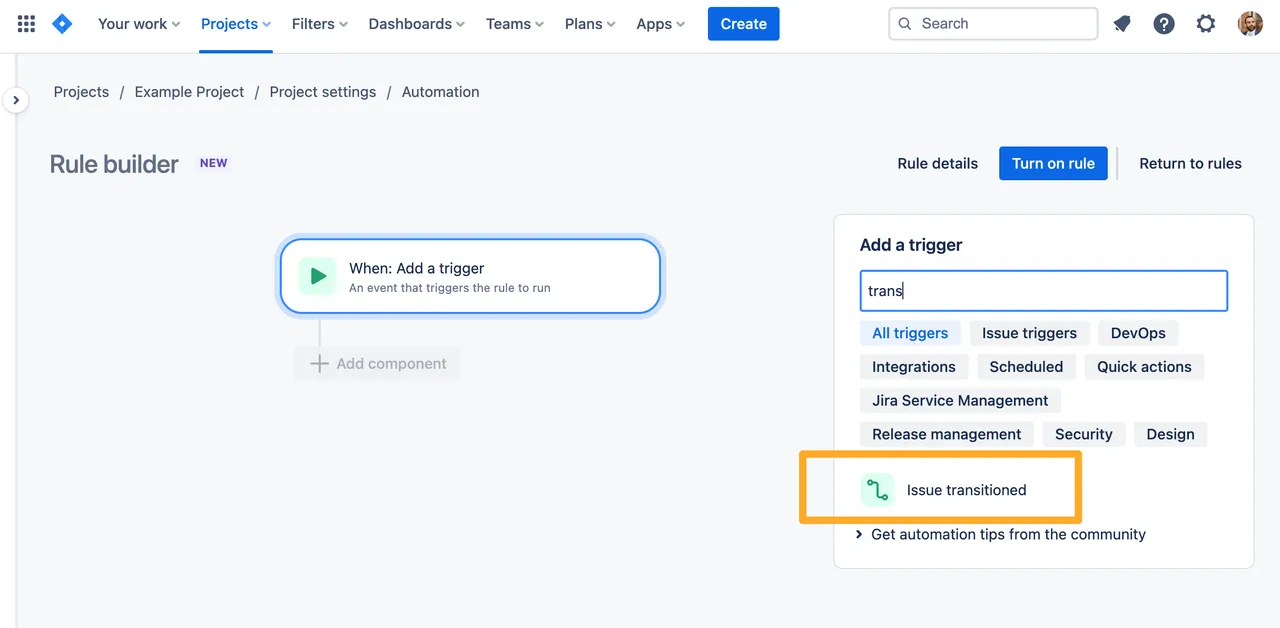
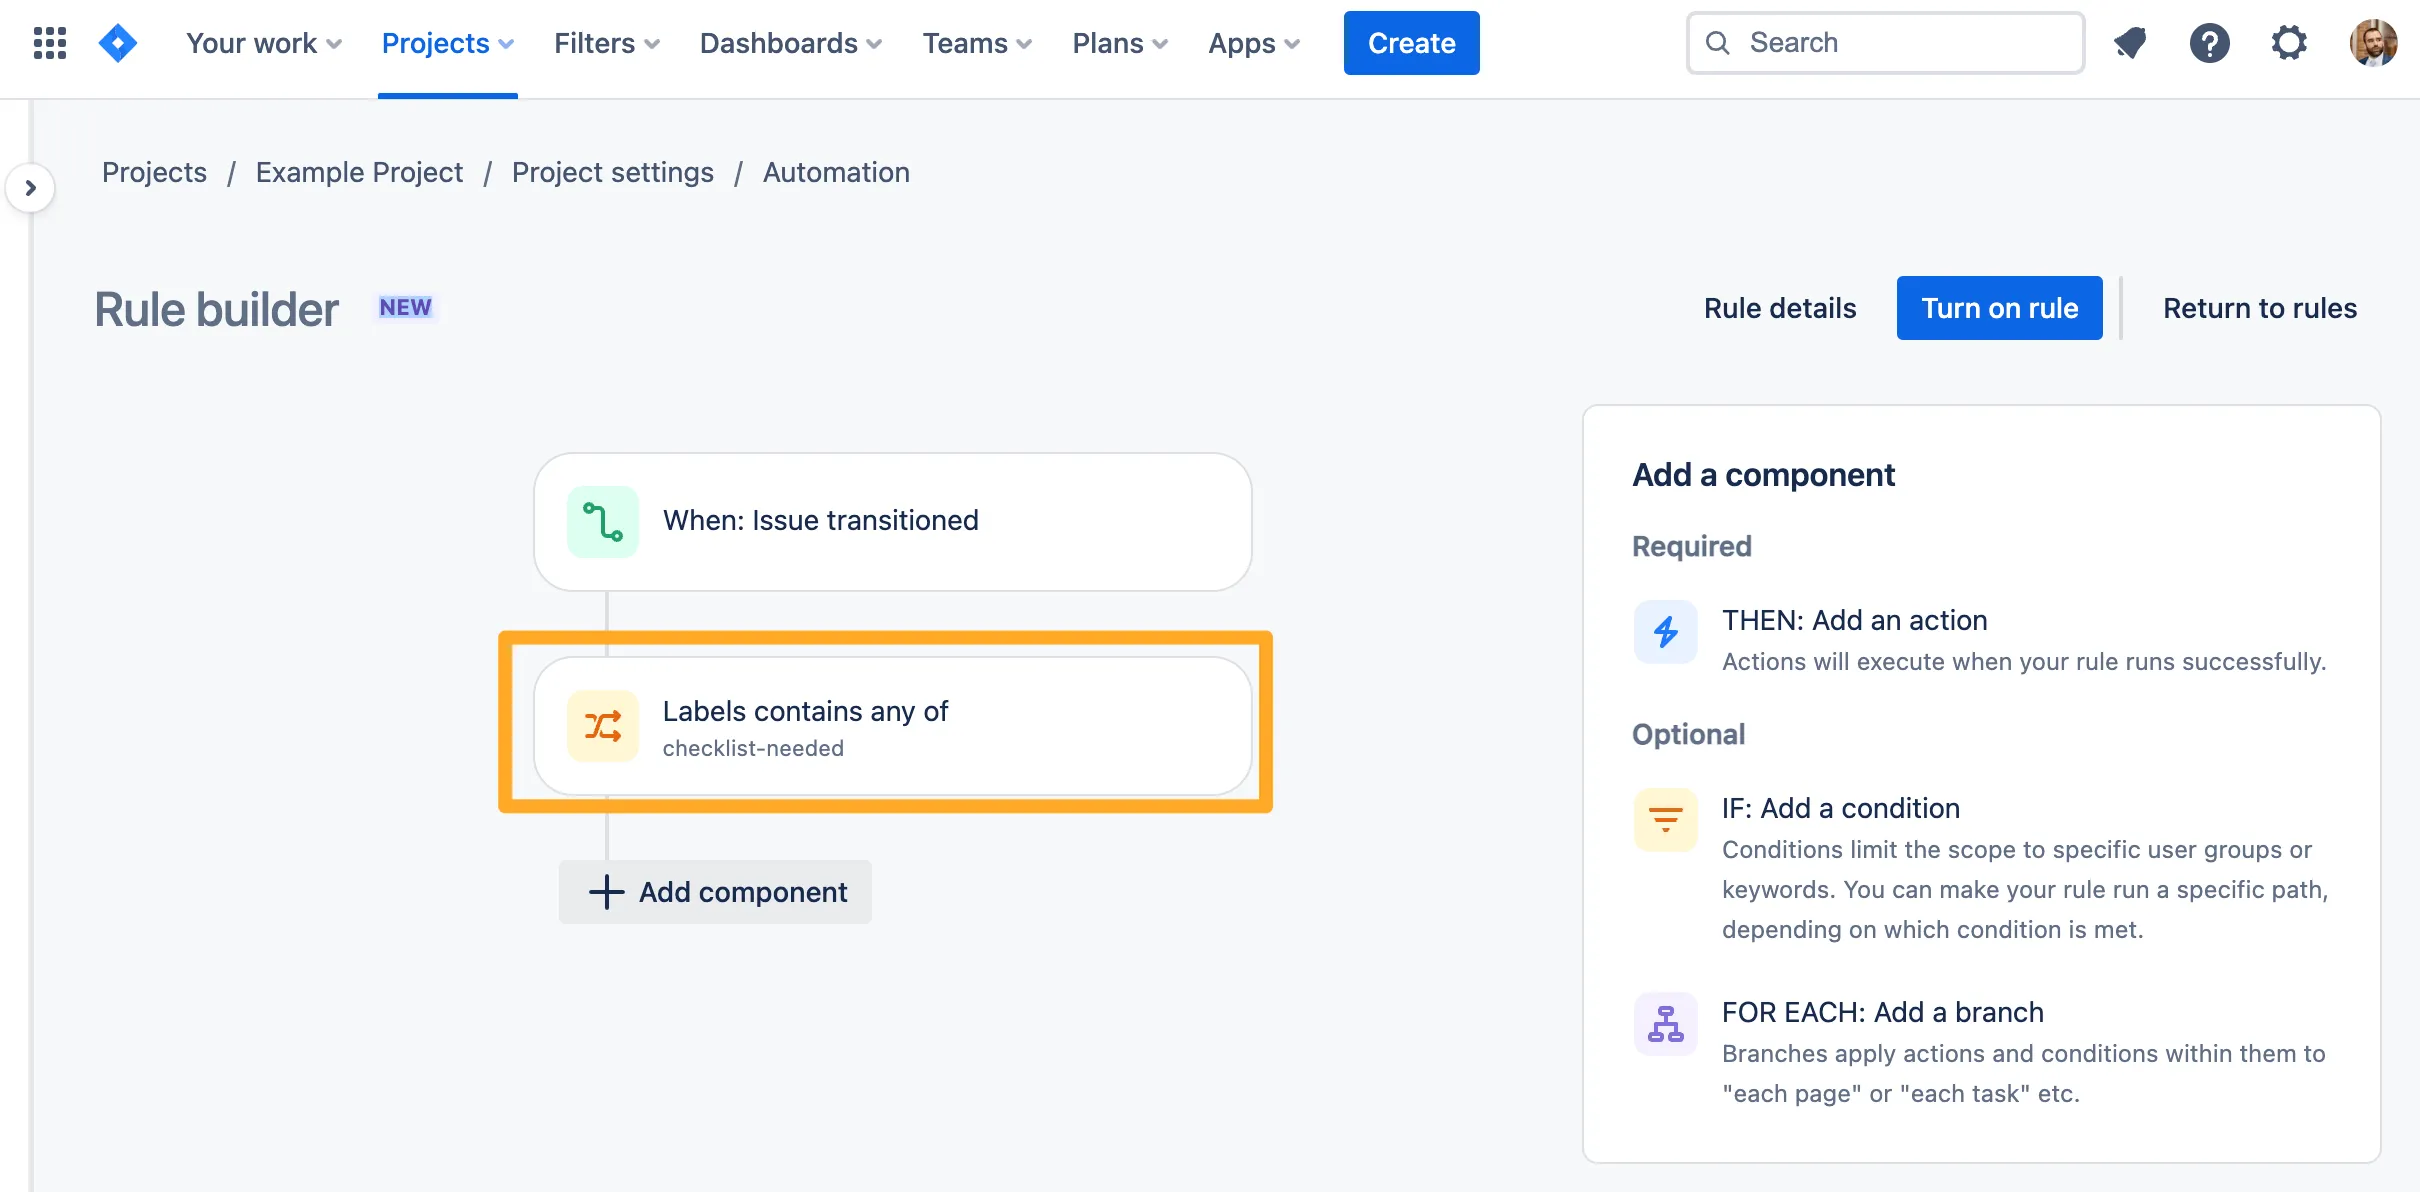
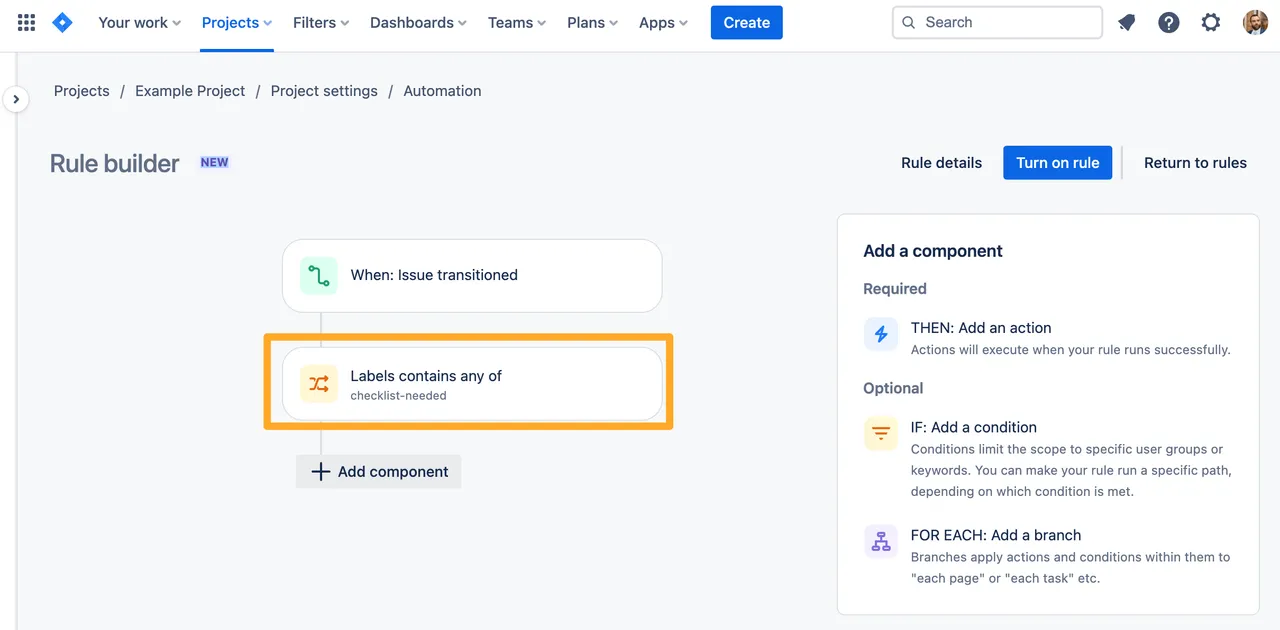
Choose the trigger which you would like to start this automation with. In our example, we will use the “Issue transitioned” trigger.

-
If you’d like to add any conditions, you can do that now as well.
-
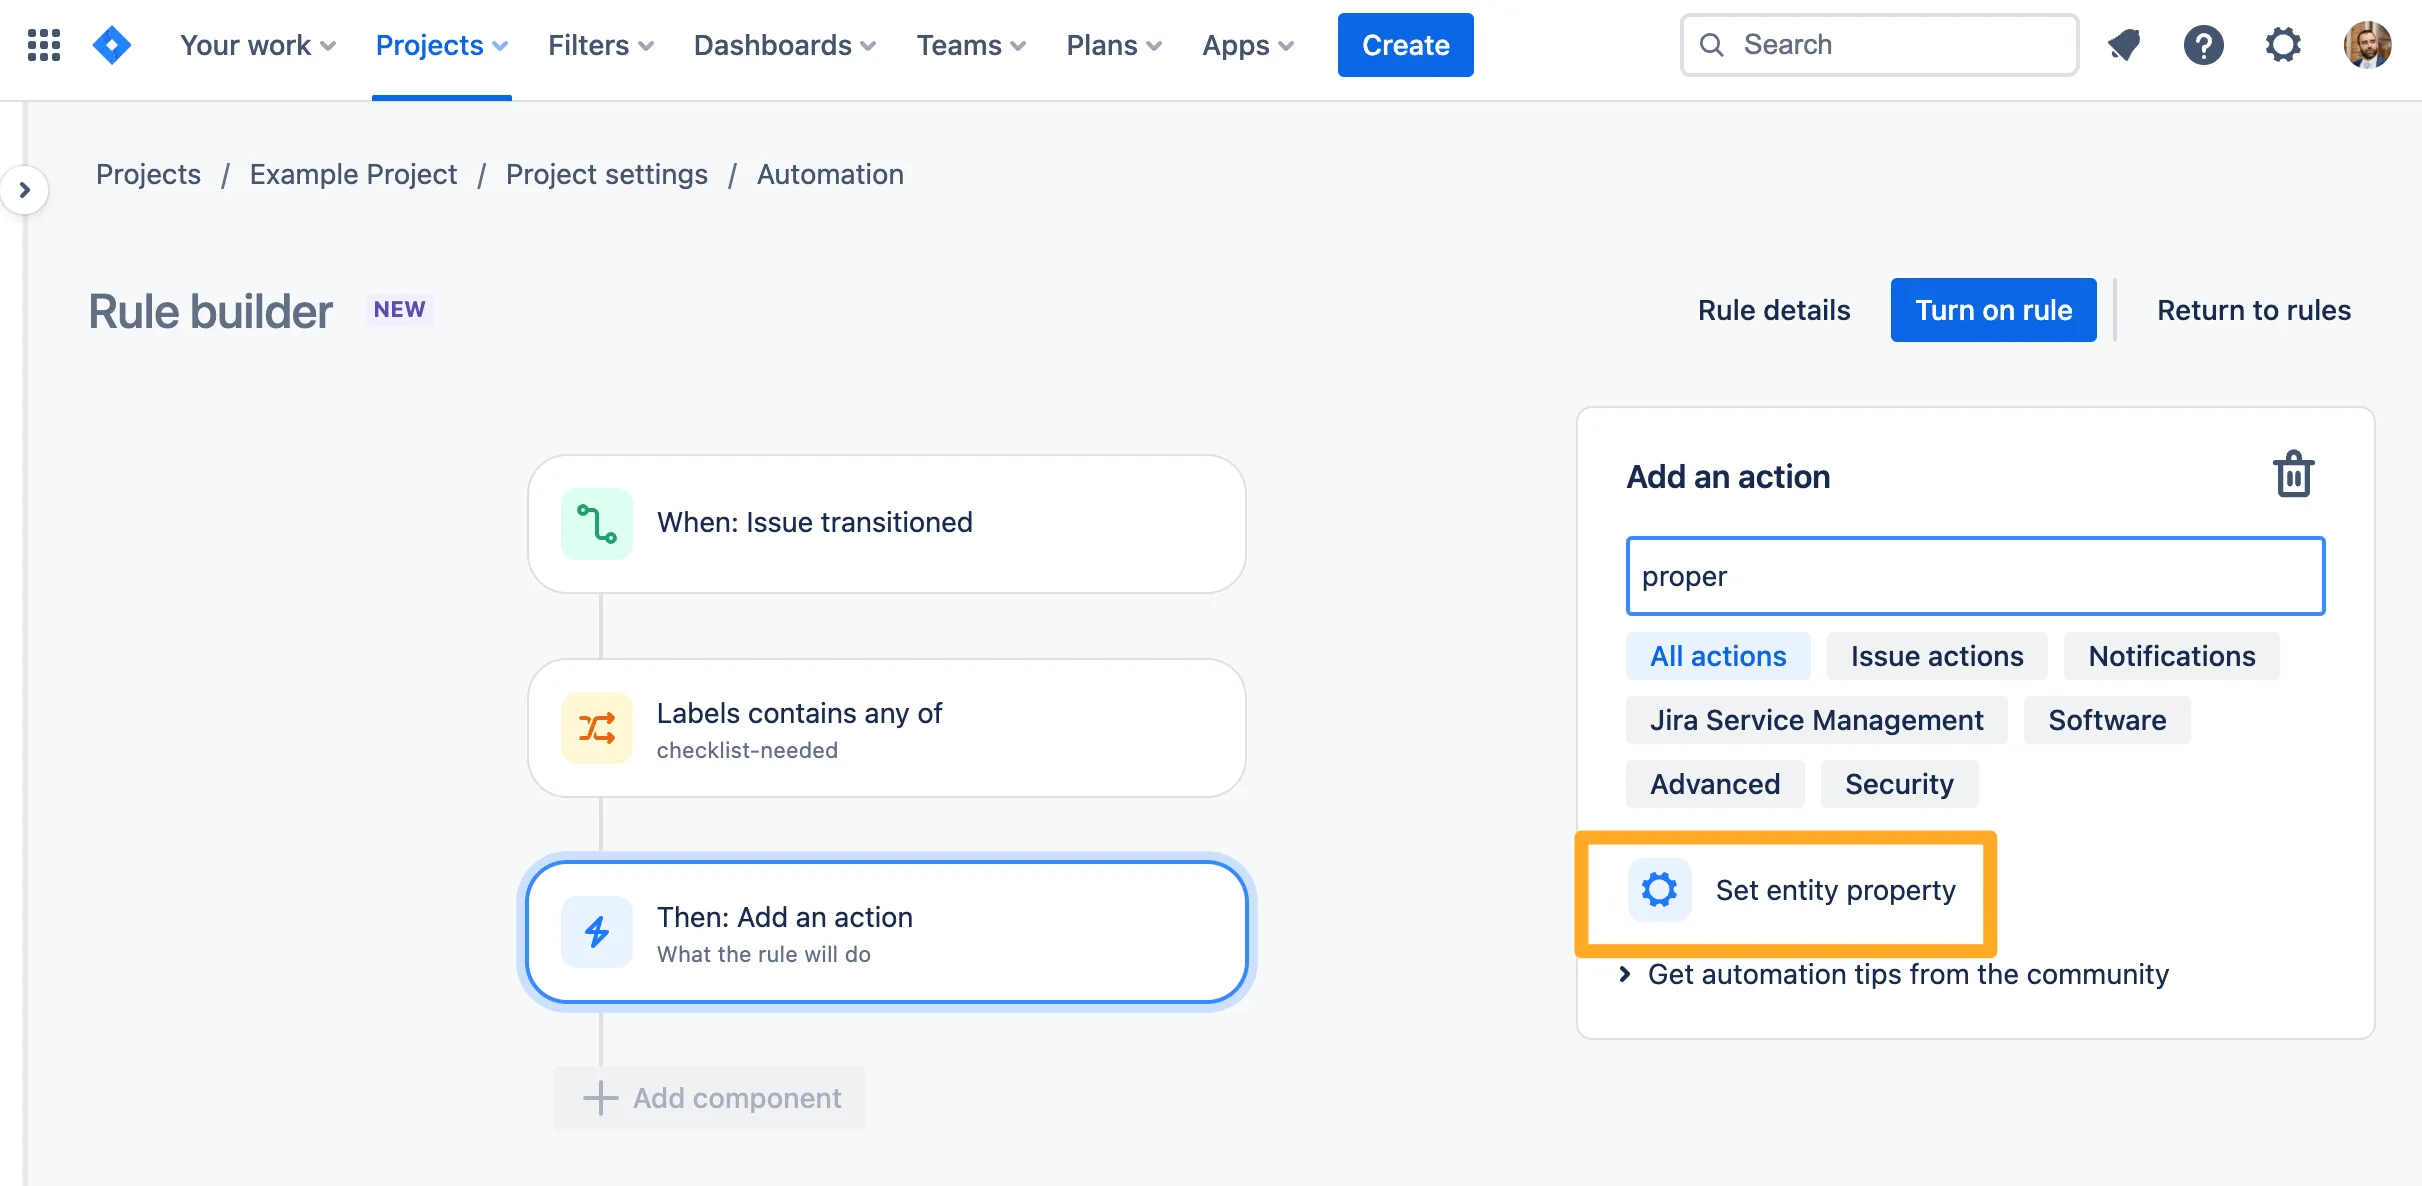
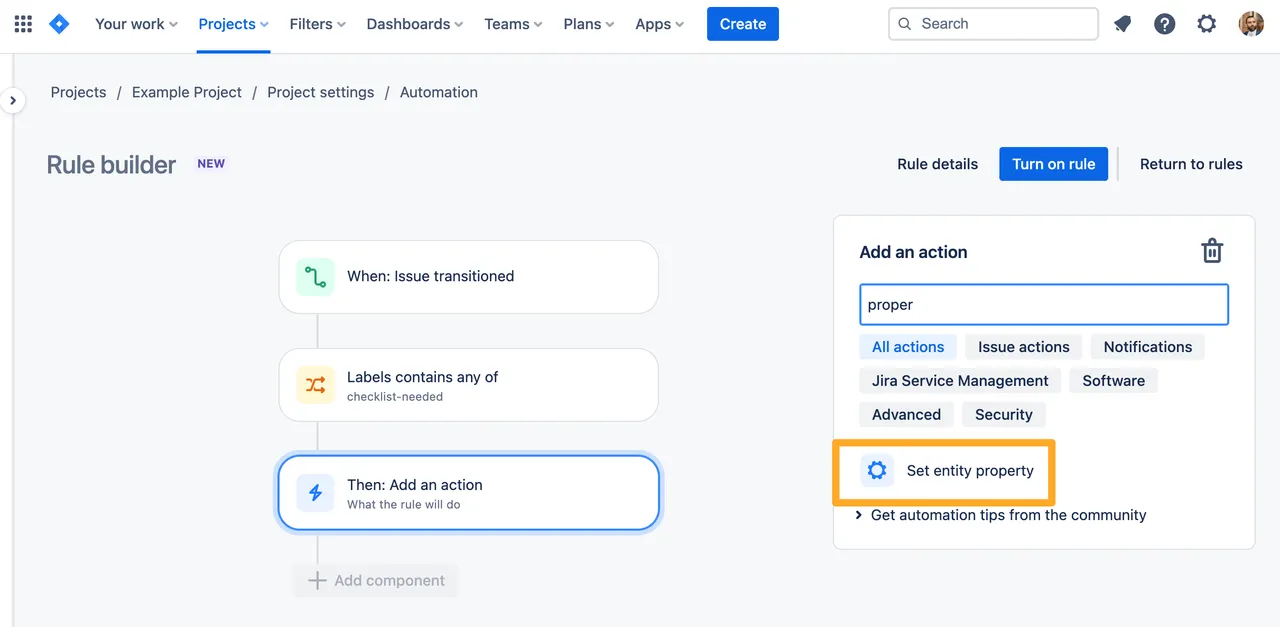
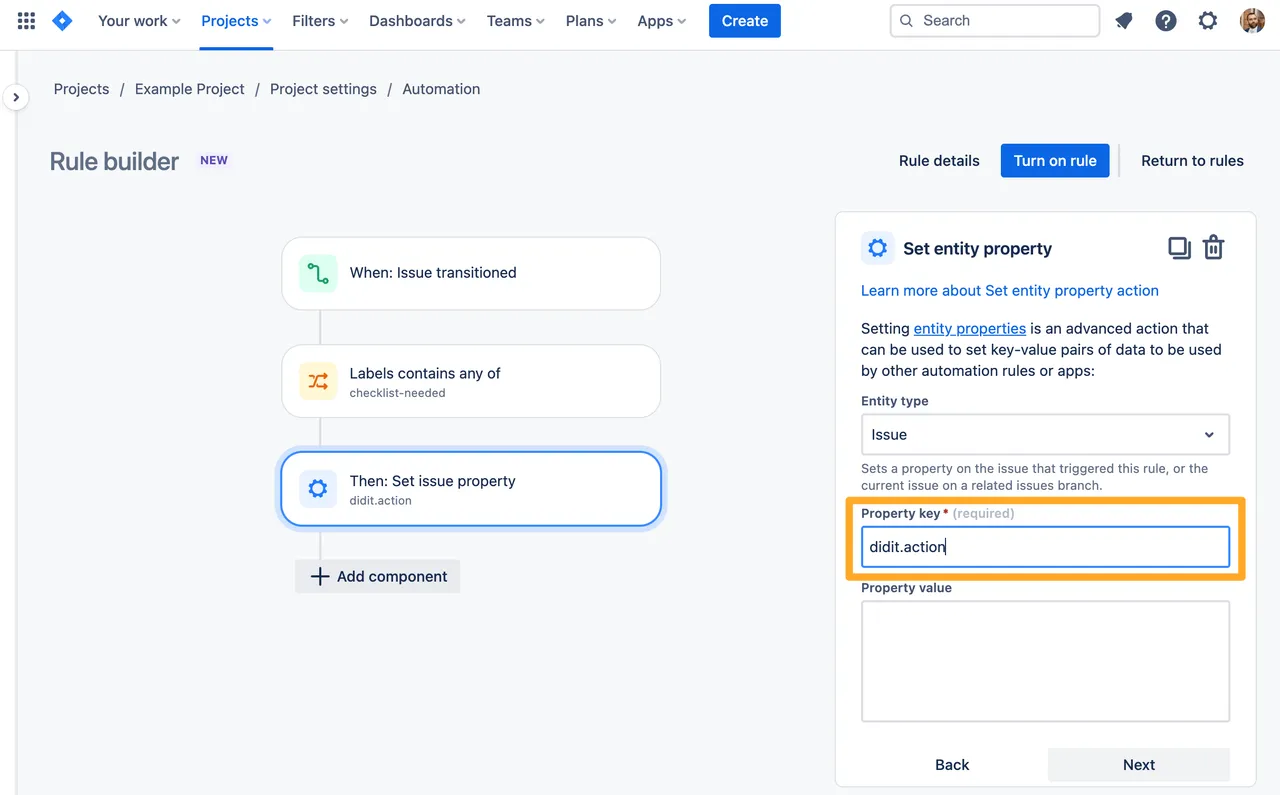
For the automation action, choose the “Set entity property” action.
-
In the “Property key” field, add the text “didit.action”. Please note that the “didit.action” property is case sensitive.

-
For the “Property value,” you can either use Markdown to set an ad-hoc checklist or JSON to add a checklist from a template.
For examples on Markdown and JSON, please visit our Jira automation examples page.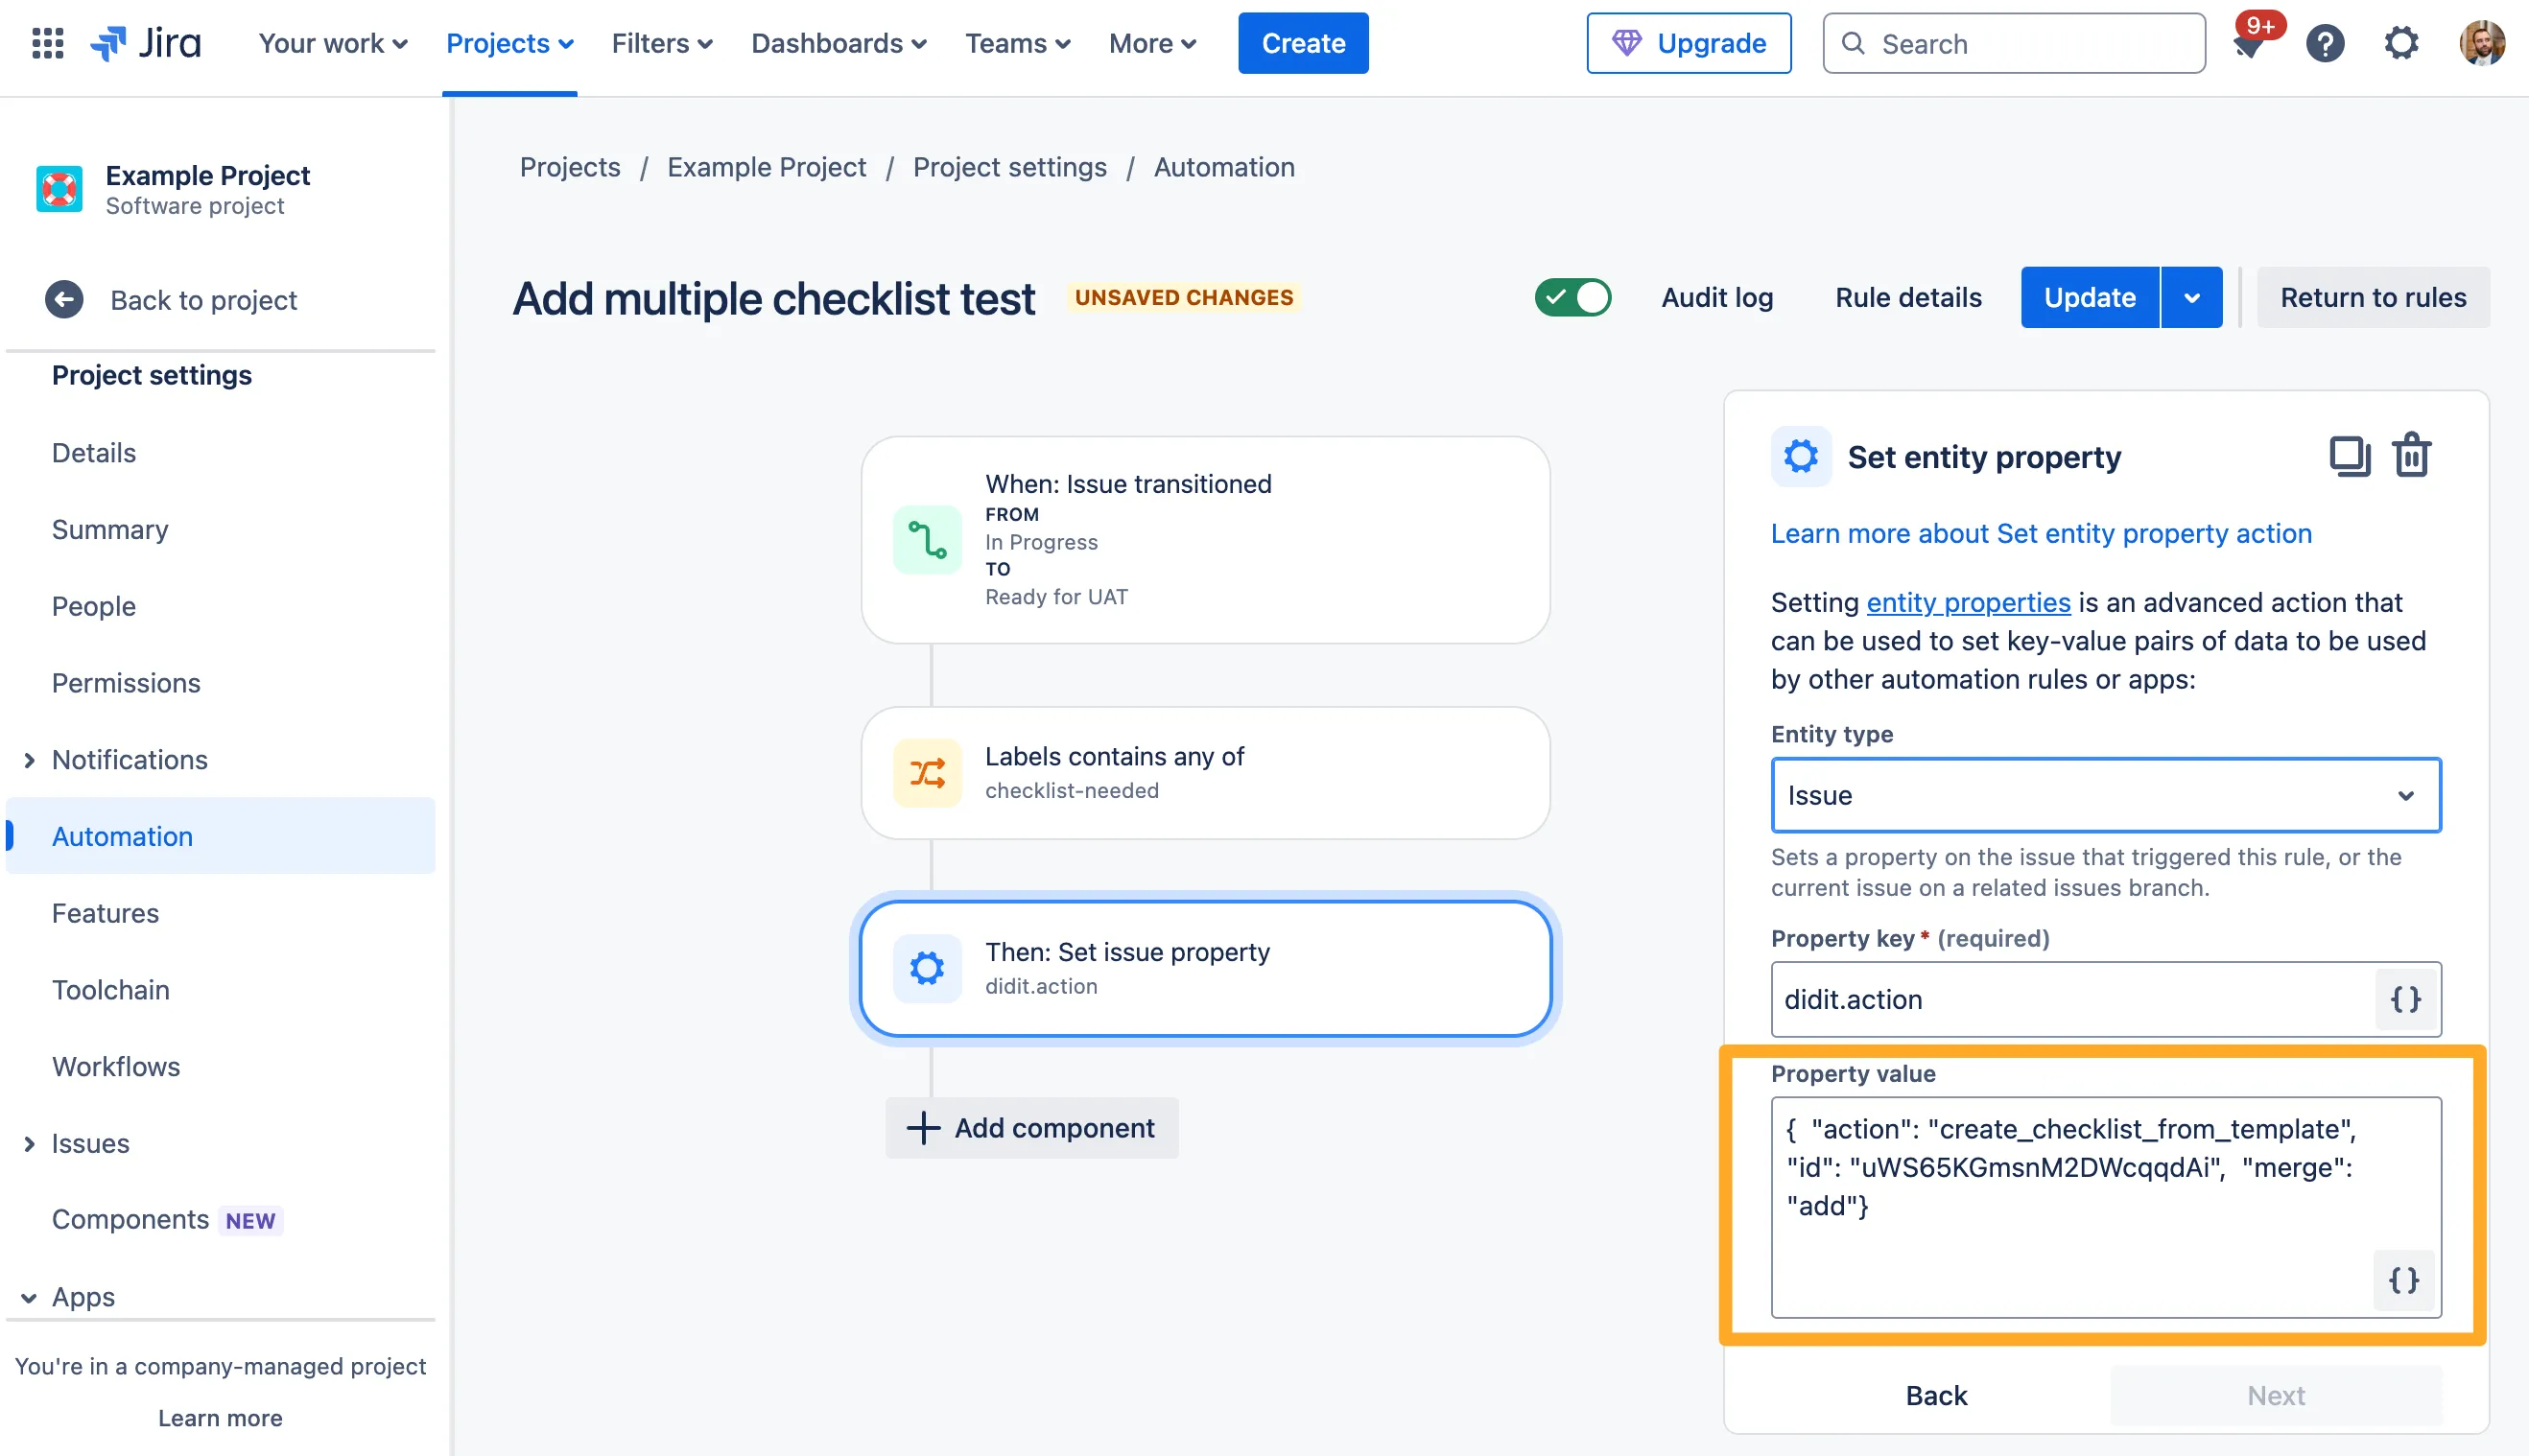

-
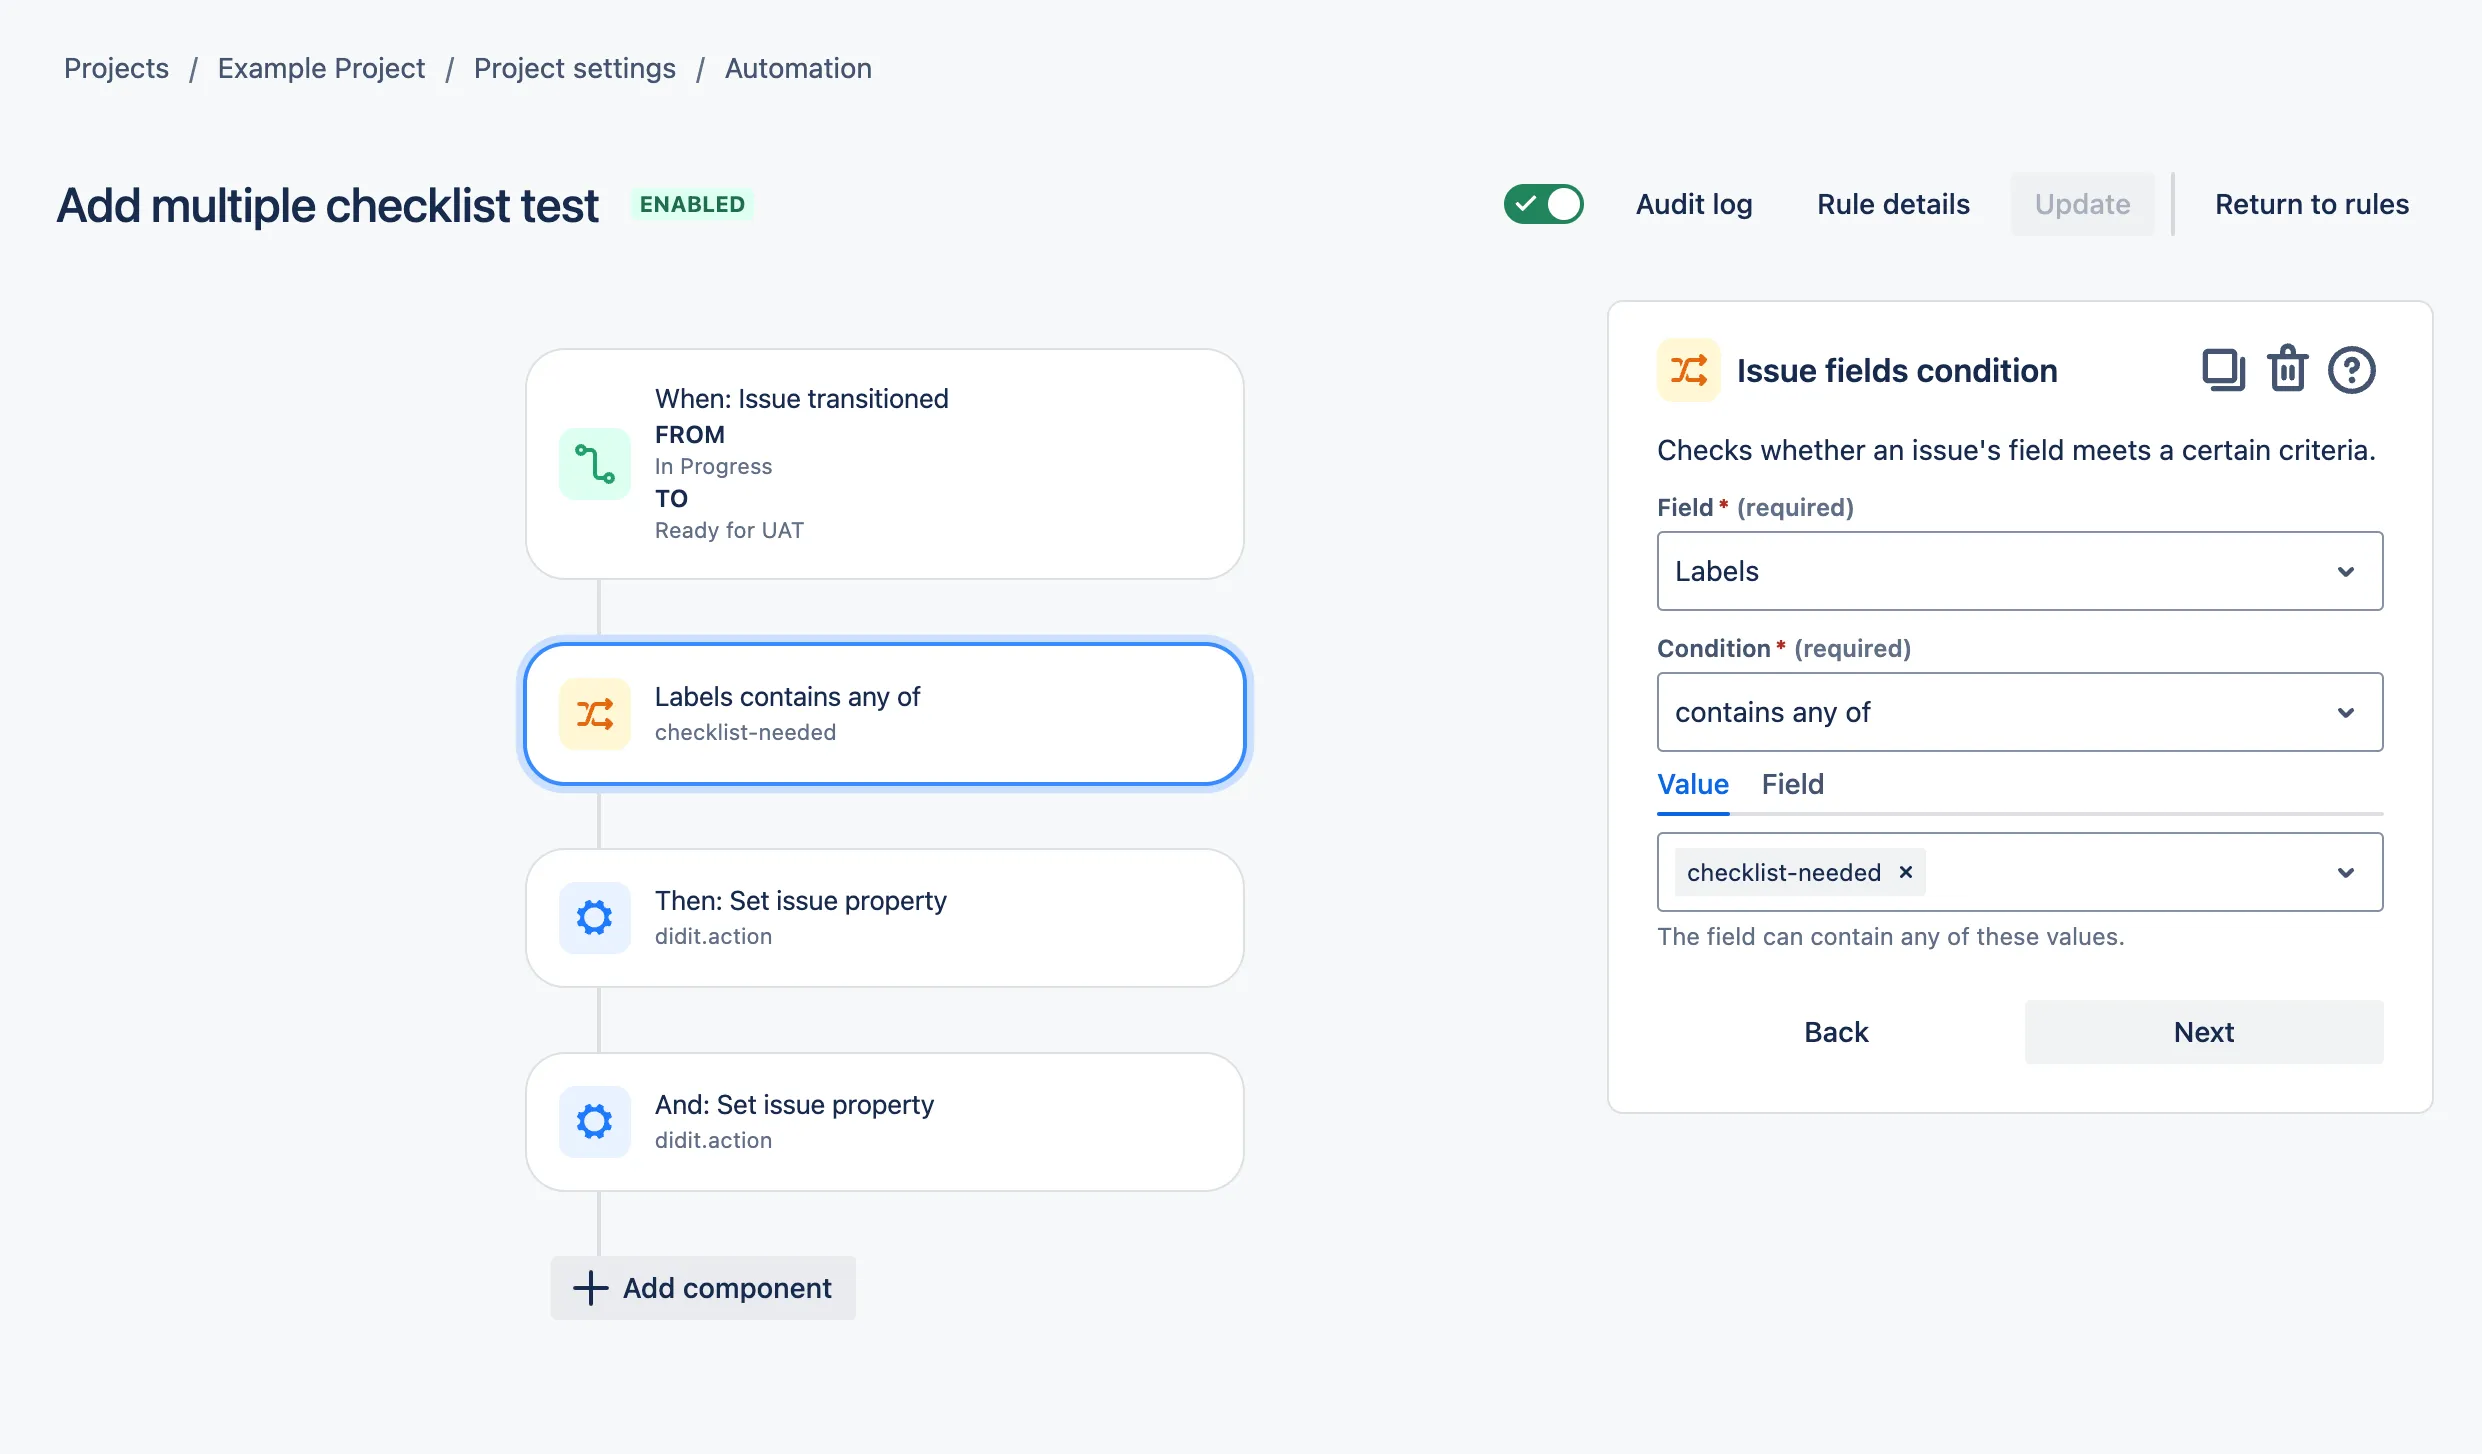
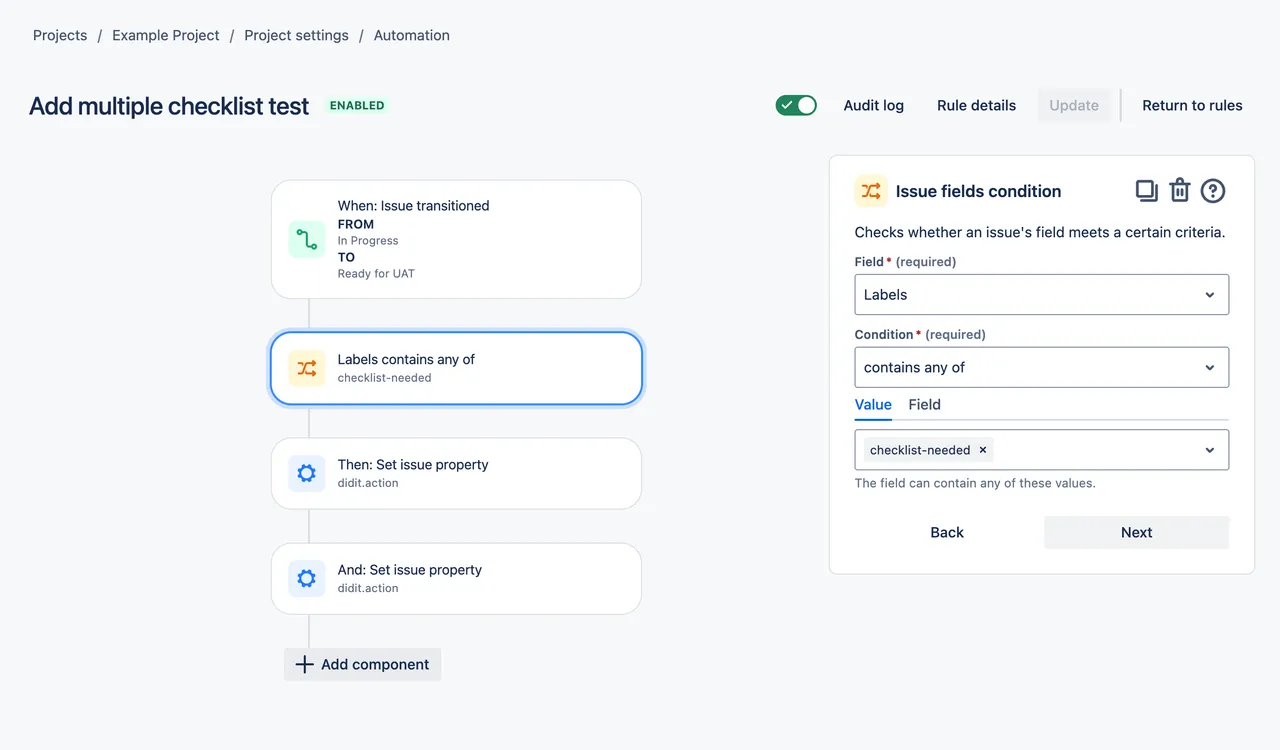
Repeat steps 5-7 in the same rule with as many different actions as checklists you would like. Our example below shows adding two checklists.
Link to this page: https://seibert.biz/diditmultiplechecklistsautomation