How to create a new checklist in Confluence in the Didit - Checklists hub
You can generate checklists from the Didit hub, a Jira Issue, a Confluence page, and many more. Find a detailed list of different starting points for your checklist creation below. Let’s start with how to create a checklist in your Didit hub in Confluence. There are two options: Create a checklist from a template or create an ad-hoc checklist.
How to create a checklist from a template
-
Navigate to your Didit - Checklists hub
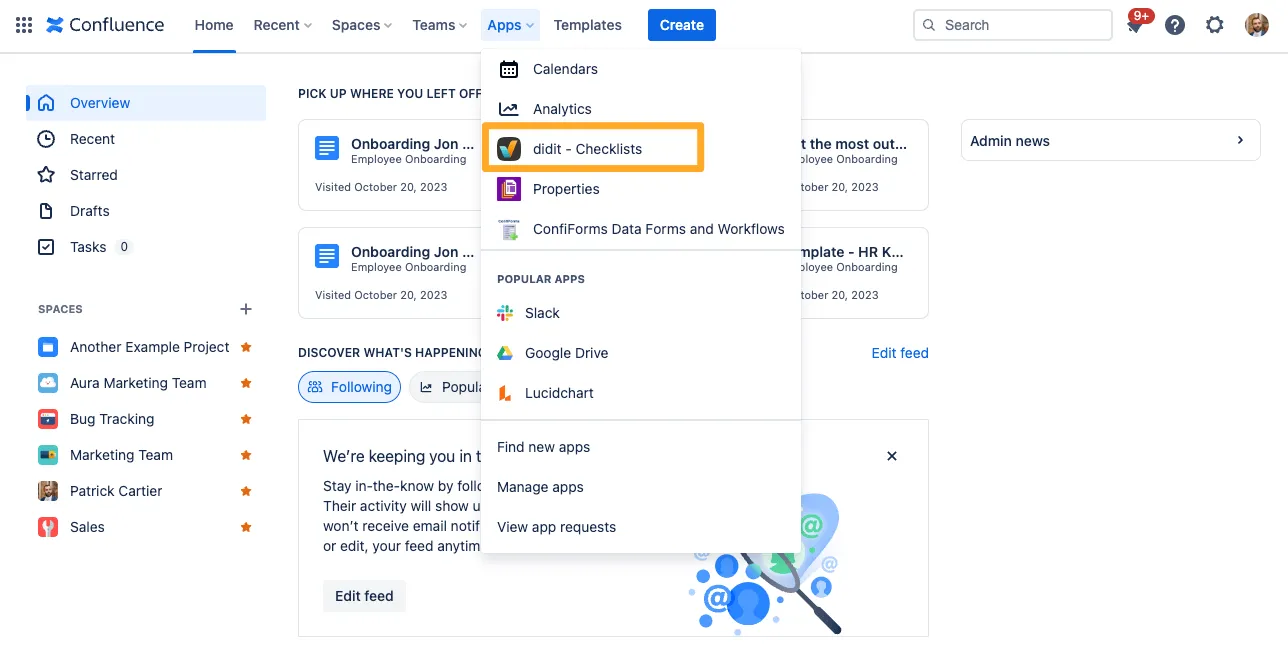
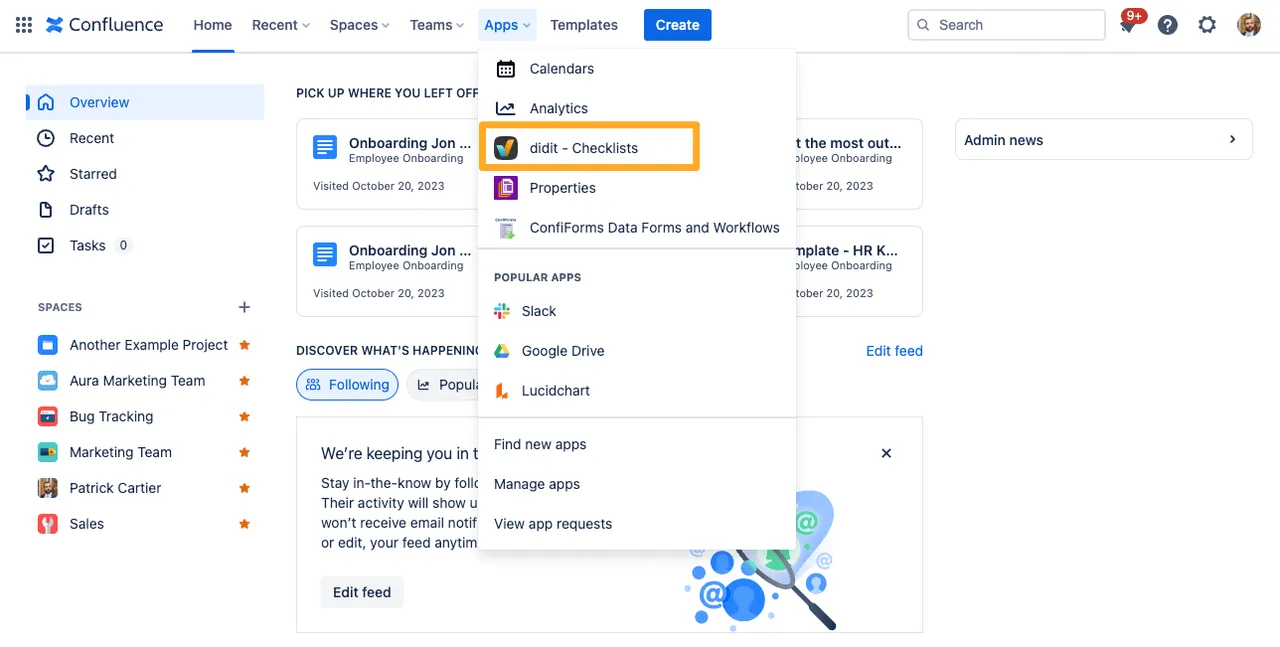
-
Hover your mouse of the checklist you would like to copy and click “Create checklist.”
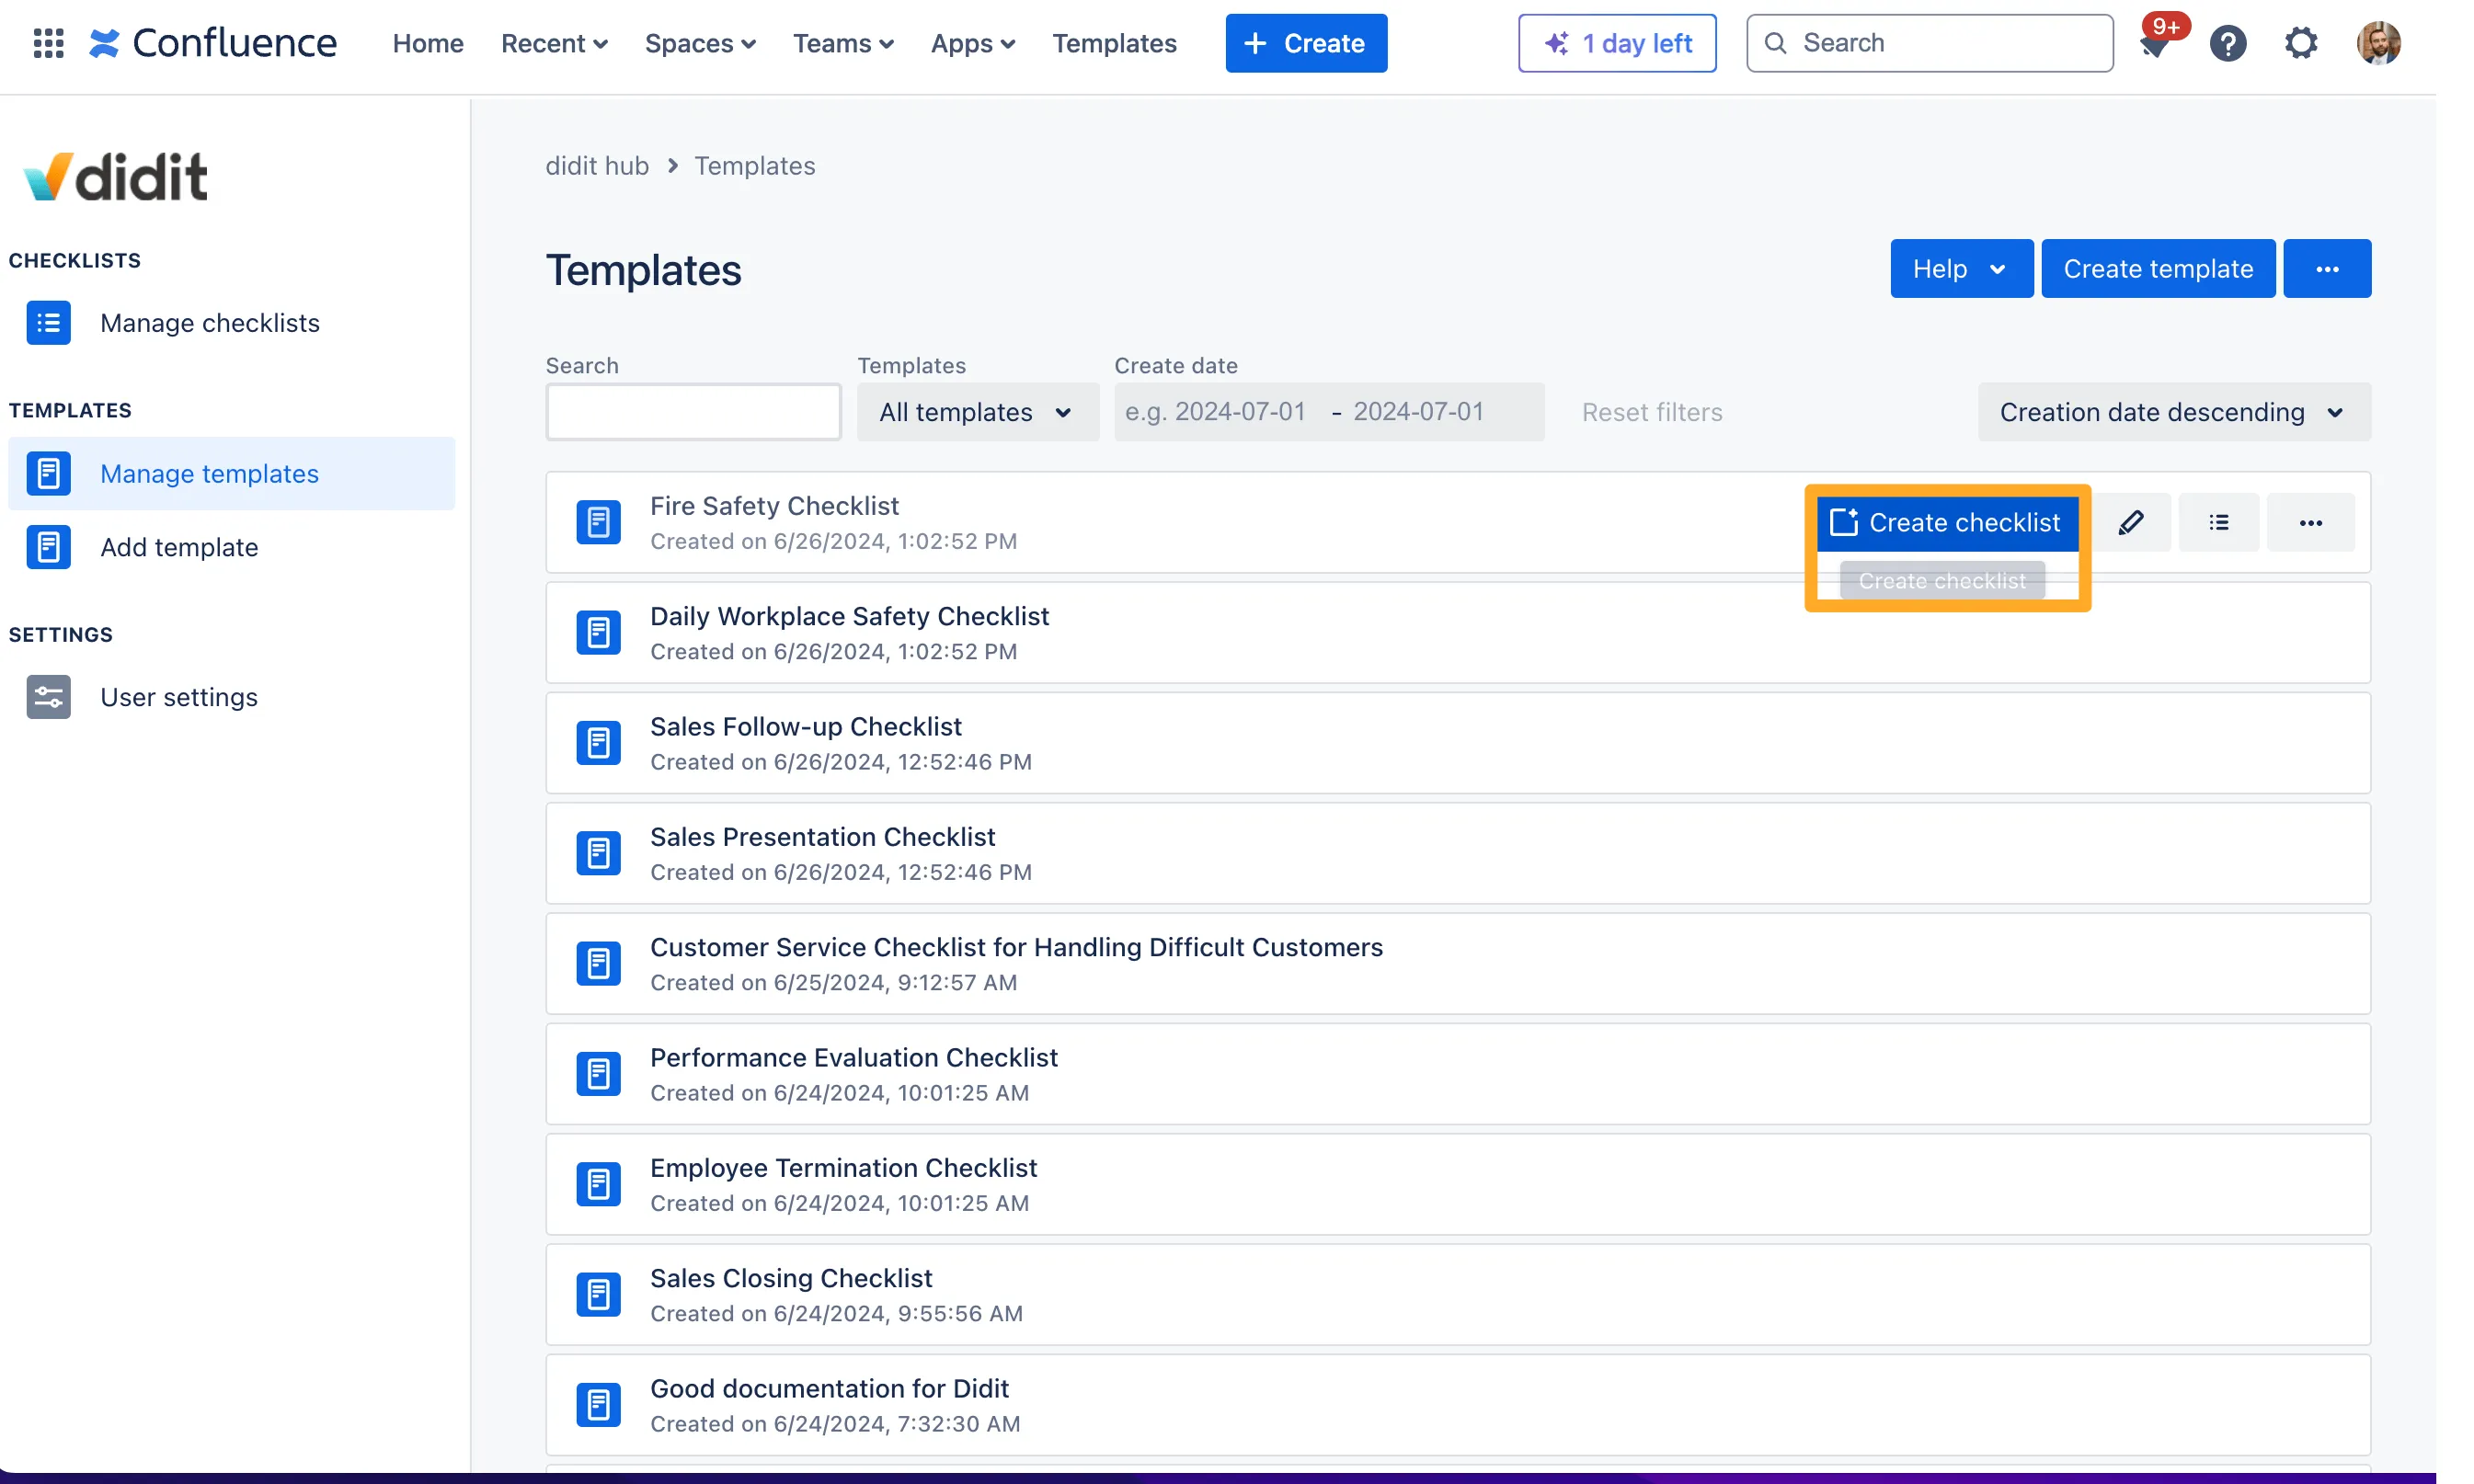
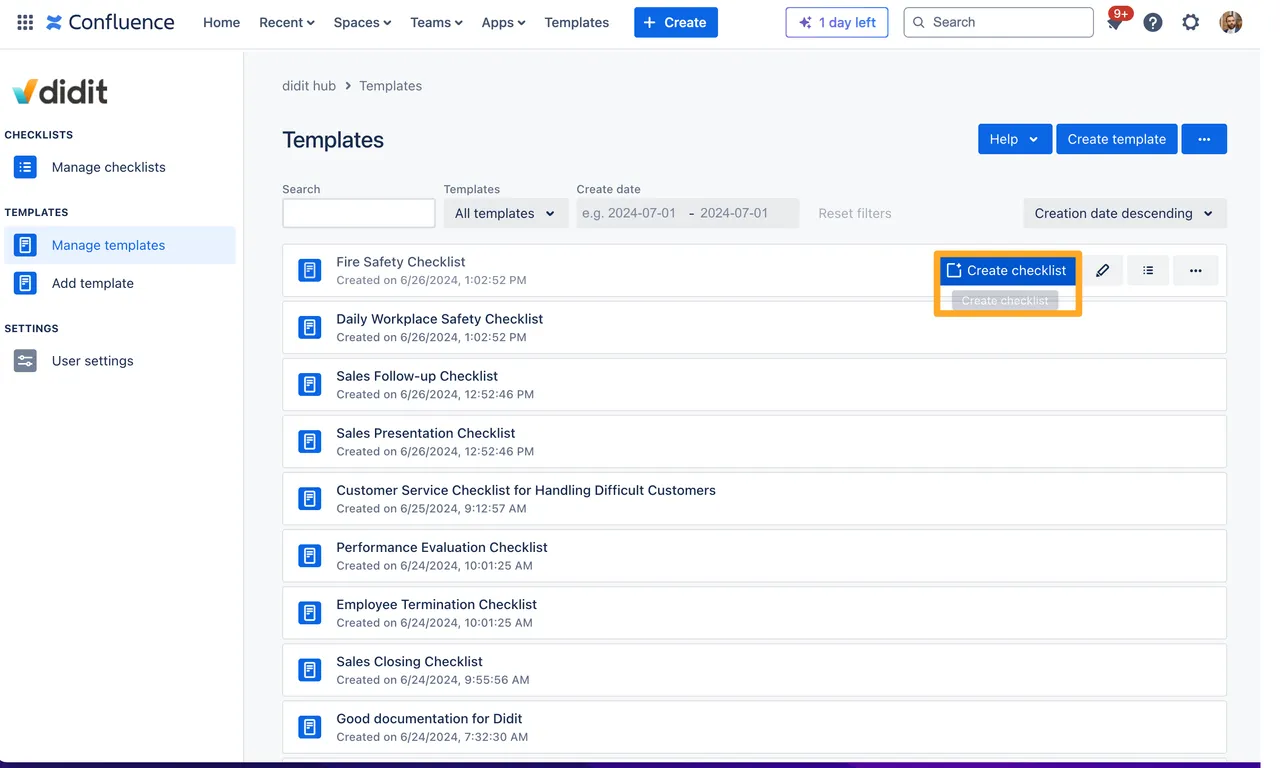
-
After clicking the button, a modal will appear giving you the possibility to change your checklist’s name if needed.


-
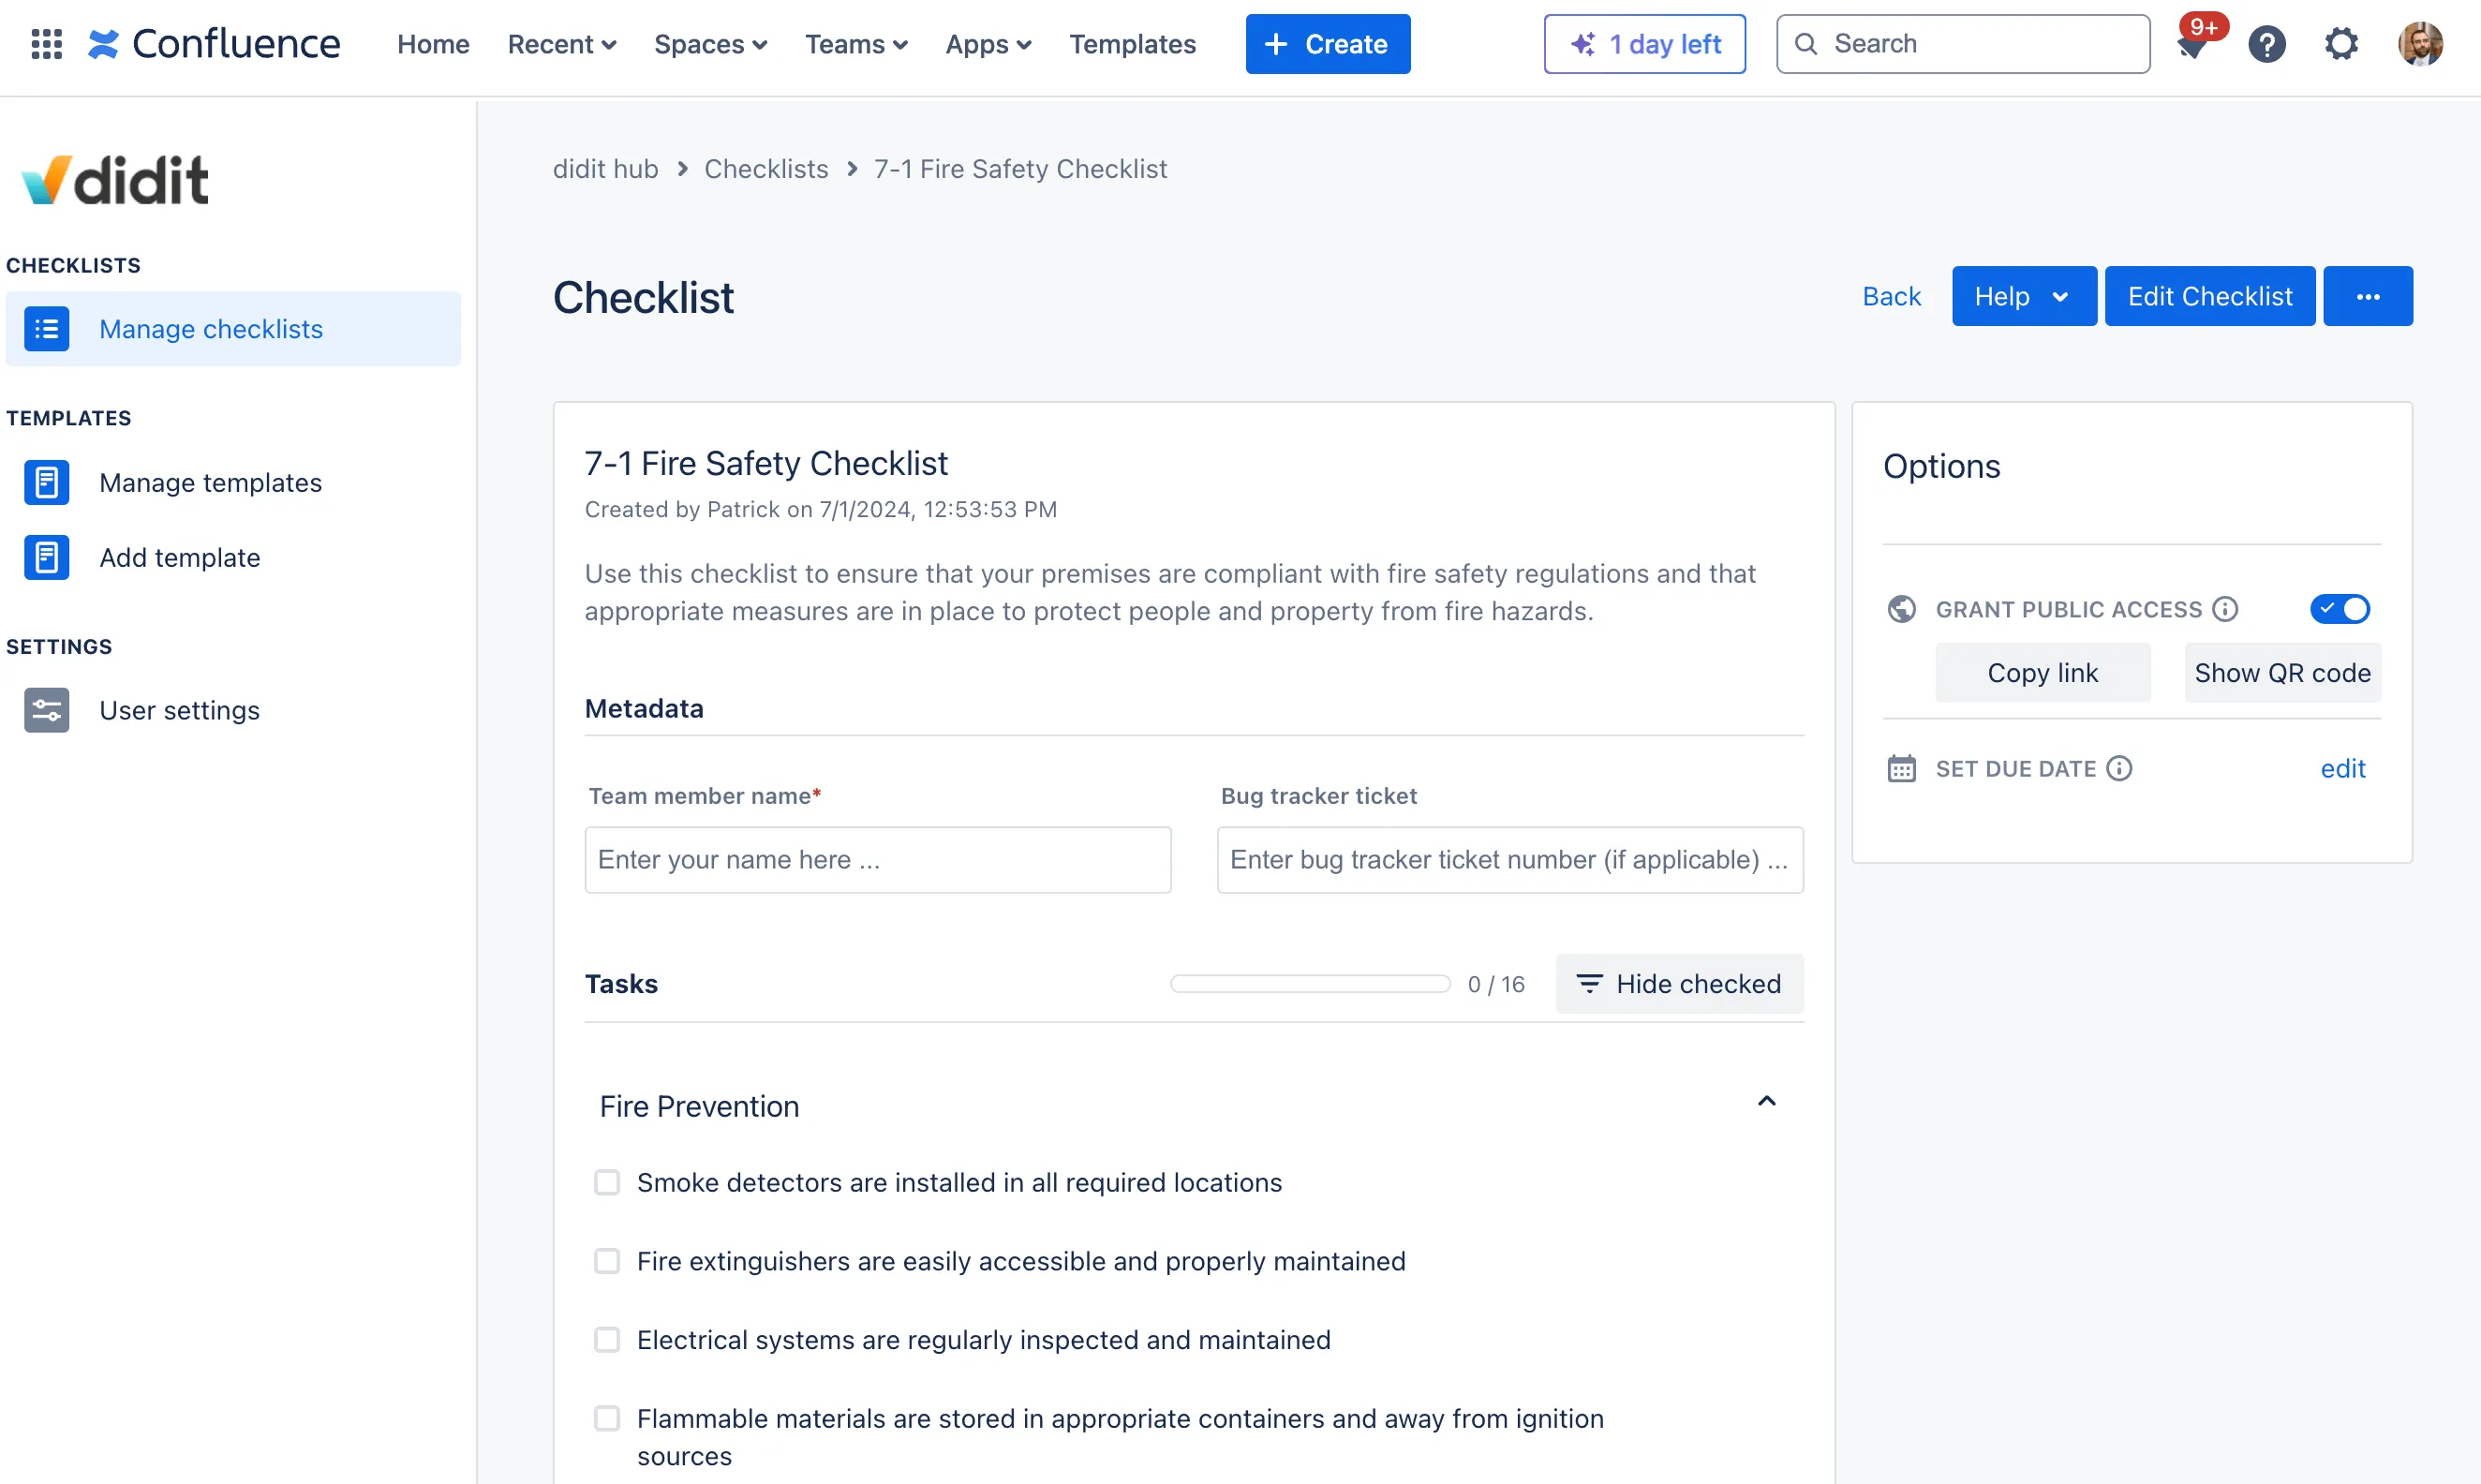
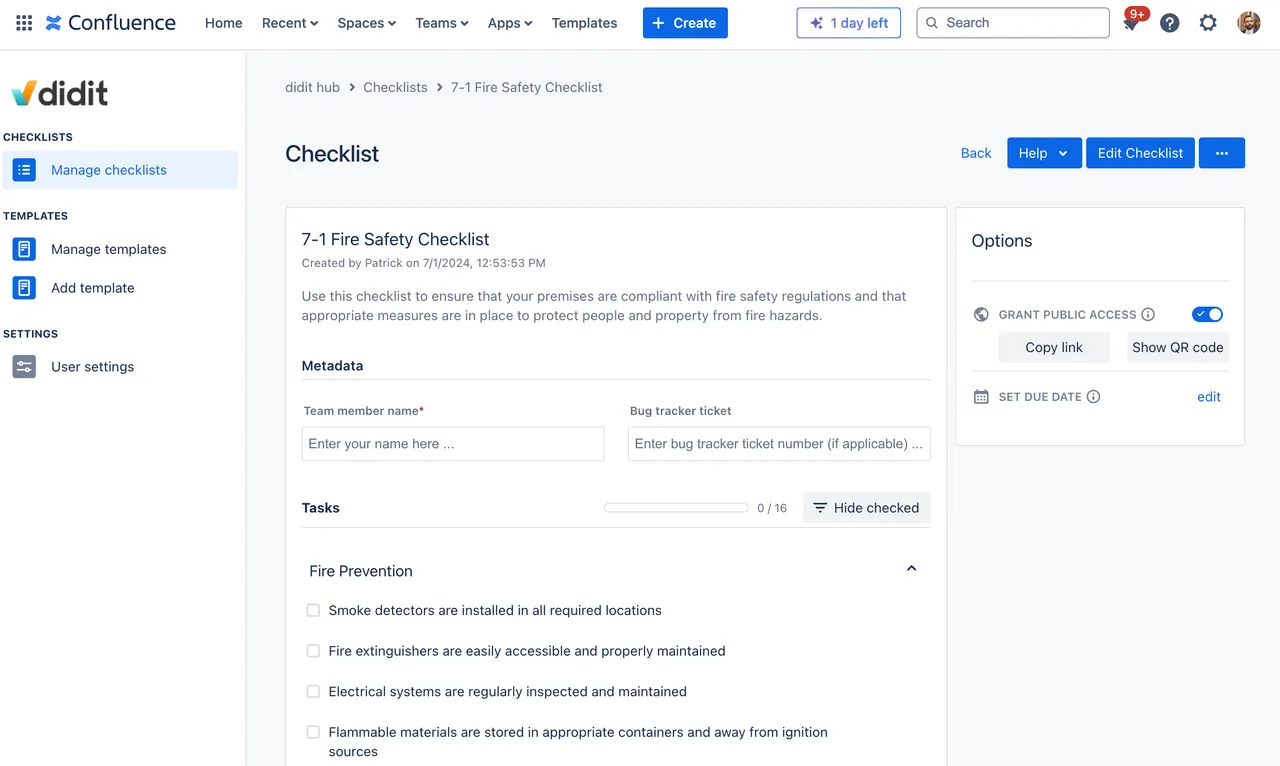
Once you click “Continue”, you will be directed to the detail view of your new checklist.
-
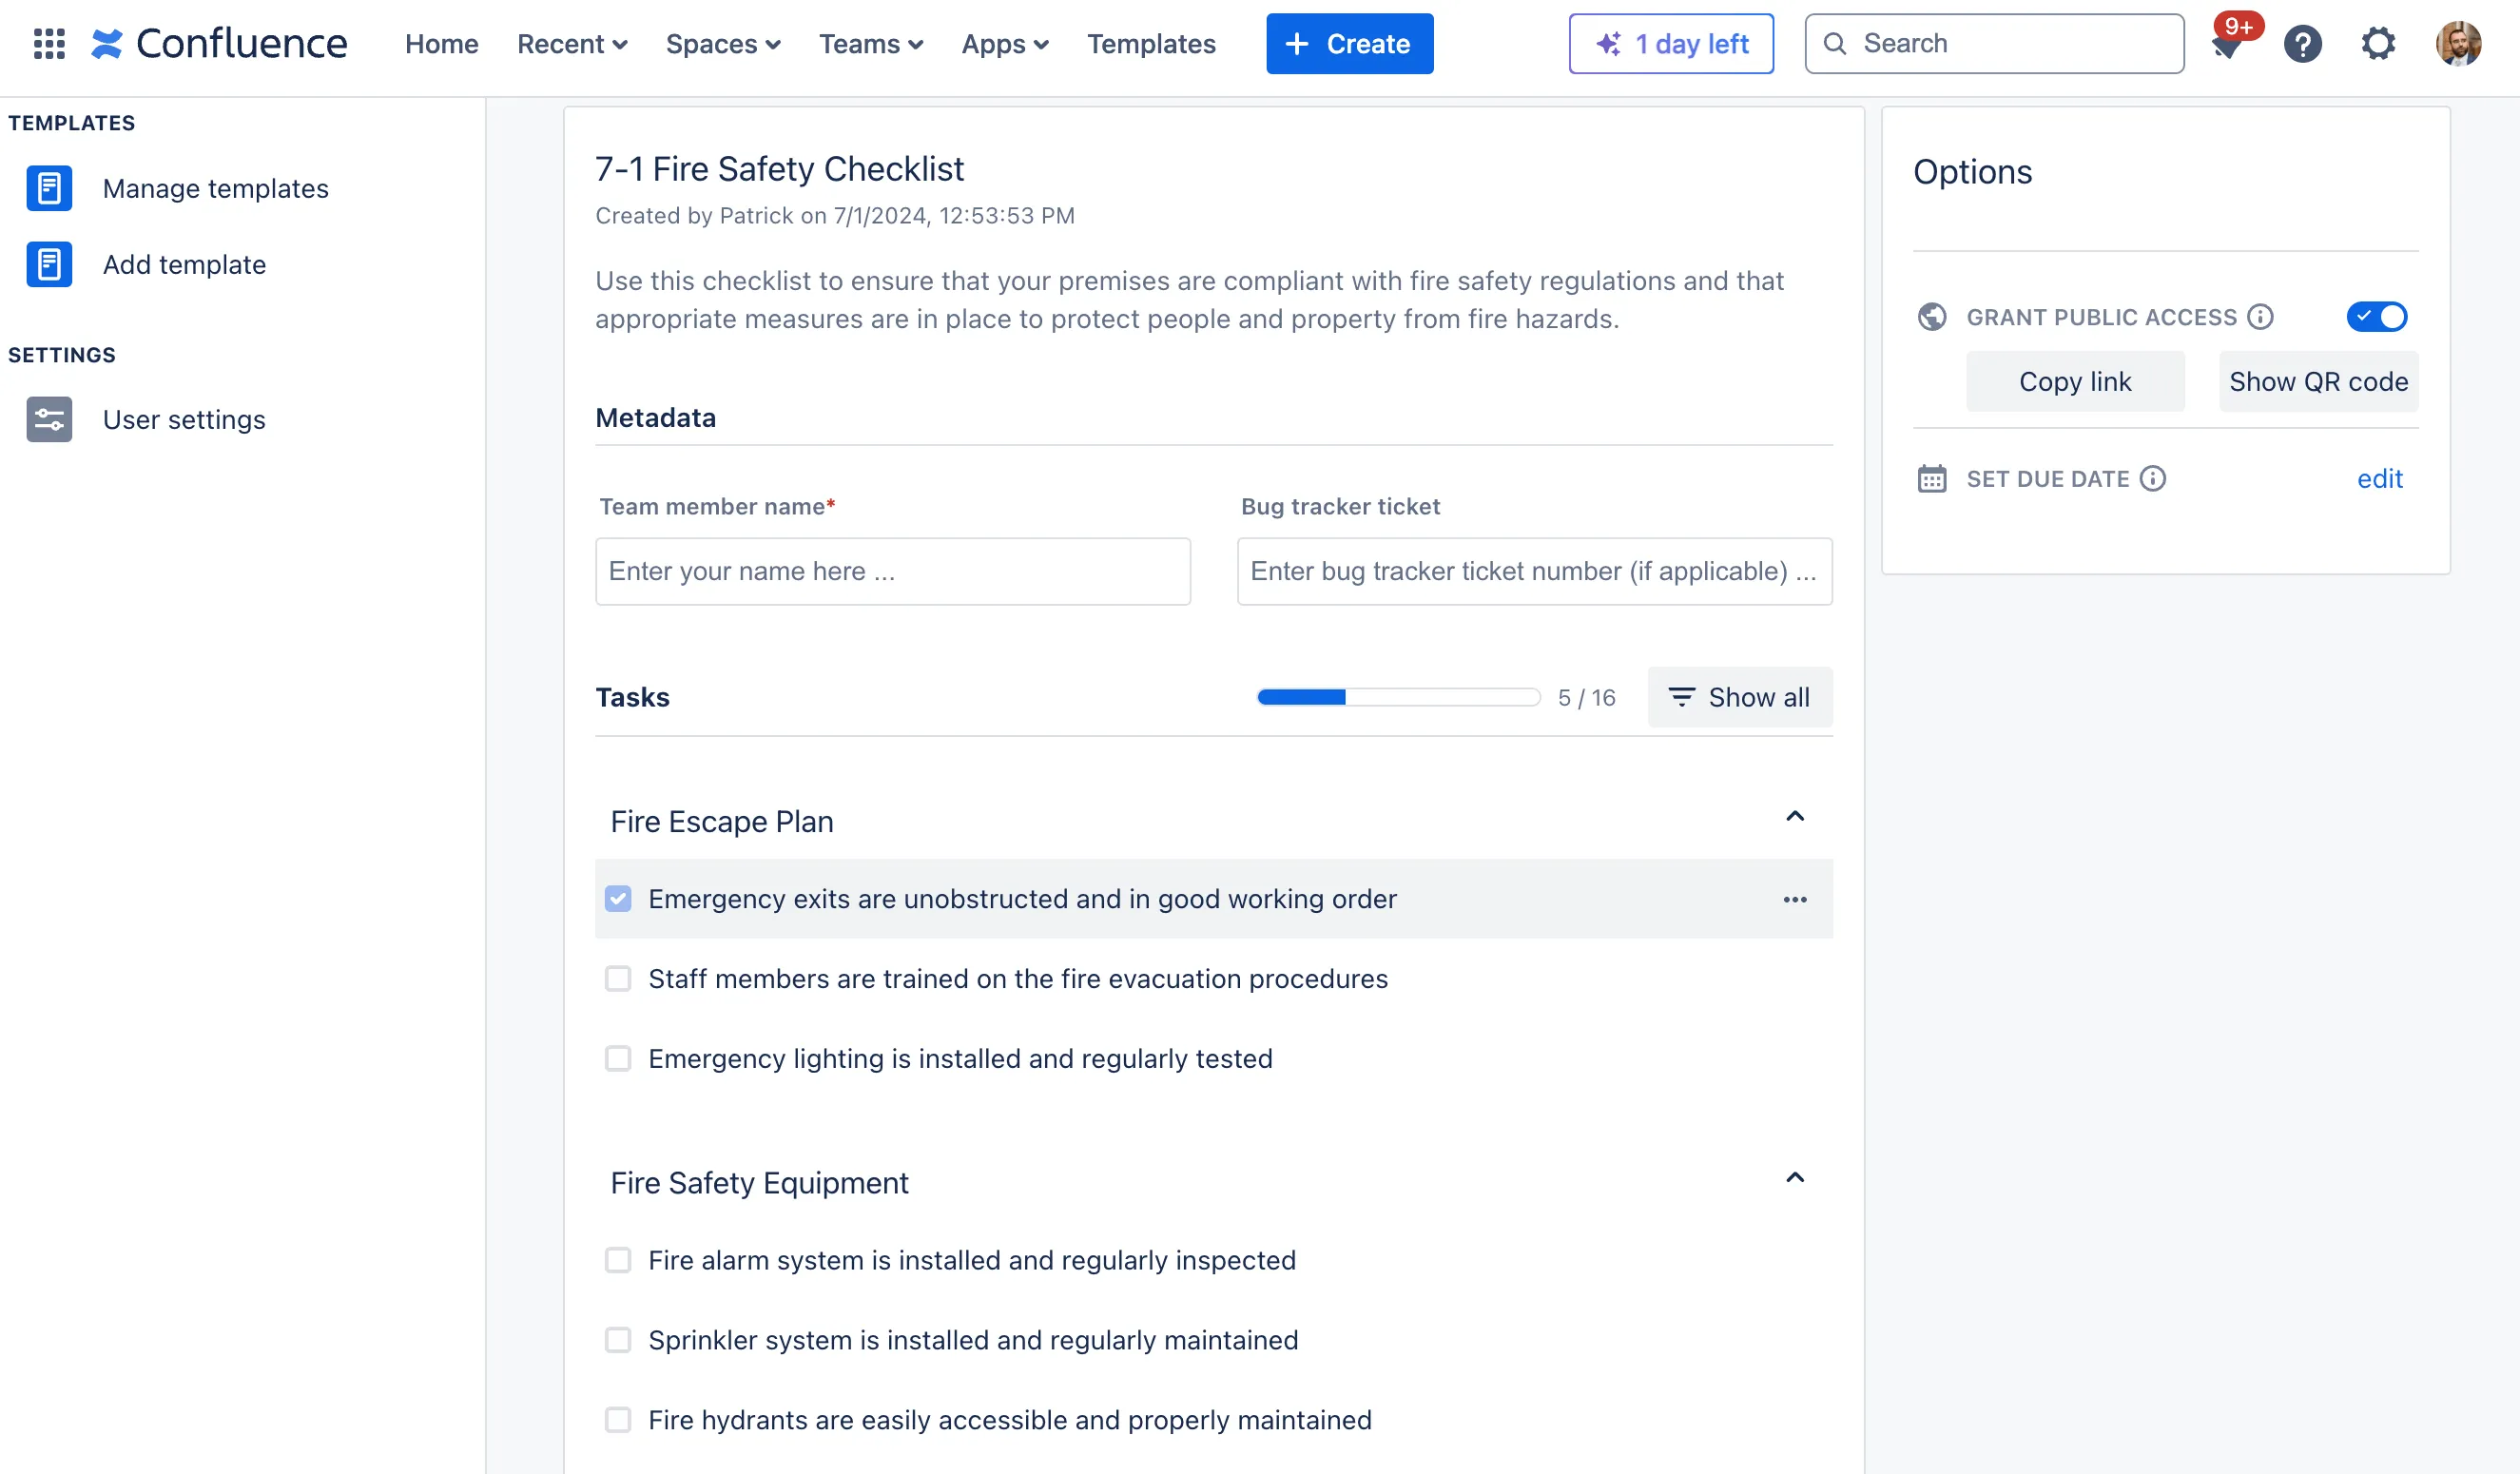
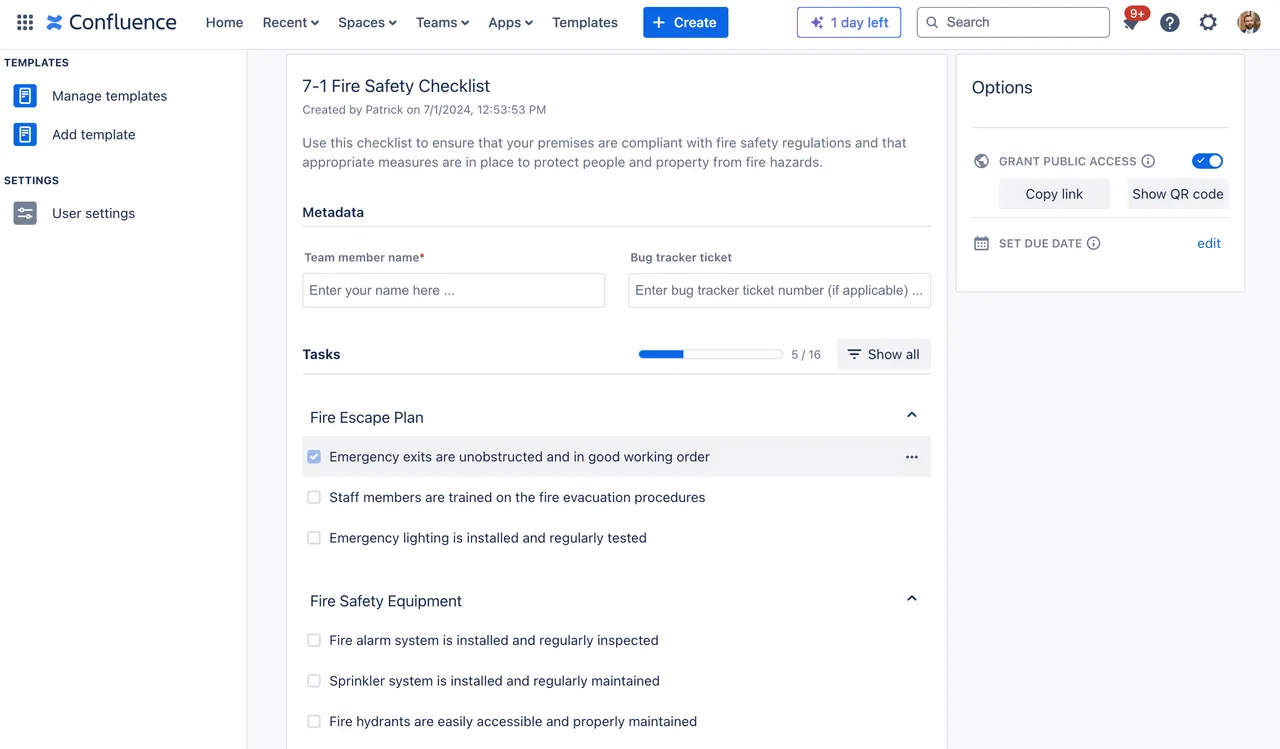
Here, you can start checking off your tasks.
-
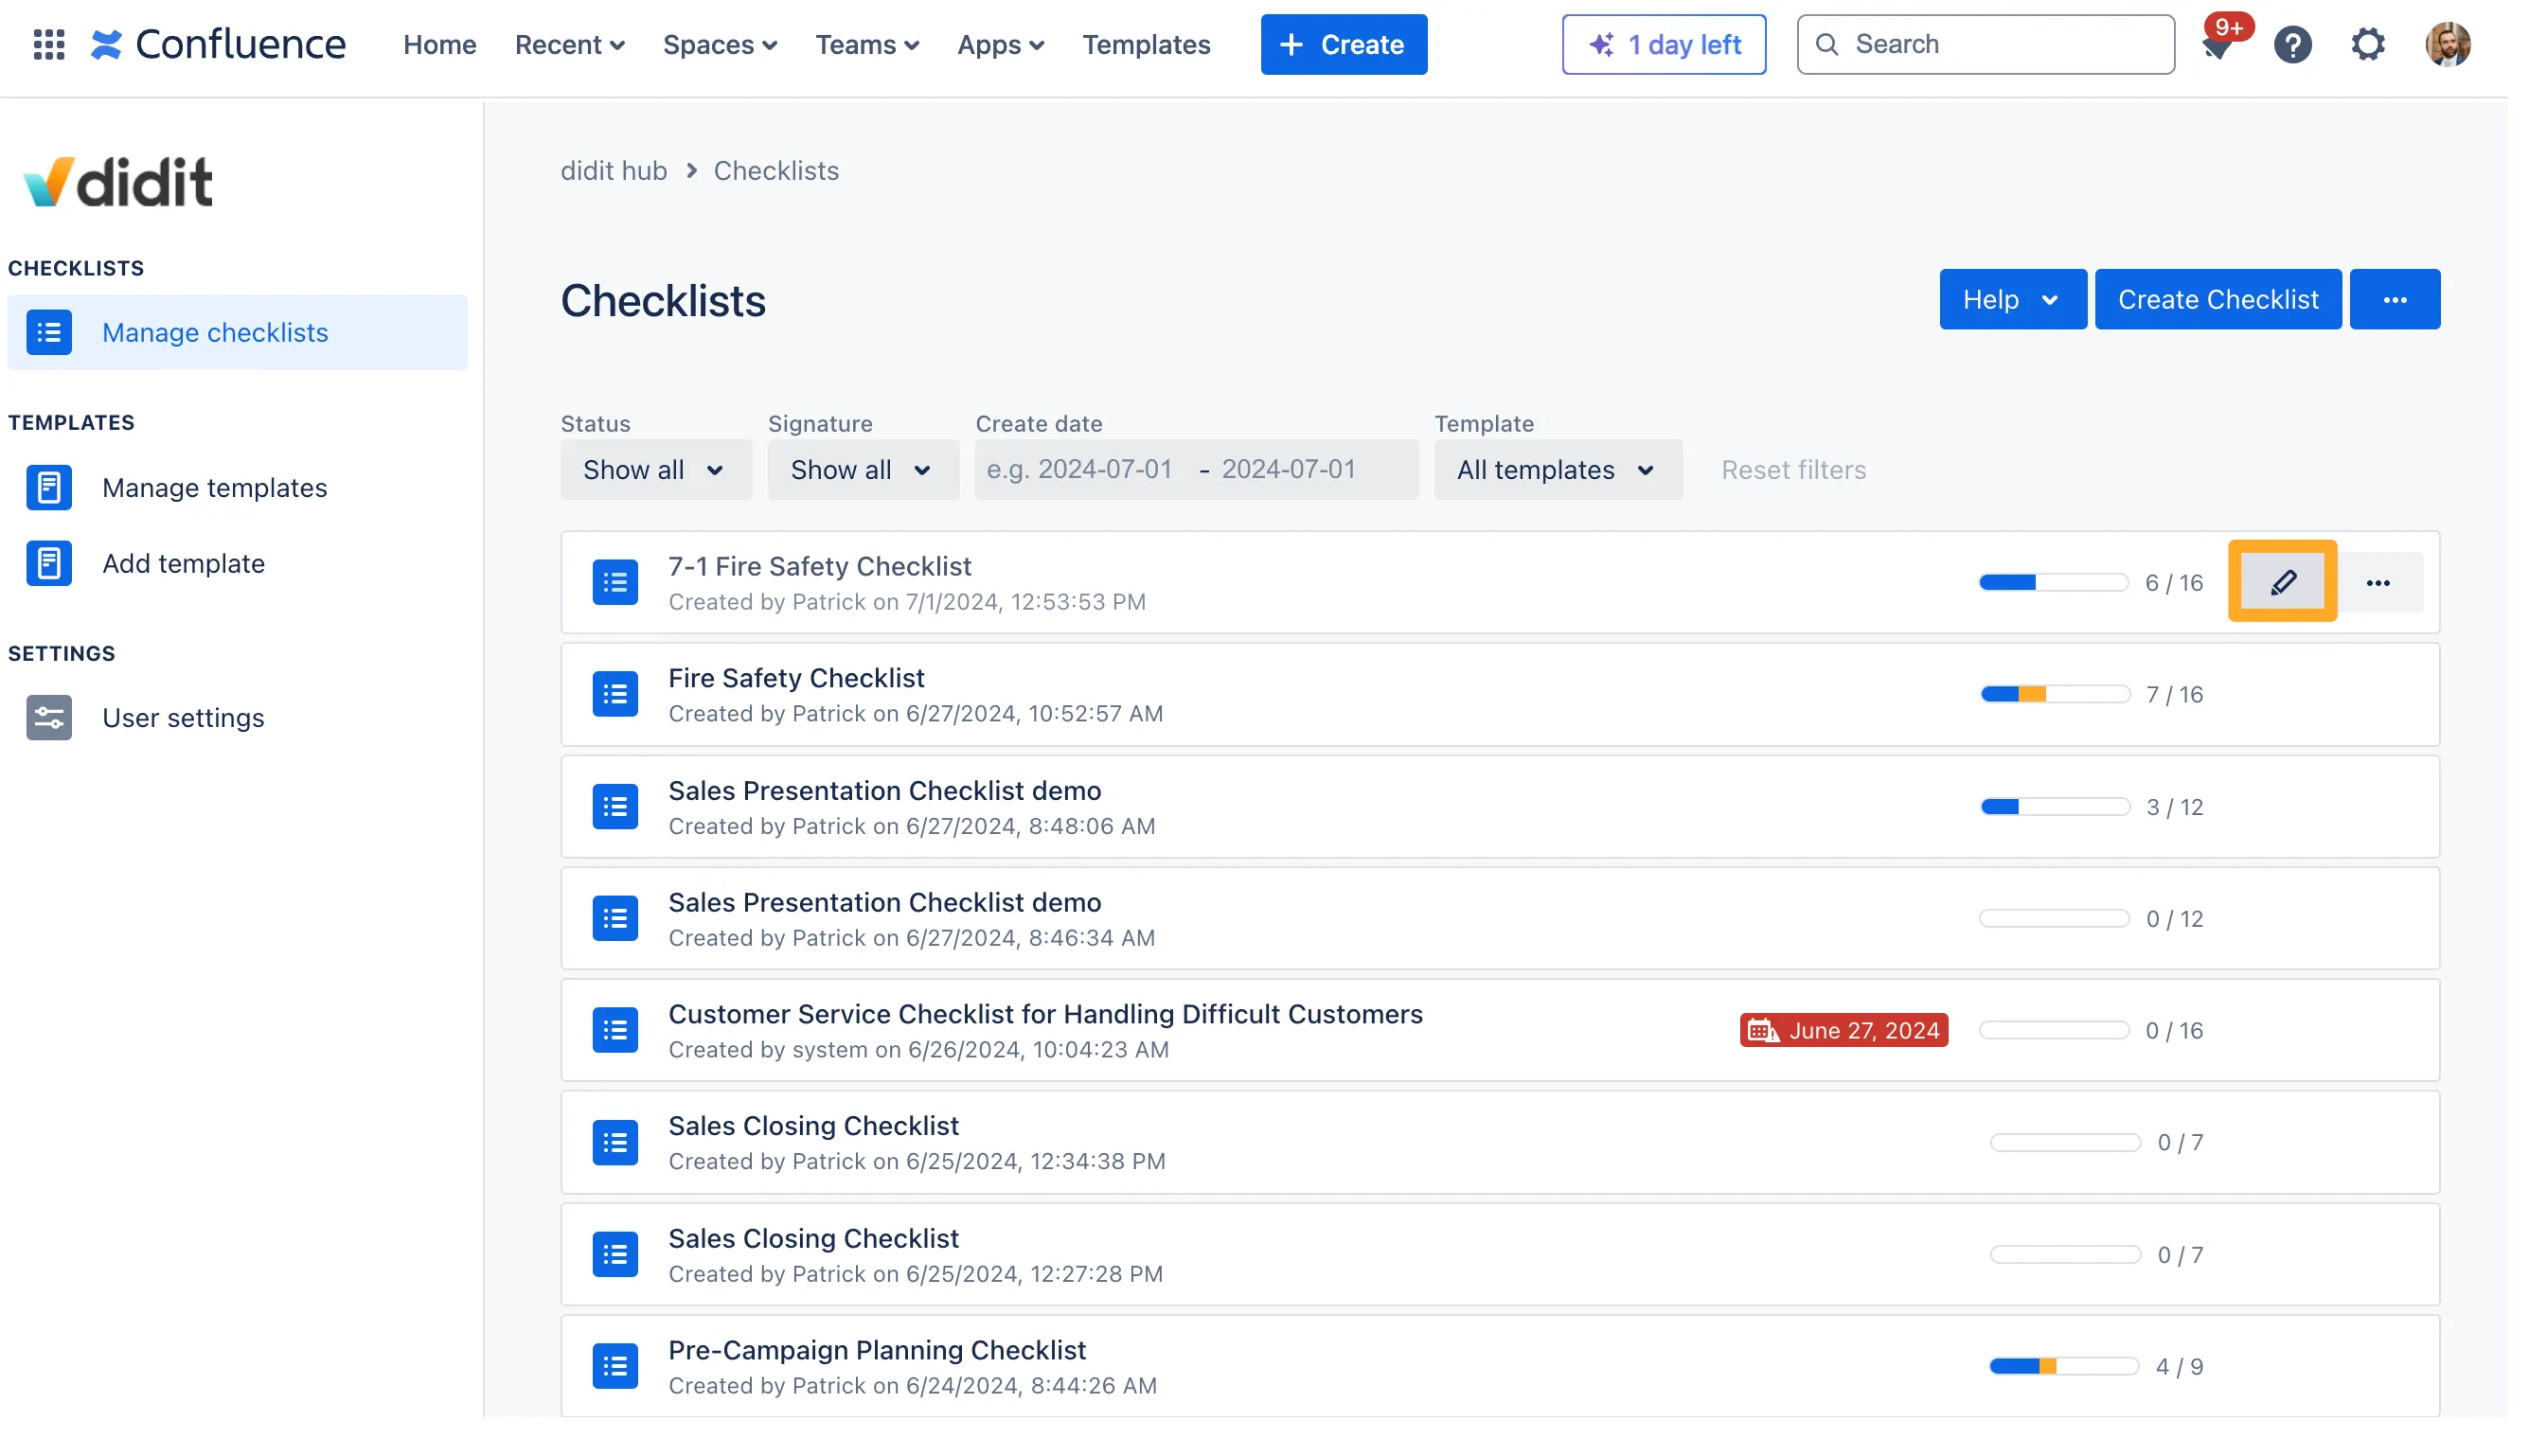
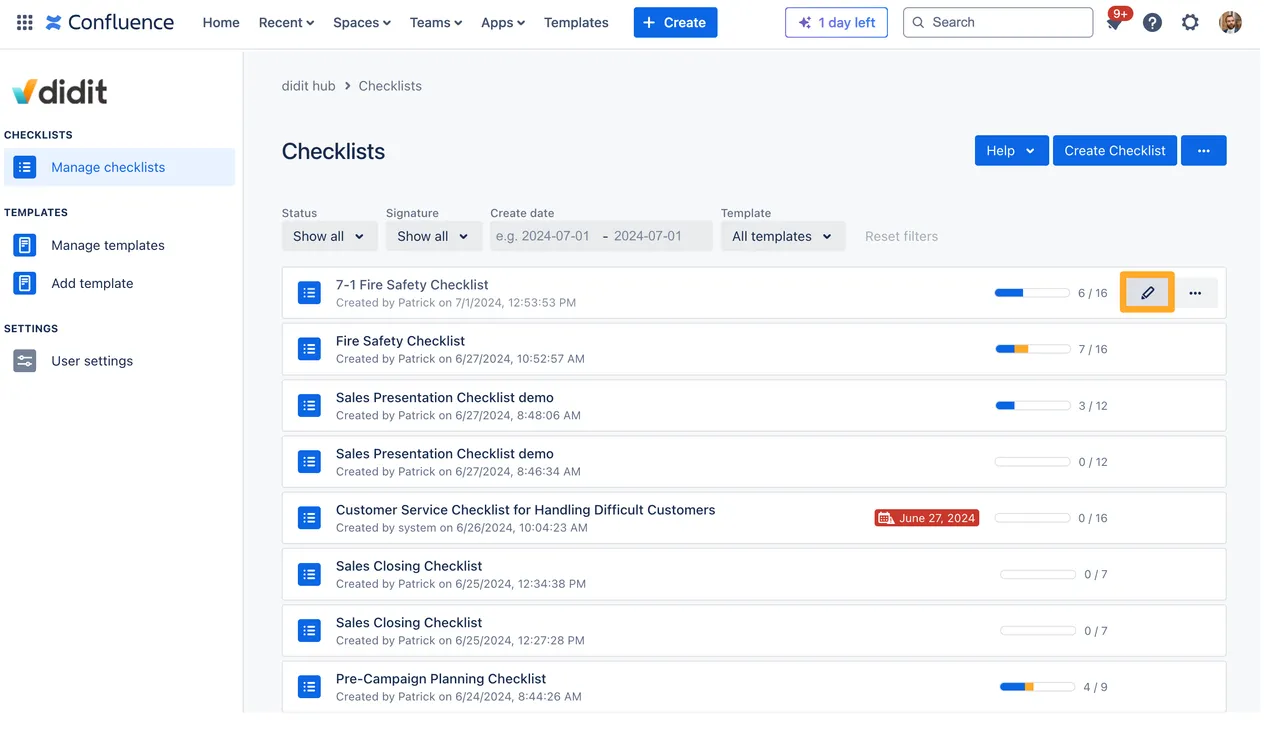
If you need to edit your checklist, you must go back and select the pencil icon in the checklist list.
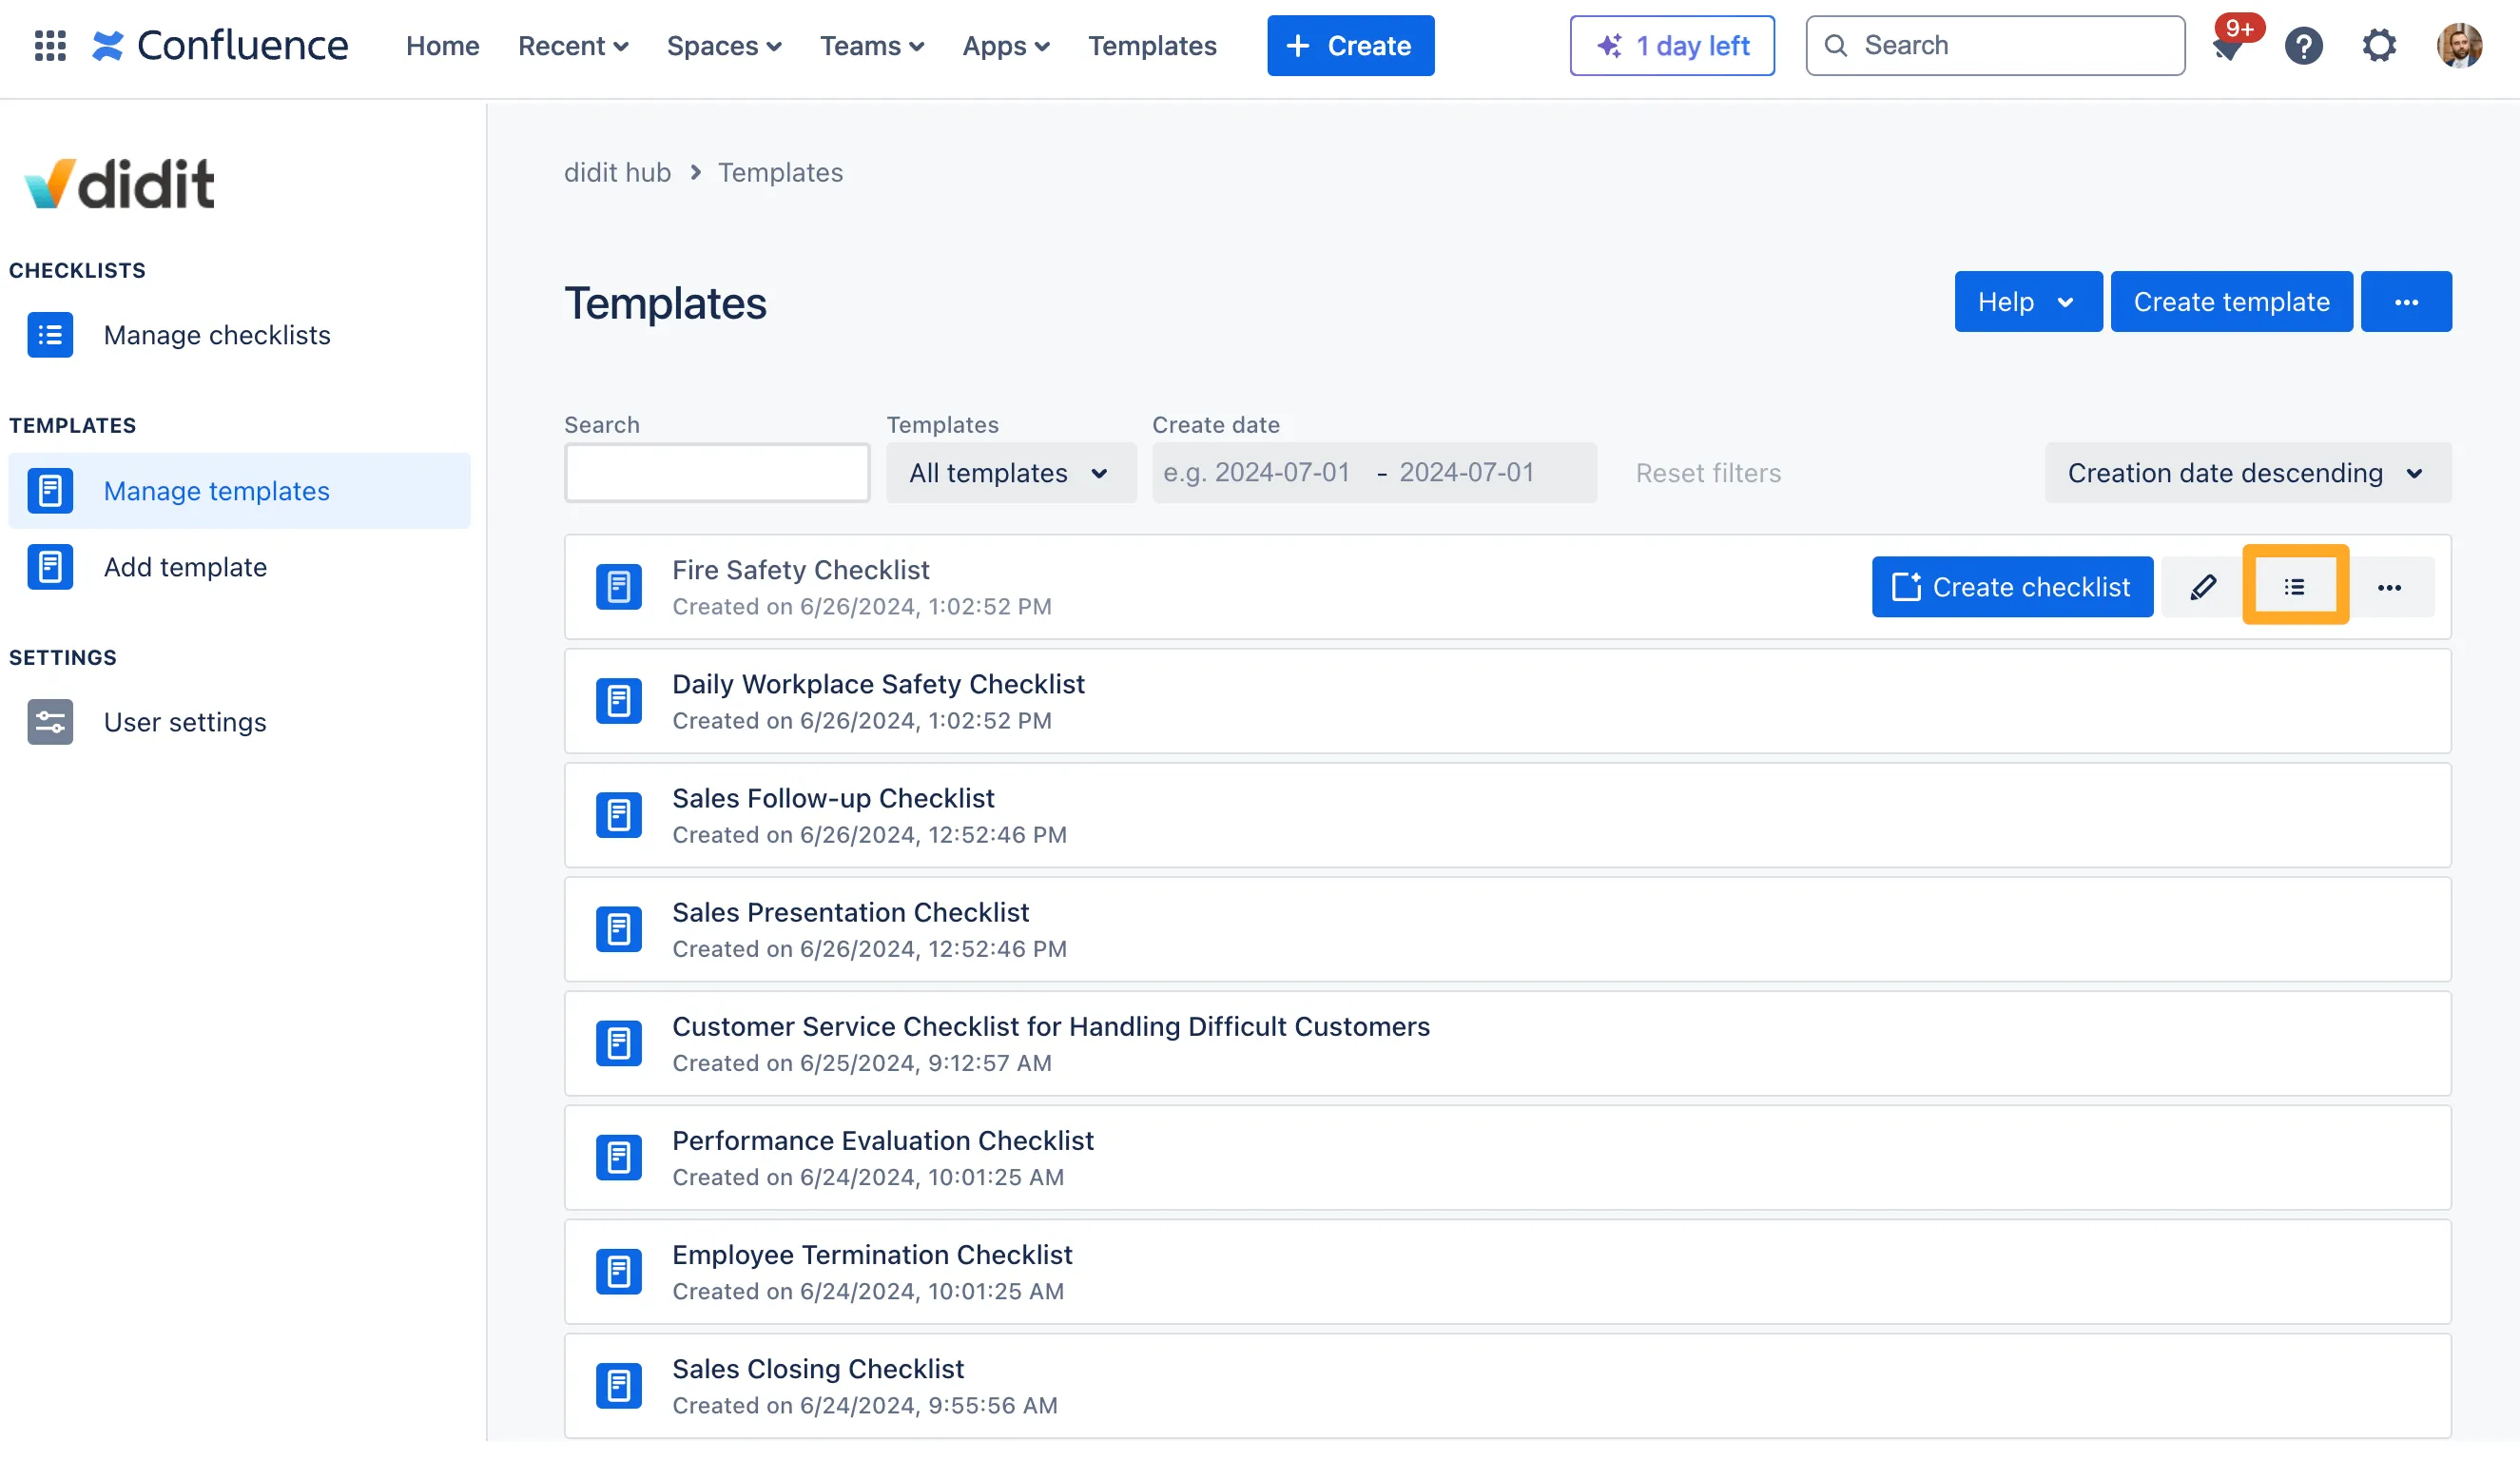
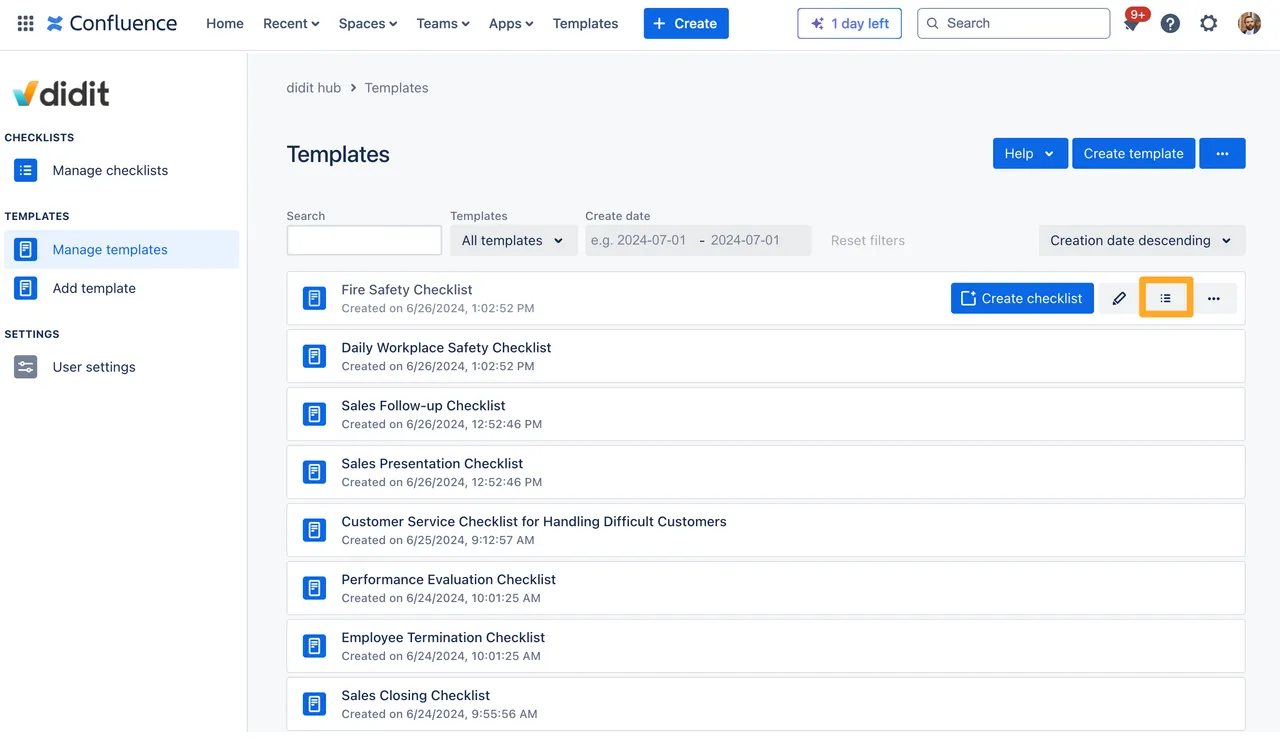
Did you know that you can see a list of all checklists generated from one specific template? Just click the list icon on the right and see for yourself!
How to create an ad-hoc checklist
If you do not need a template, you can always create ad-hoc checklists.
- From the checklist overview in your Didit hub. All you need to do is click the button on the top right.
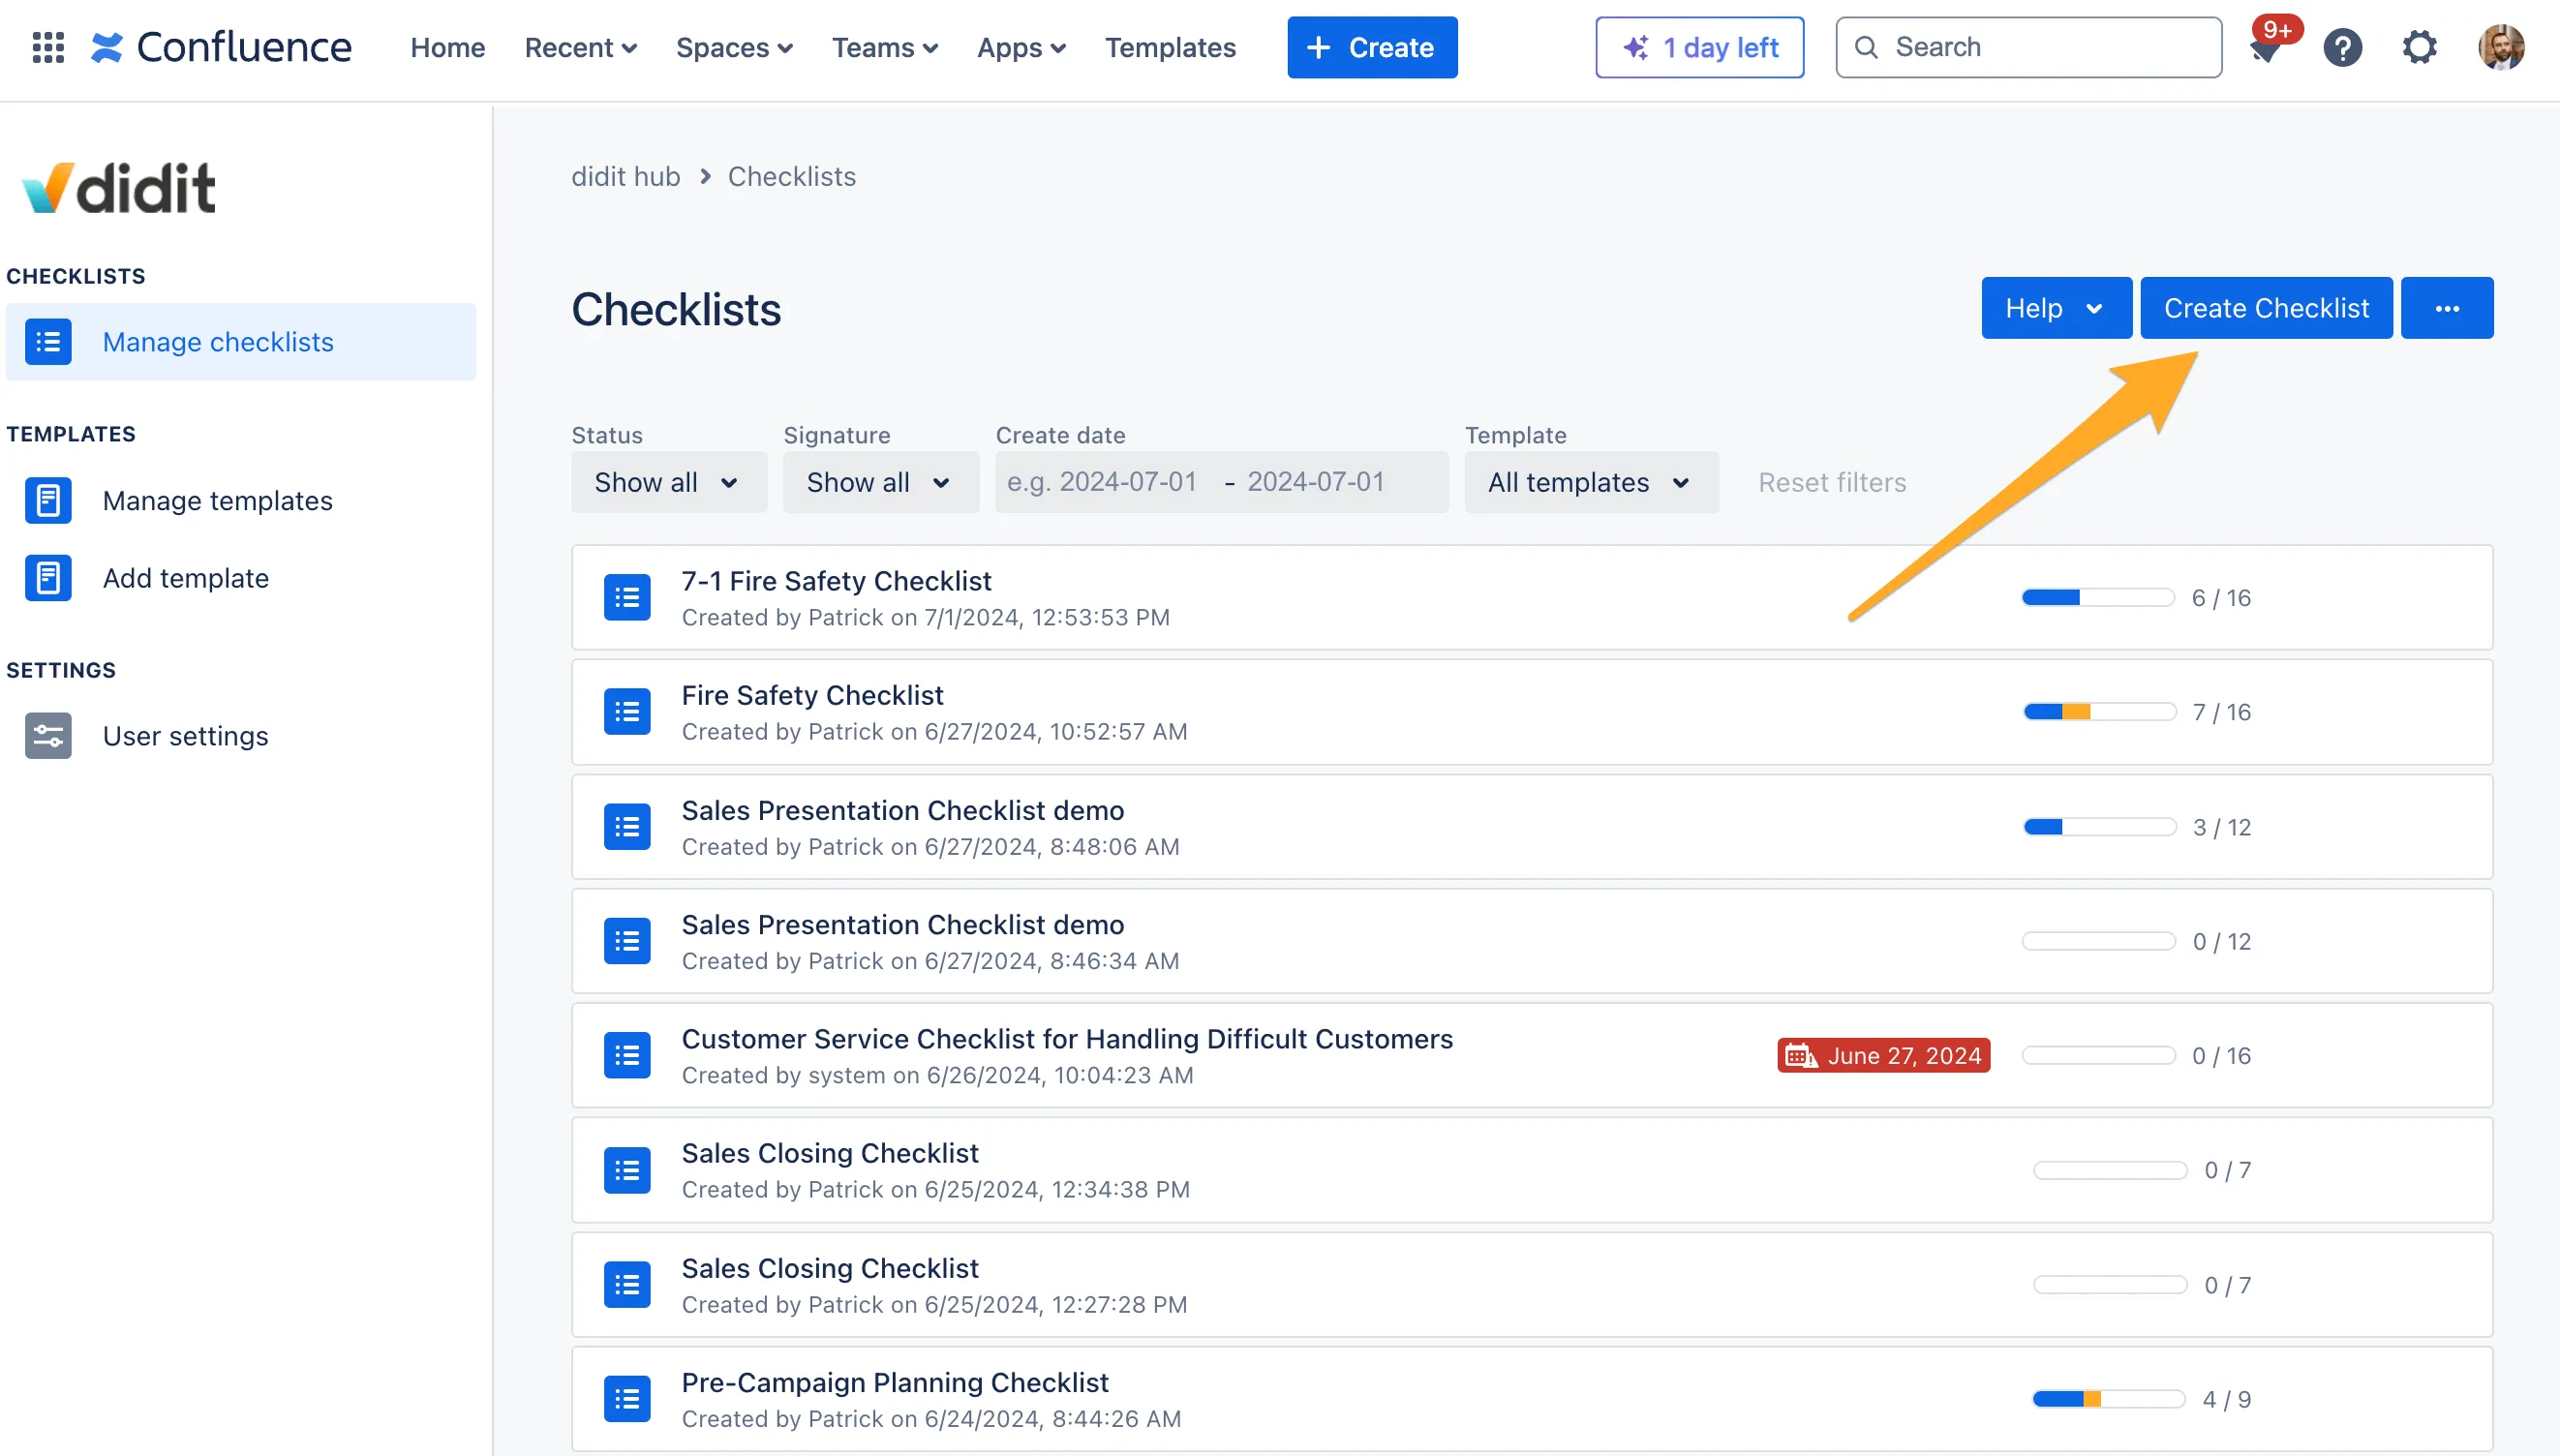
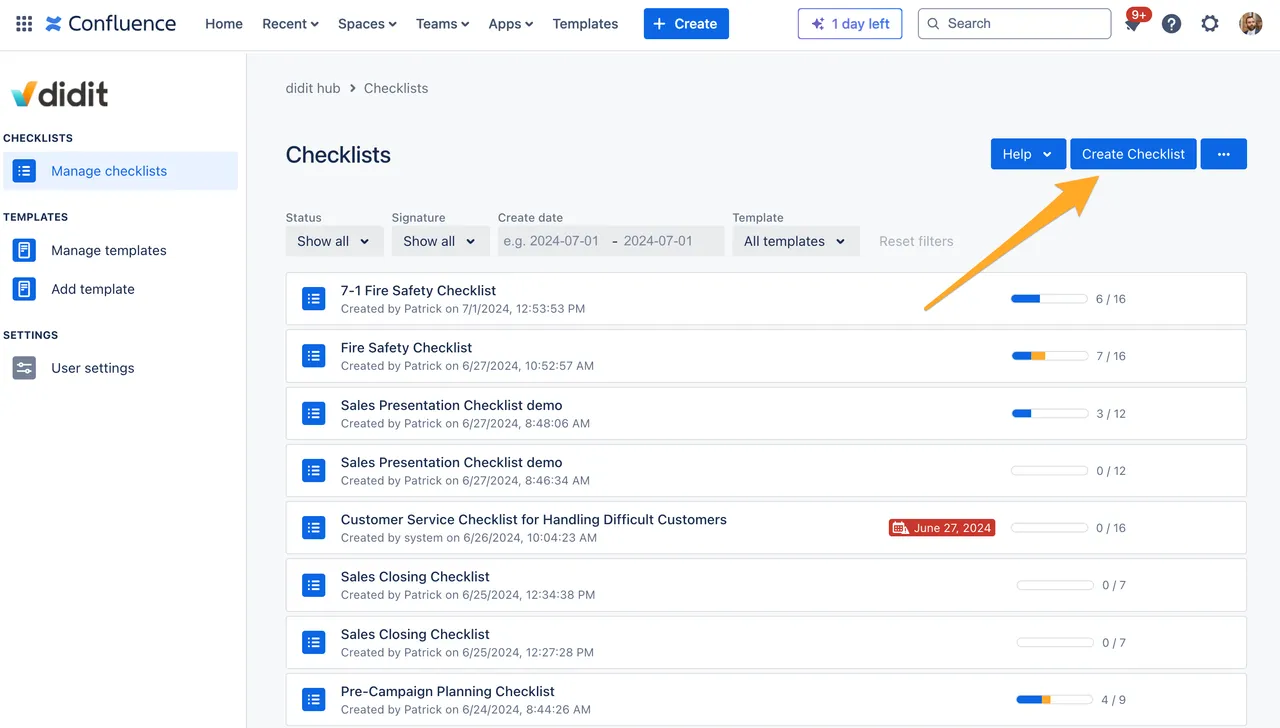
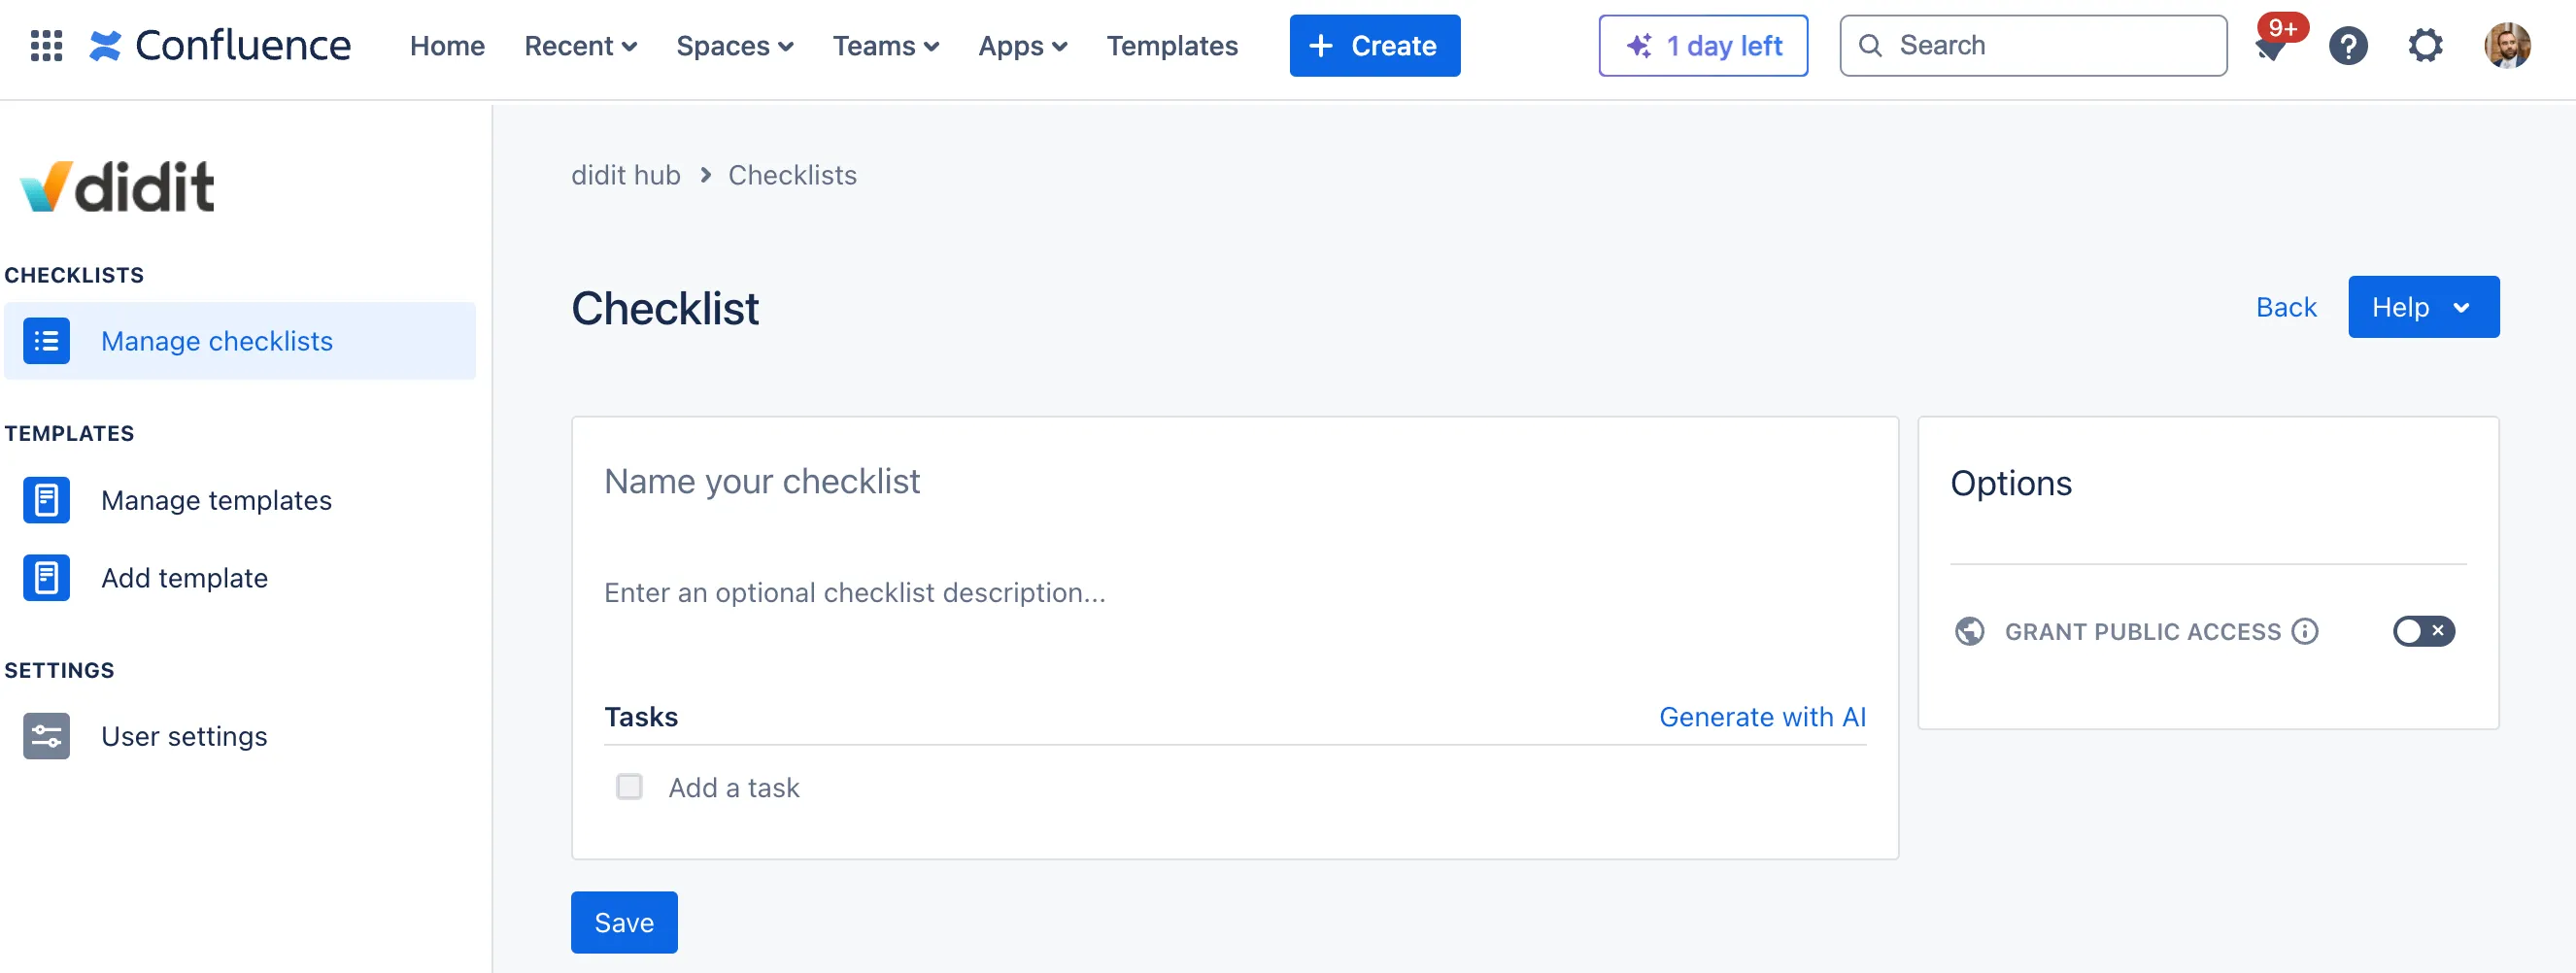
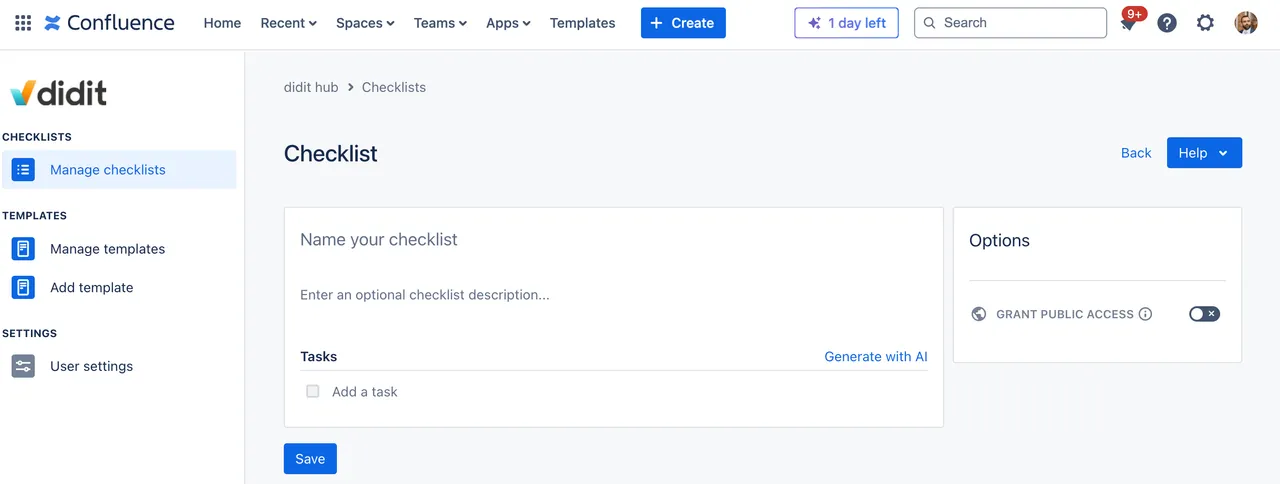
- Once you are on your new checklist, give it a name and an optional description. Then you can start creating your tasks.
Not what you were looking for? Check out other ways to create a checklist:
- Use a public link to create a new checklist
- Create a checklist from a Confluence page
- Embed a checklist template in a Confluence page template and generate new checklists each time you create a new page from this page template
- Create a checklist from a Jira issue
- Create a checklist from your iOS or Android app
- Scan a QR code to create a new checklist with your smartphone
Link to this page: https://seibert.biz/createchecklistconfluencedidithub