How to use the Didit actions in Jira Automation
Didit adds three actions to Jira Automation, so your rules can work with checklists without properties or JSON. They act on the work item that triggered the rule, in project and global rules.
Add a Didit action to a rule
-
Create or open an automation rule and choose a trigger, for example “Work item created.”
-
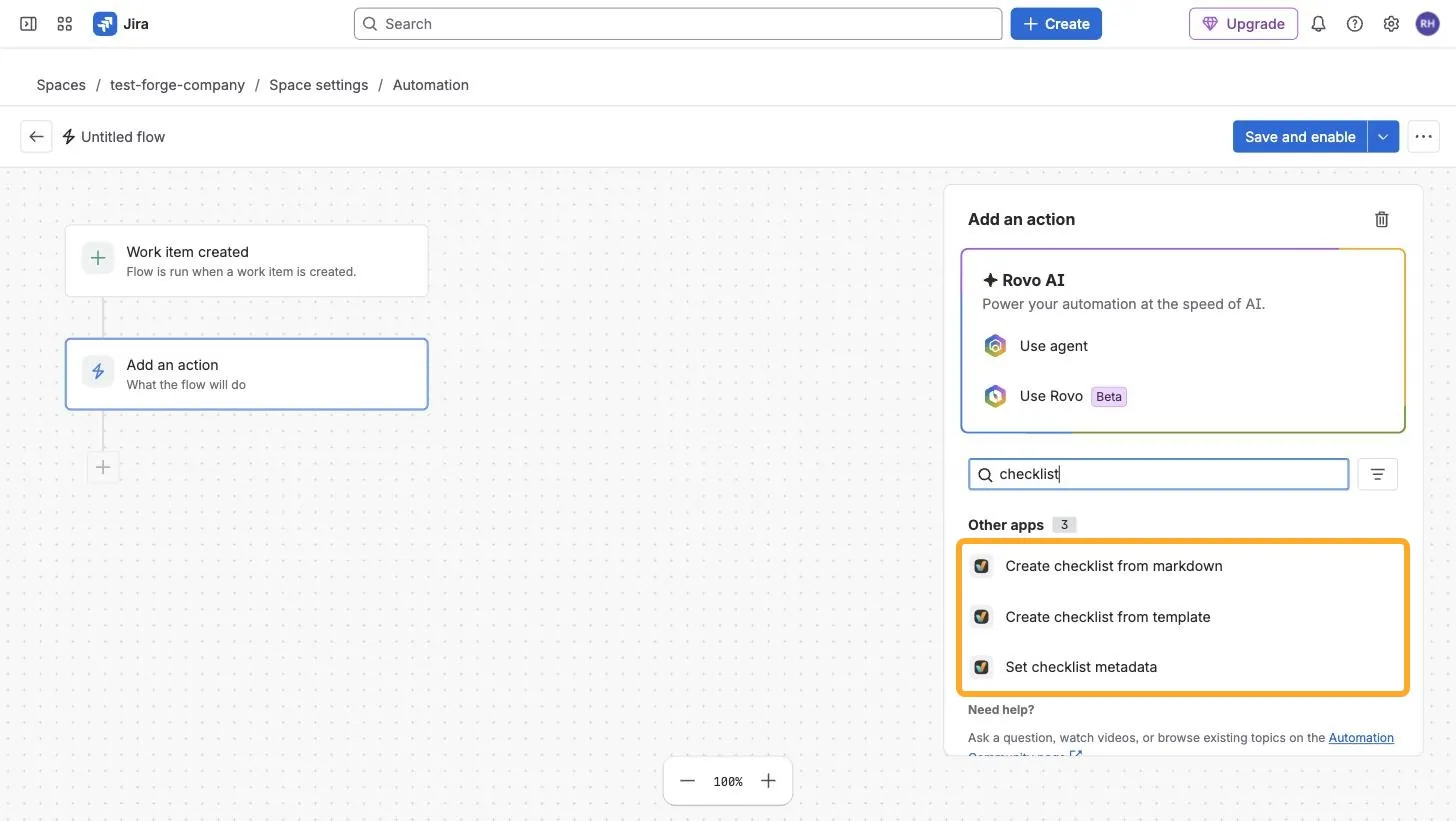
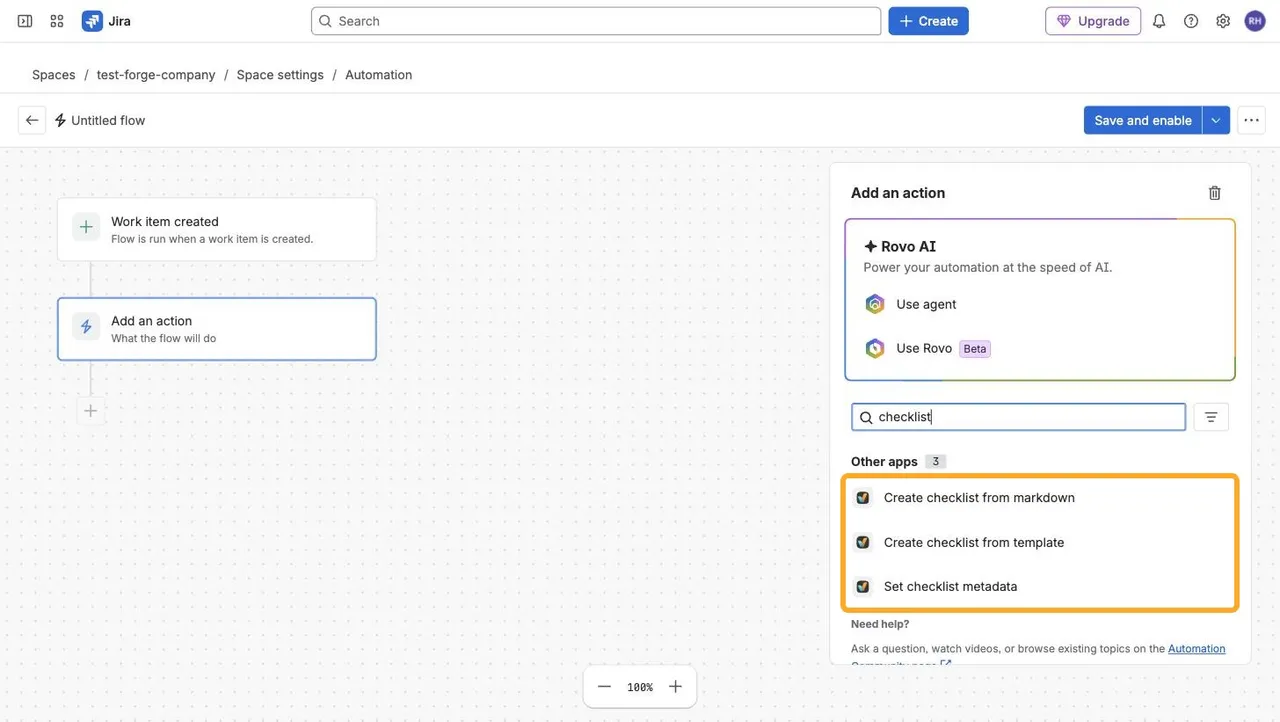
Click the ”+” below your trigger, choose “Action,” and search for “checklist.” The Didit actions appear under “Other apps.”
In older rule builders, click “Add component → THEN: Add an action.”
-
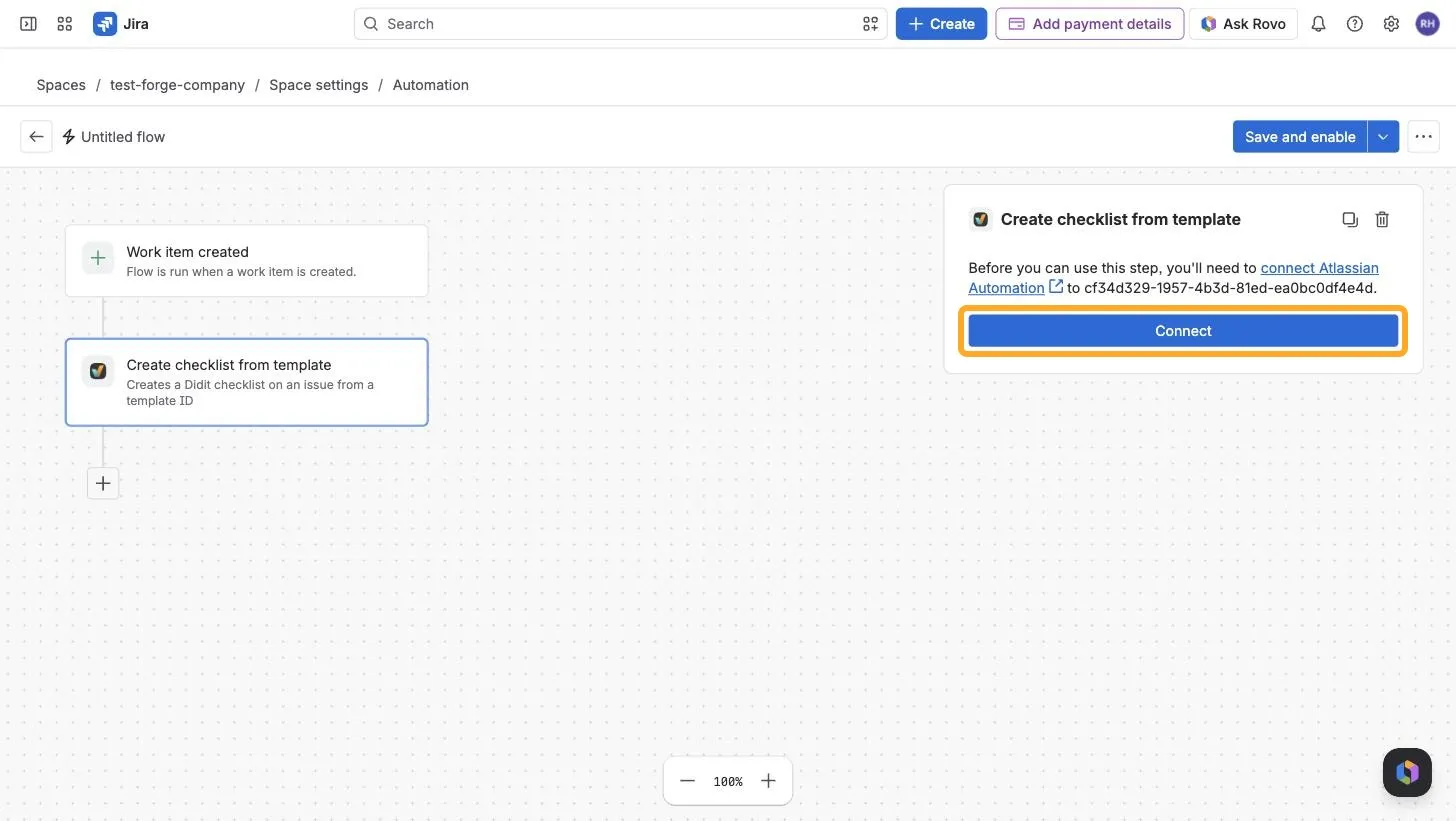
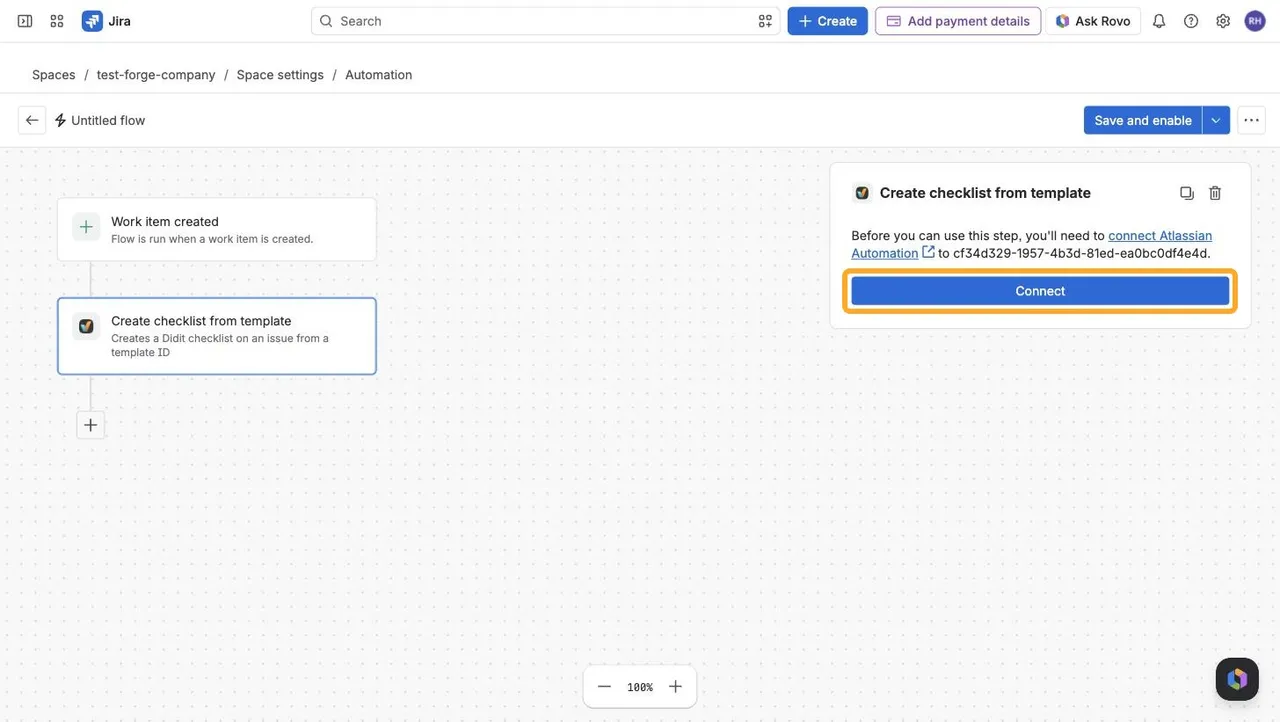
If Jira asks you to connect Atlassian Automation to the Didit app, click “Connect.” One connection covers every Didit action in the rule.
-
Fill in the action, as described below.
-
Name the rule and turn it on.
Create checklist from template
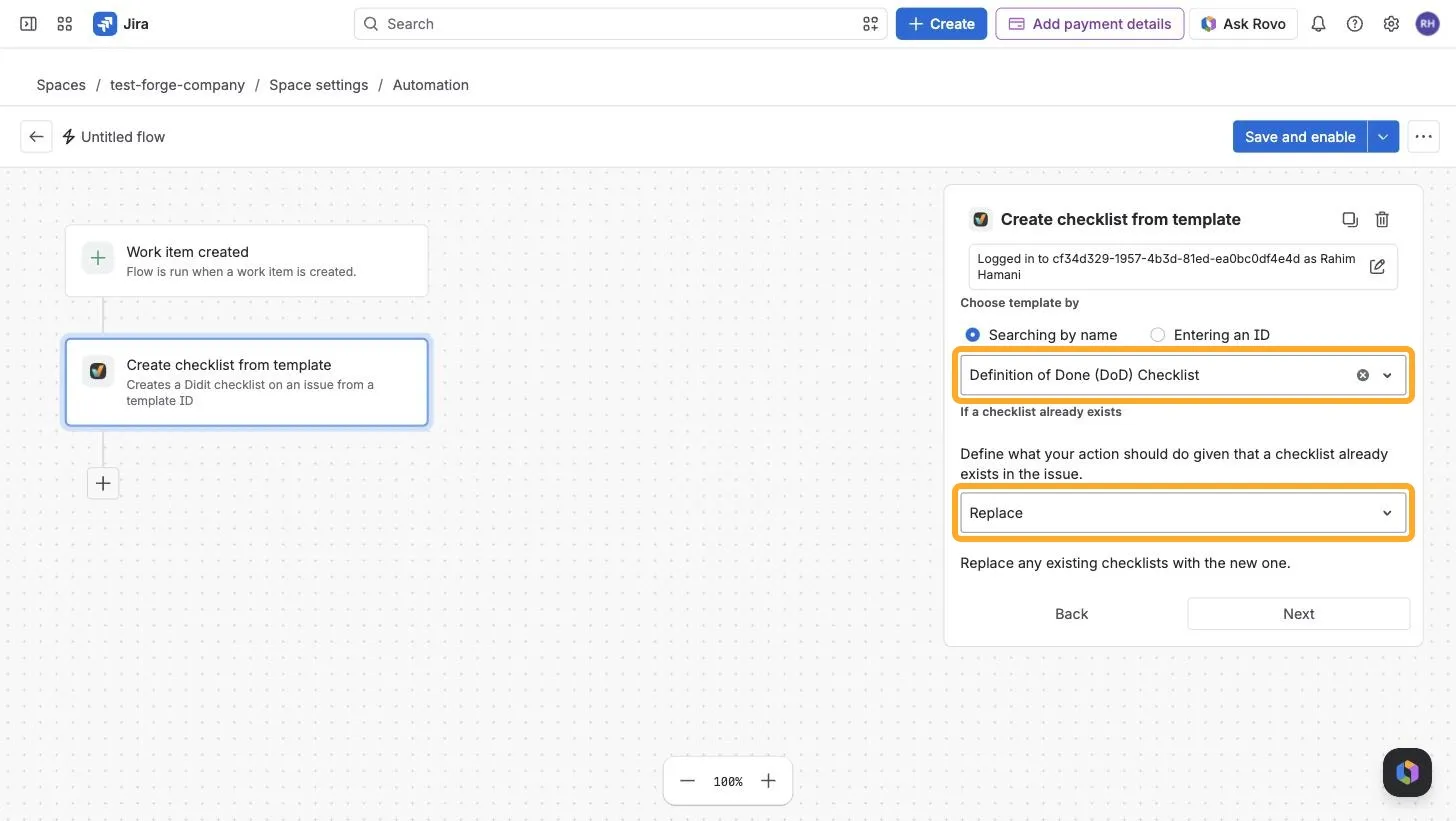
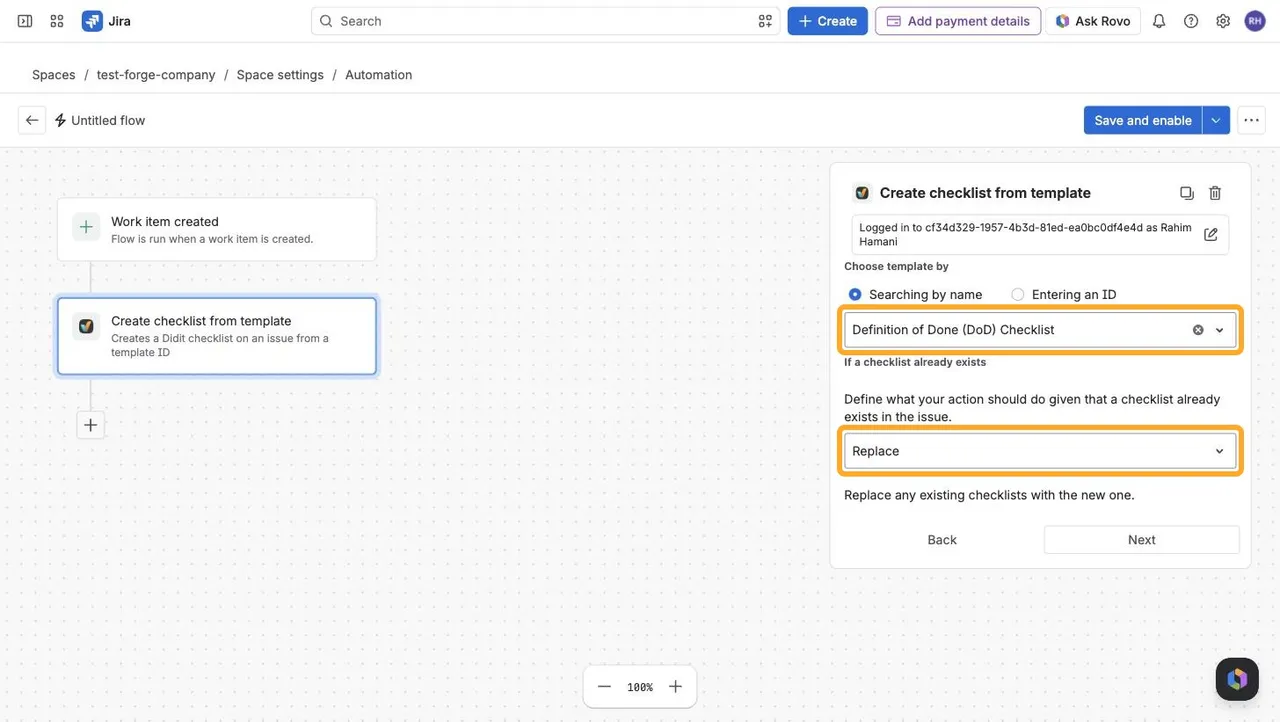
Creates a checklist from one of your Didit templates. Search for the template by name, or paste its ID if it doesn’t show up. Then choose what happens if the work item already has a checklist.
| If a checklist already exists | What happens |
|---|---|
| Replace | Replaces the existing checklists with the new one. |
| Append | Adds the template’s headings and tasks to every existing checklist. The template’s metadata is ignored, and completed tasks stay as they are. |
| Add | Adds the new checklist next to the existing ones. |
| Fail | Creates no checklist. |
Create checklist from markdown
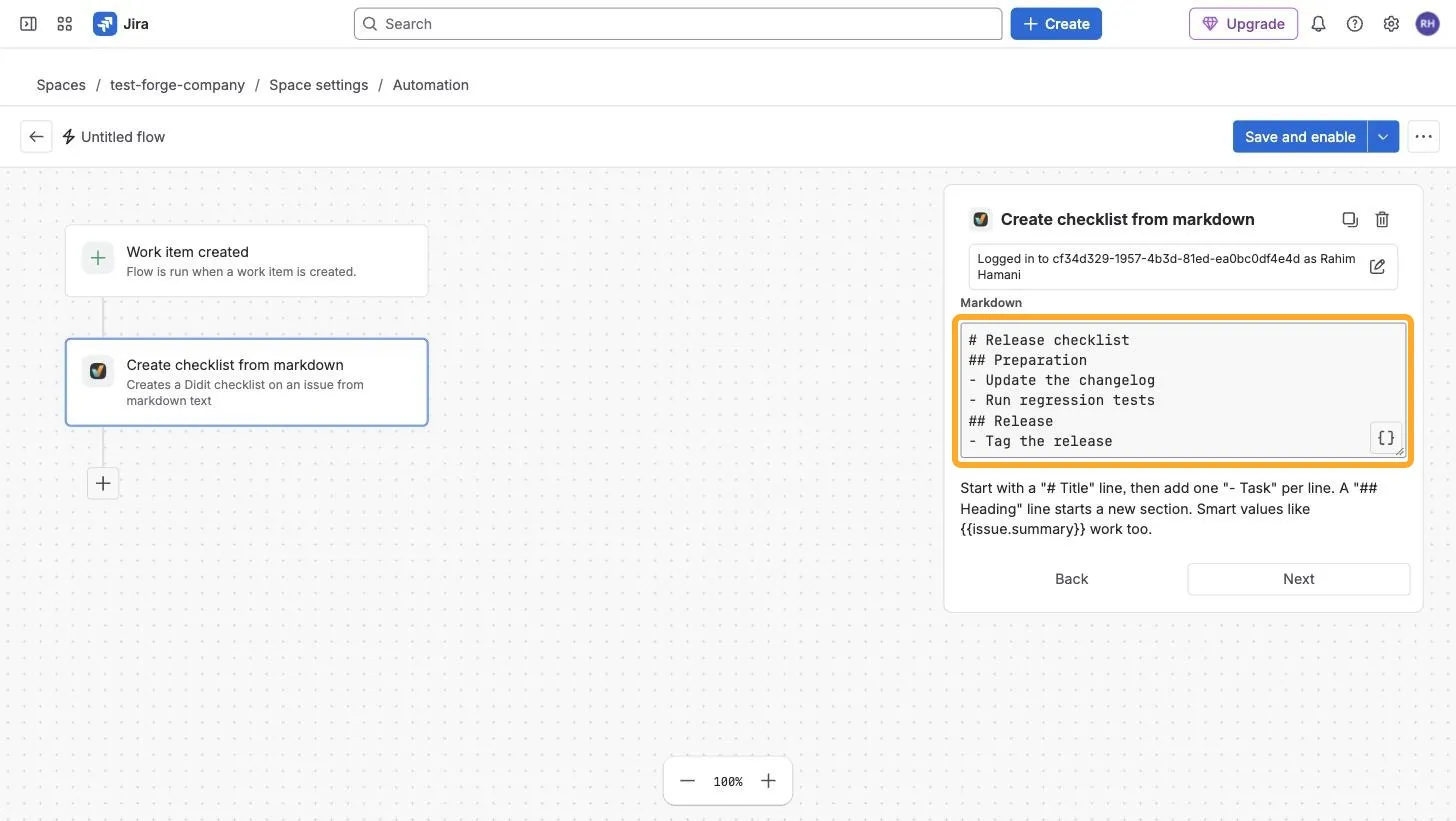
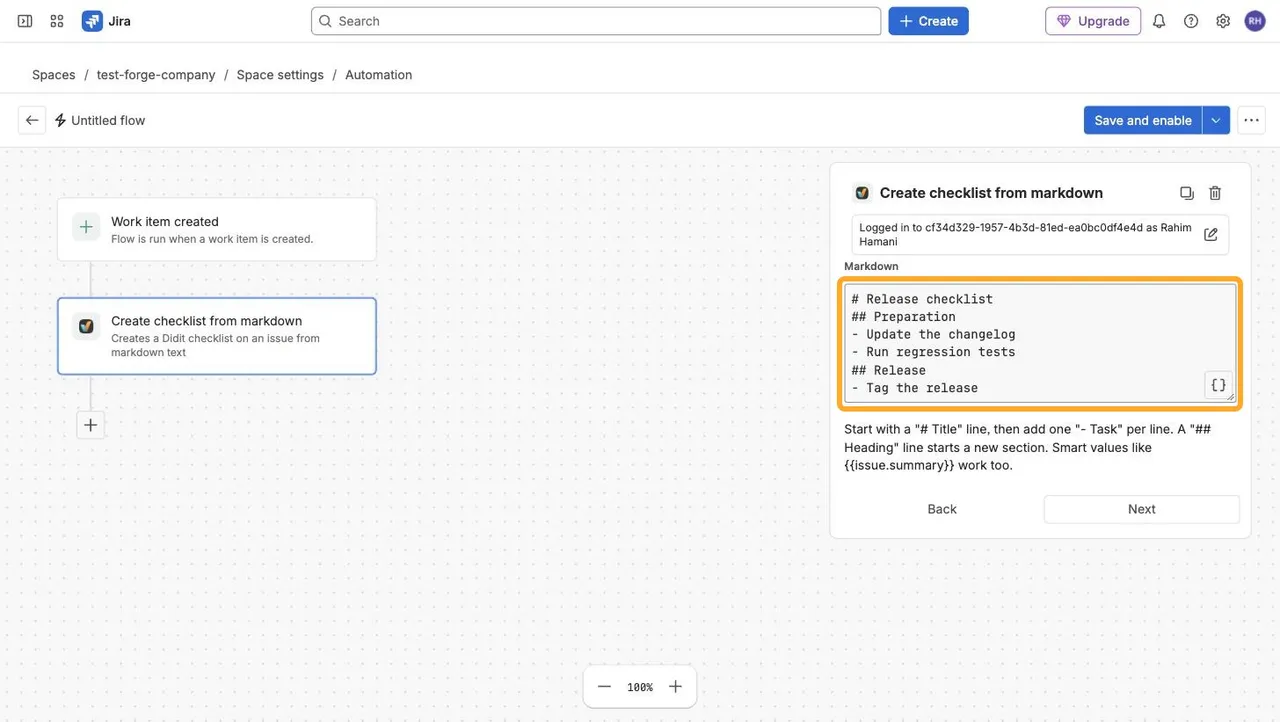
Creates a checklist from Markdown you write in the action. Start with a # line for the title, then add a ## line for each heading and a - line for each task. Smart values like {{issue.summary}} work too.
- The action always replaces the checklists on the work item. To keep them, use Create checklist from template with Add or Append.
- Keep hyphens out of the title line: Didit turns the text after a hyphen into an extra task. Work item keys contain a hyphen, so don’t put
{{issue.key}}in the title. - Task descriptions aren’t supported.
Set checklist metadata
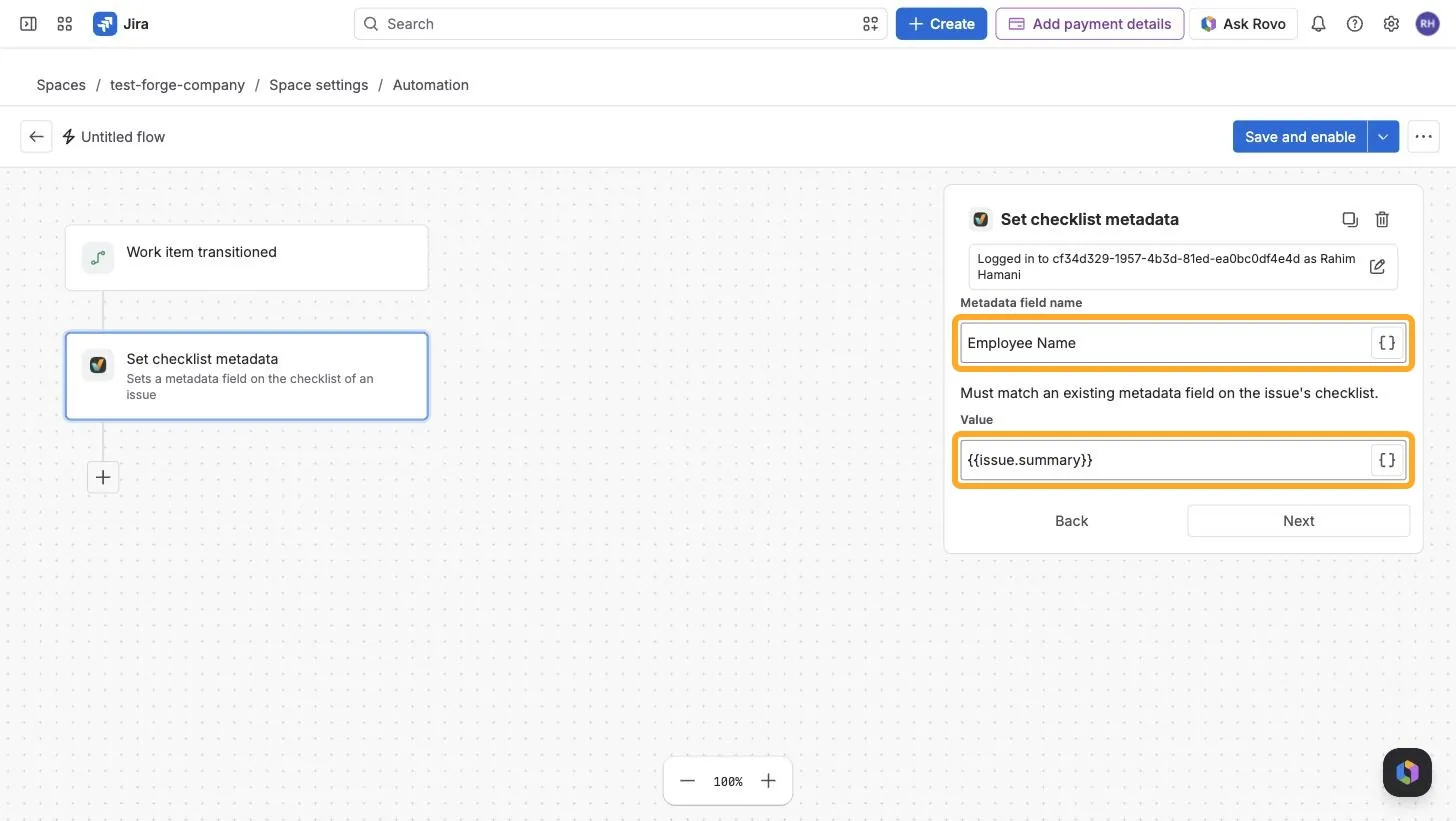
Fills a metadata field on the work item’s checklist, so the checklist needs metadata. Enter the field name exactly as it appears on the checklist, and a value: text or a smart value like {{issue.summary}}.
Tips
- The Didit automation wizard pre-fills these forms for a template and lets you copy every value, including the template ID.
- For ideas, see our Jira automation examples.